"Liberate Captain Marshall" is a quest in RAGE given to the protagonist by Elizabeth Cadence. It is available after completing the quest "Secret Delivery" and mini quest "Talk to Elizabeth".
Summary[]
- Our leader, Captain Marshall, was taken prisoner. Can you help us?
- The Authority has him in the old Prison up North and West of town. Here is a Security Access Card that will get you through the gate. Don't forget the Mind Control Darts from Dr. Kvasir. We don't have a lot of time, find Captain Marshall and get him out of that prison.
- Get to the Authority Prison and bust Marshall out, or the Resistance is lost.
Objectives[]
- Rescue Captain Marshall from the prison
- Head to the Authority Prison past the Northern Watch Tower
- Find Captain Marshall and set him free
- Help Captain Marshall escape
- Return to the Resistance Base in Wellspring
Walkthrough[]
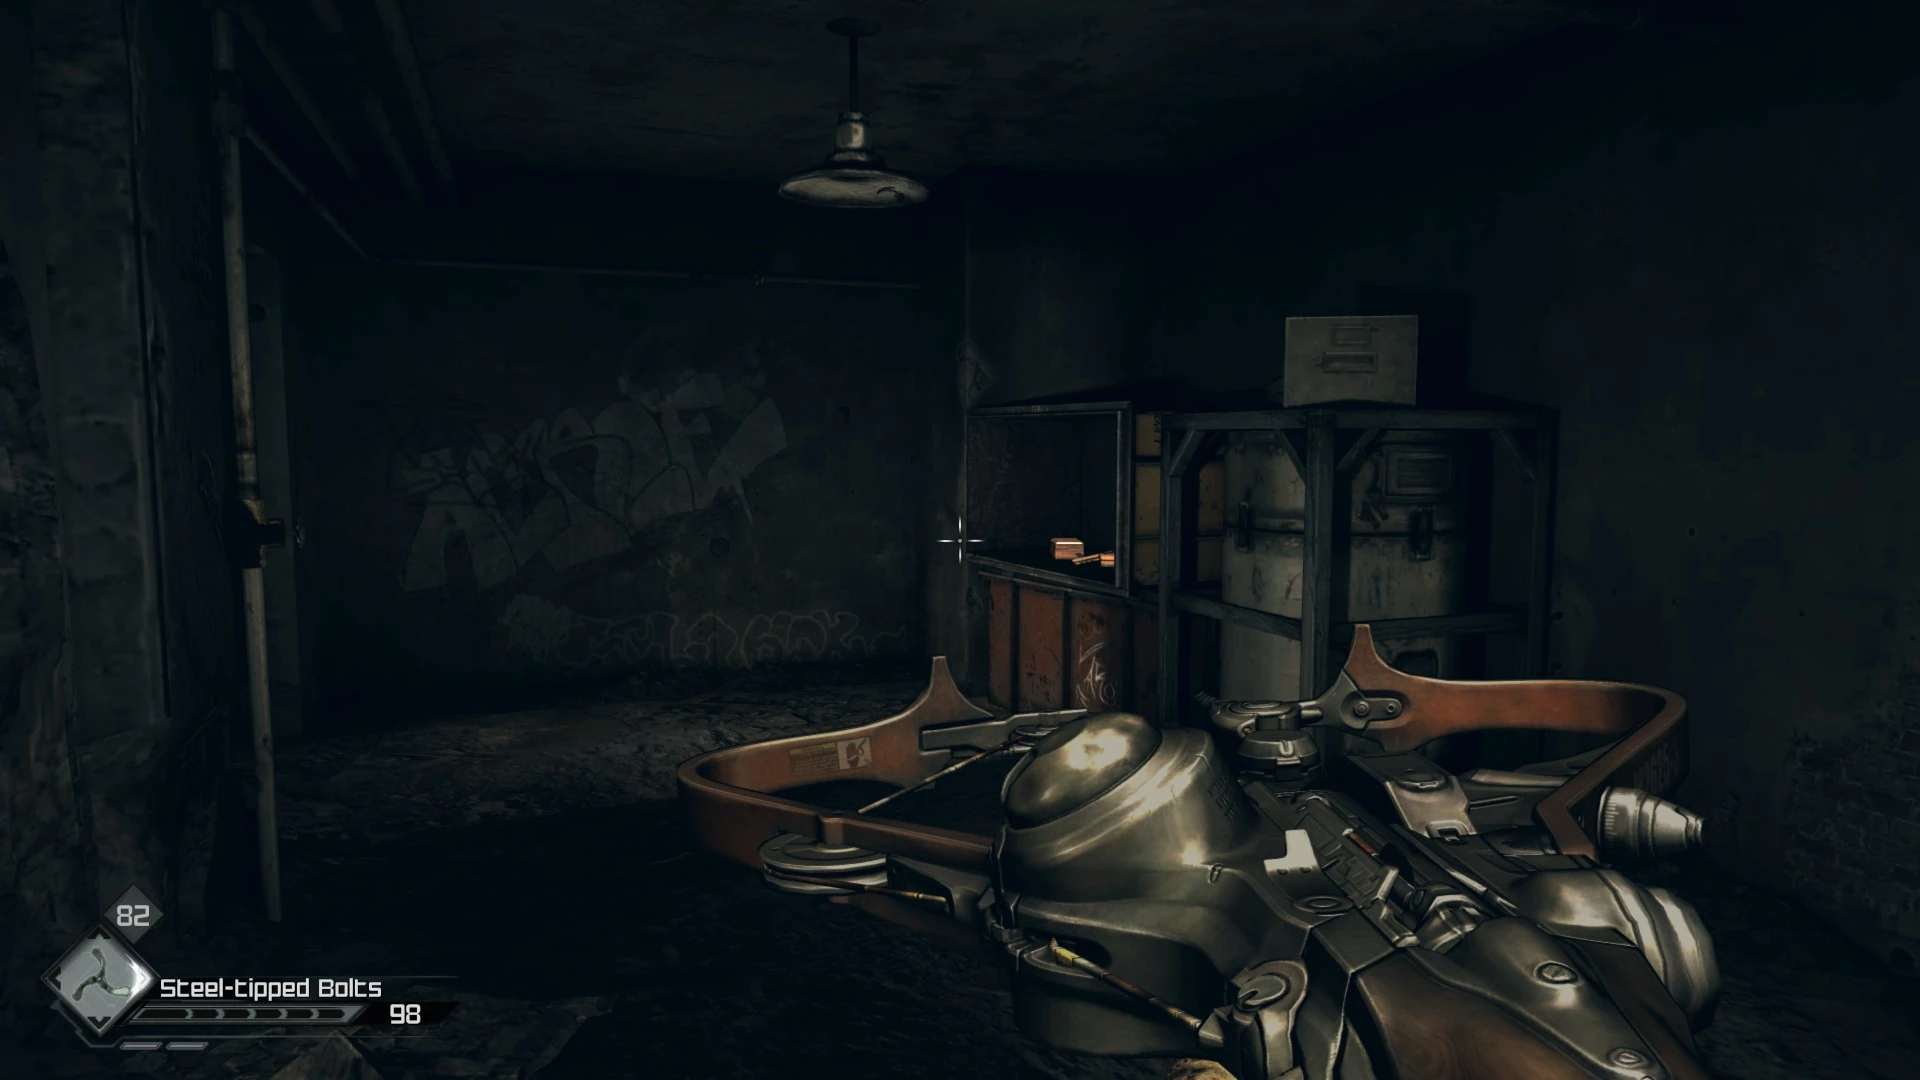
- Tip: At this point, the Authority Machine Gun Laser Sight upgrade, the AV2x Rounds, and the Striker Crossbow Dynamite Bolts schematic are available at the "Outfitters". And don't forget to talk to Jacob in "Second Chance" and accept the quest "Finding Feltrite", if you haven't already.
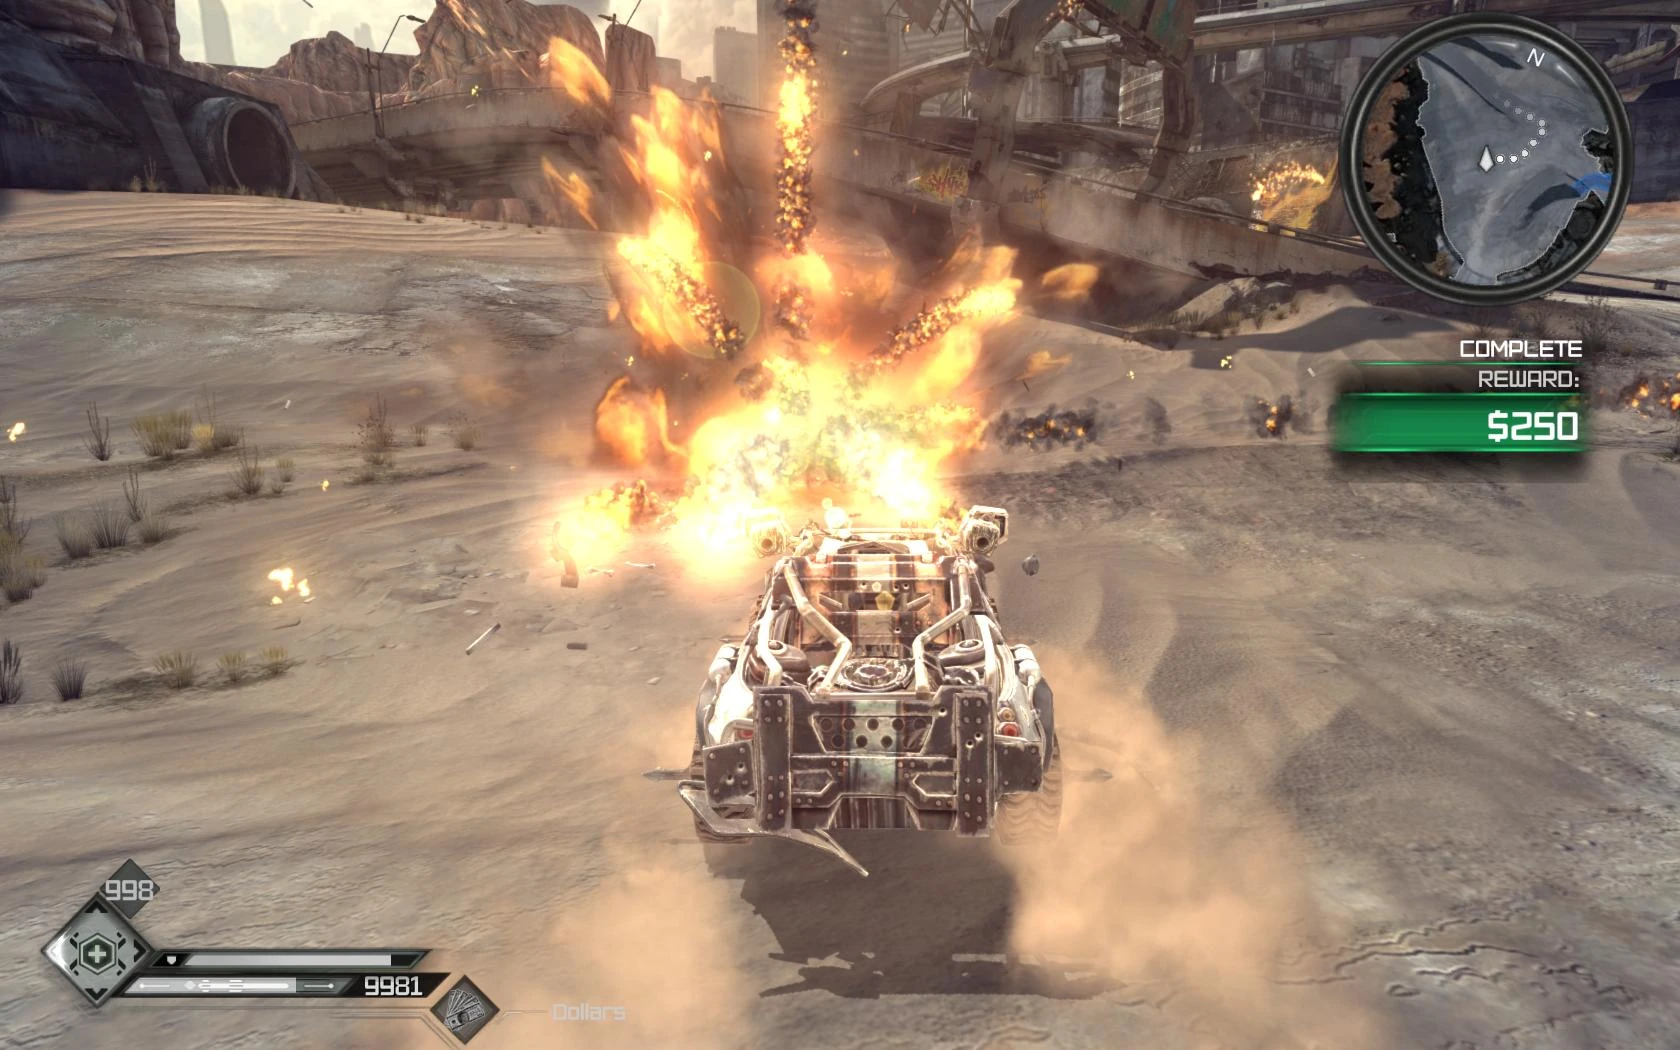


Leave Wellspring and follow the pips on the minimap that will lead to the Authority Prison. Once past the Shrouded Bunker, while entering Scorcher territory, a Vehicle Combat event will initiate. If the player has completed every prior Vehicle Combat event in the area, this time it will be the level 5 event "Ashes to Ashes". Destroy the five enemy vehicles for a reward of $250, as well as completion of the ongoing quest "Sally's Bounty" once again. But that's not all. When going up the nearby ramp, a Feltrite Tempest event will initiate, so pedal to the metal to pick up the falling meteorites en route to the Southern Valley.
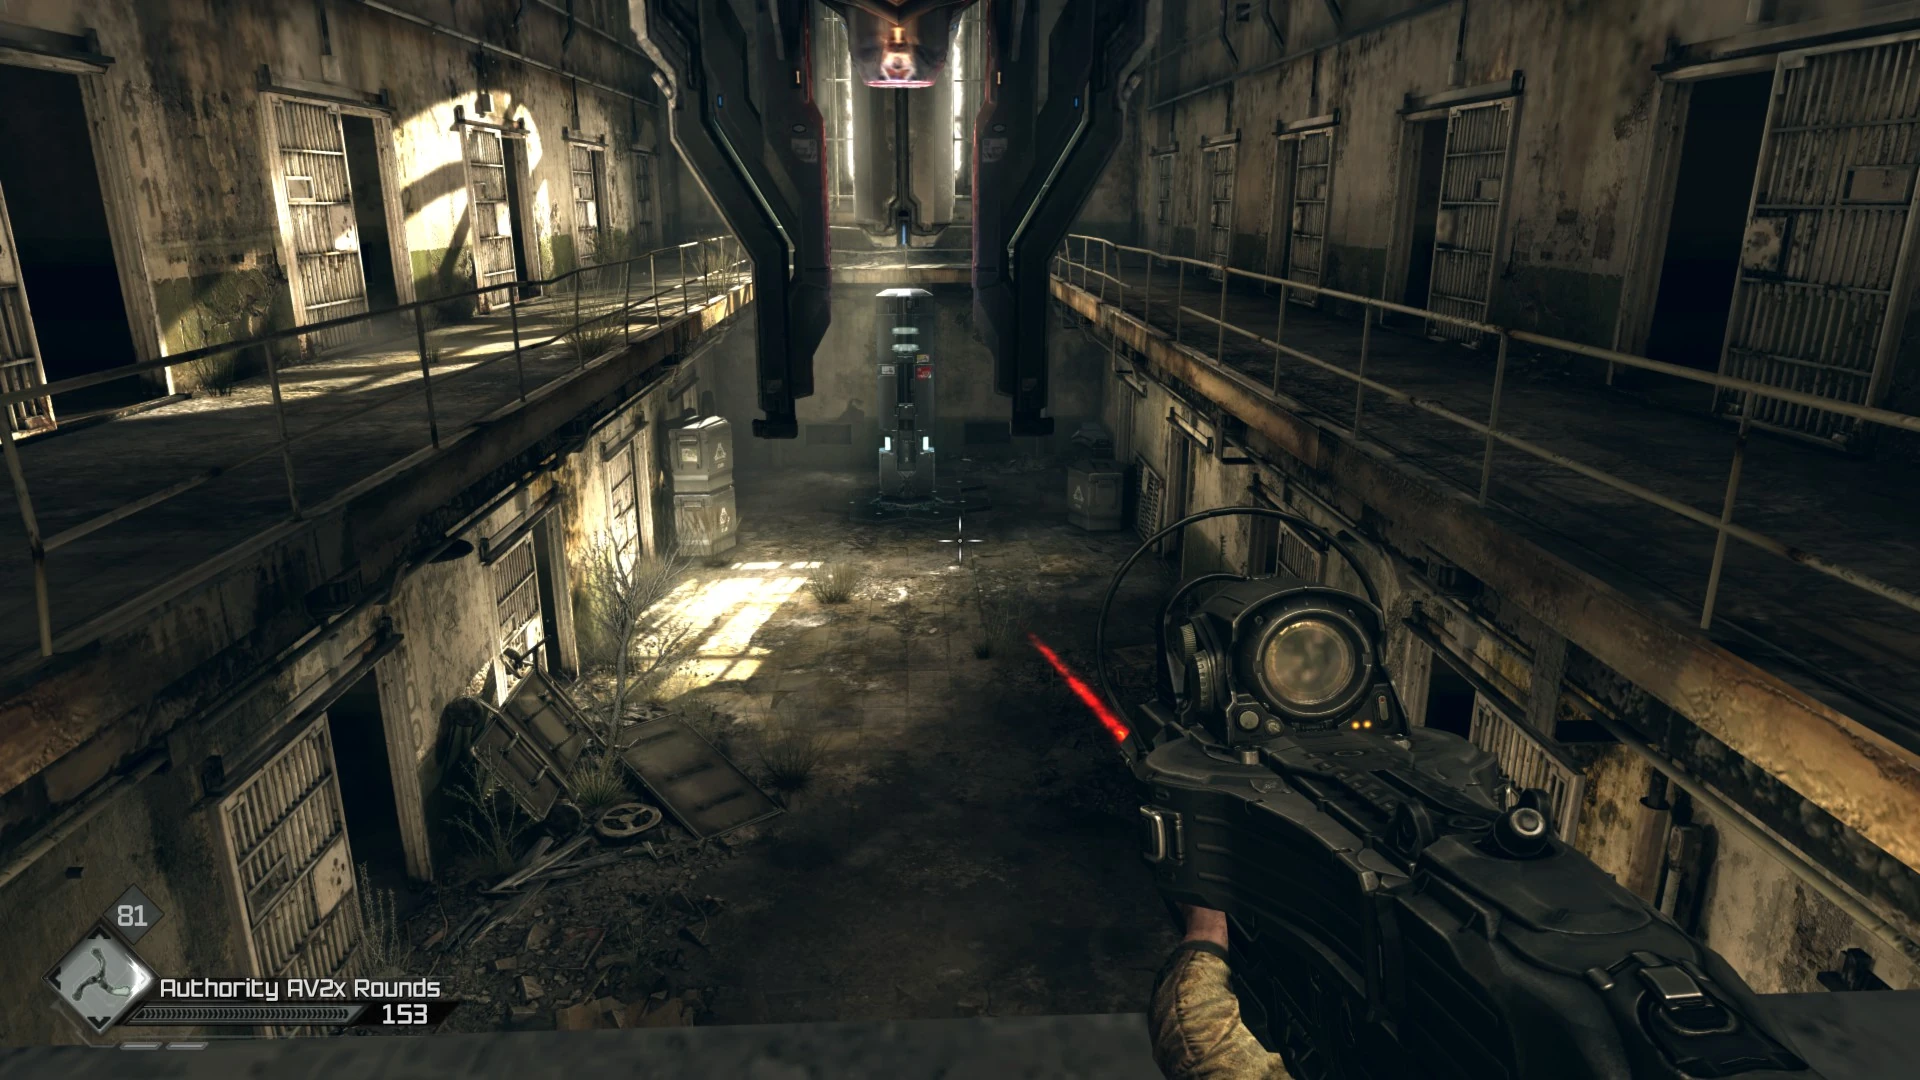
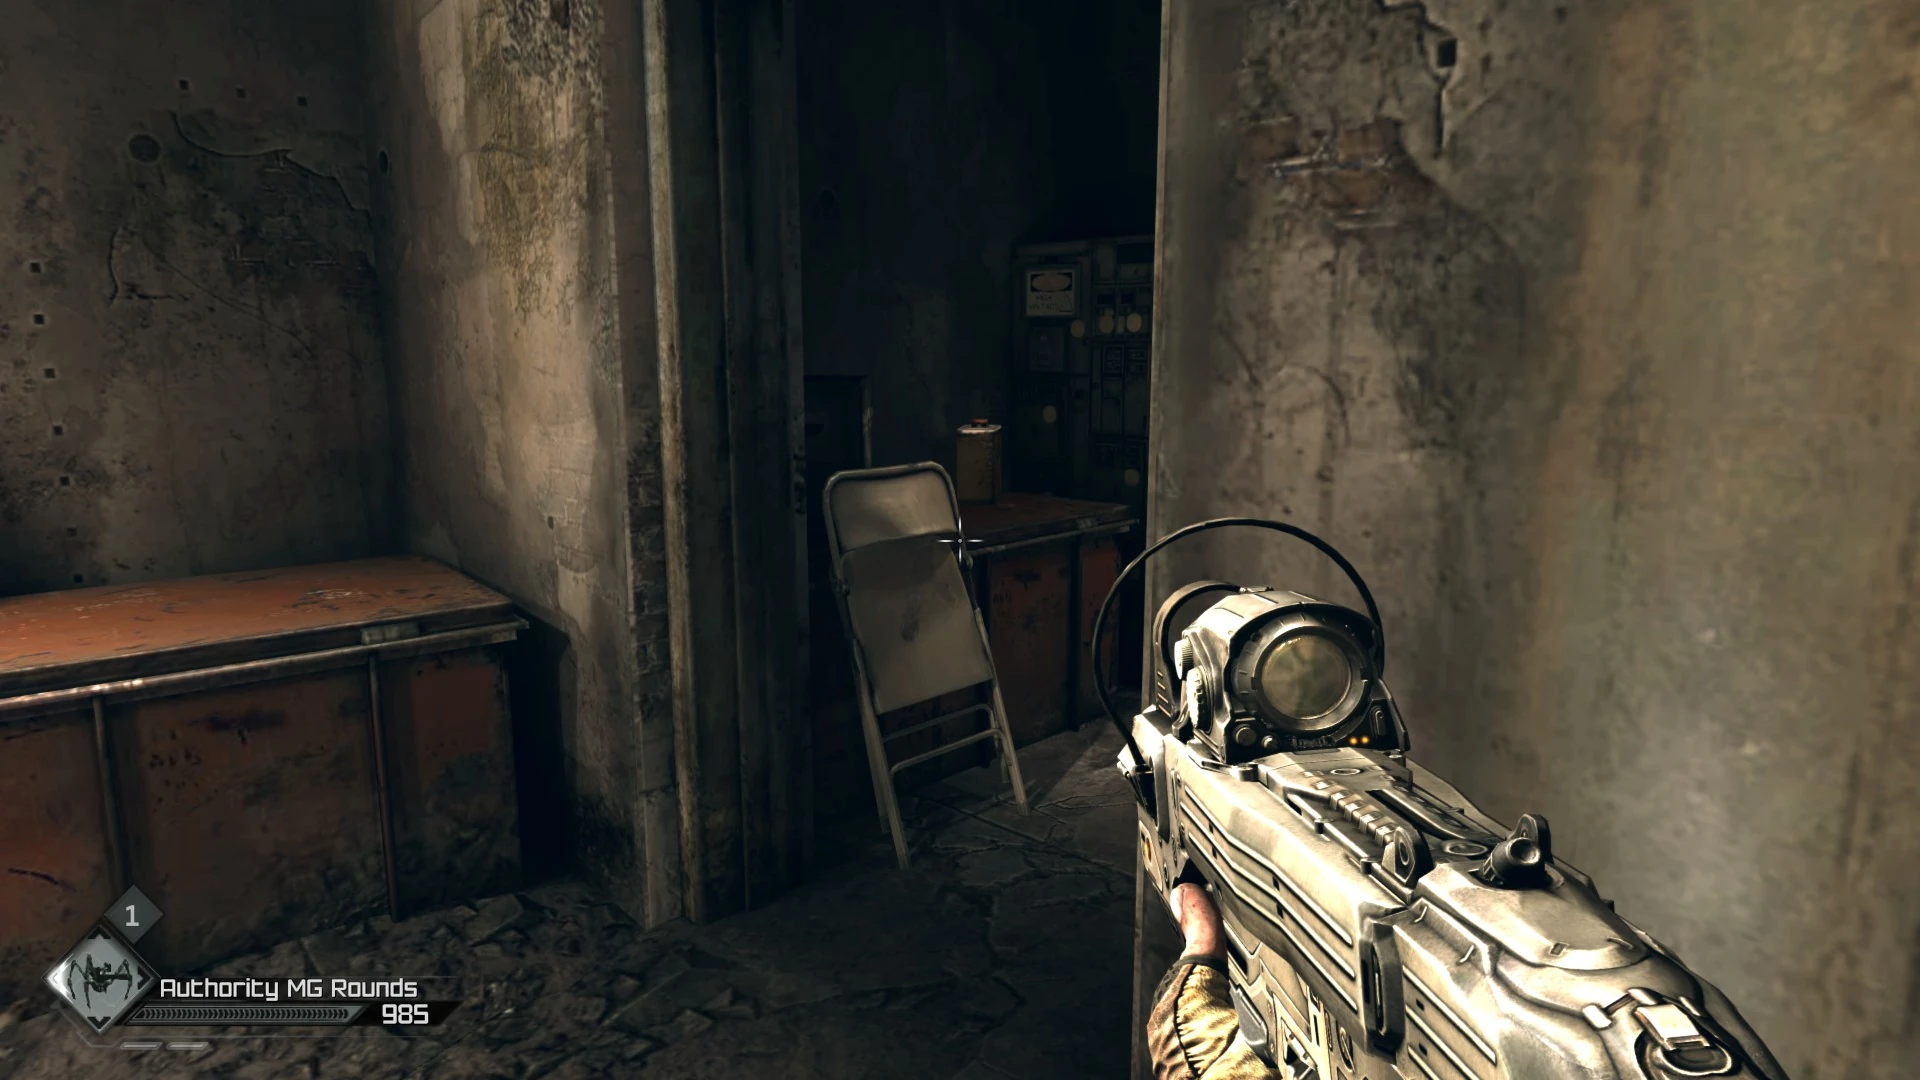
Once there, watch out for snipers and gunners on the wall. The rocks on the left of the road just prior to the prison are decent cover for sniping them right back. After they're dealt with, use the access card provided by Elizabeth on the green button to pass through the doors. Drop down through a hatch to reach the sewer entrance.
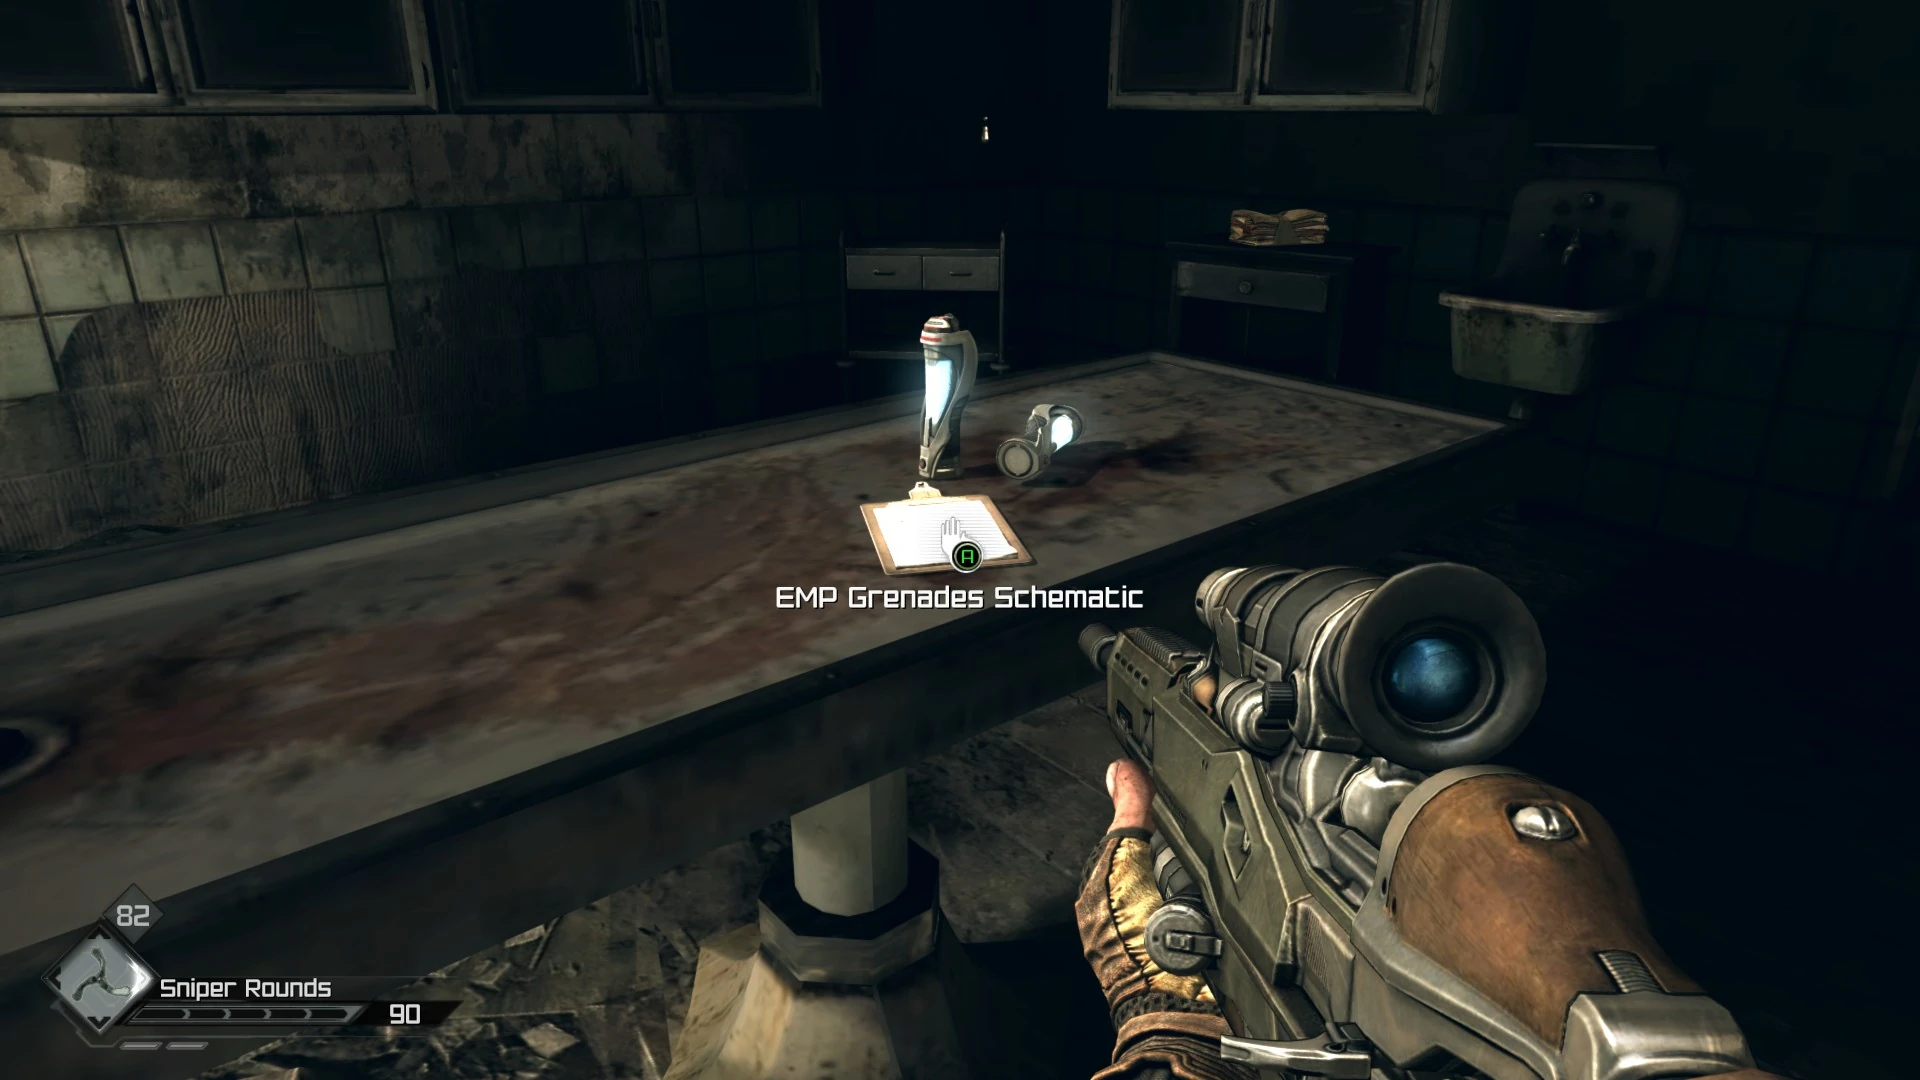
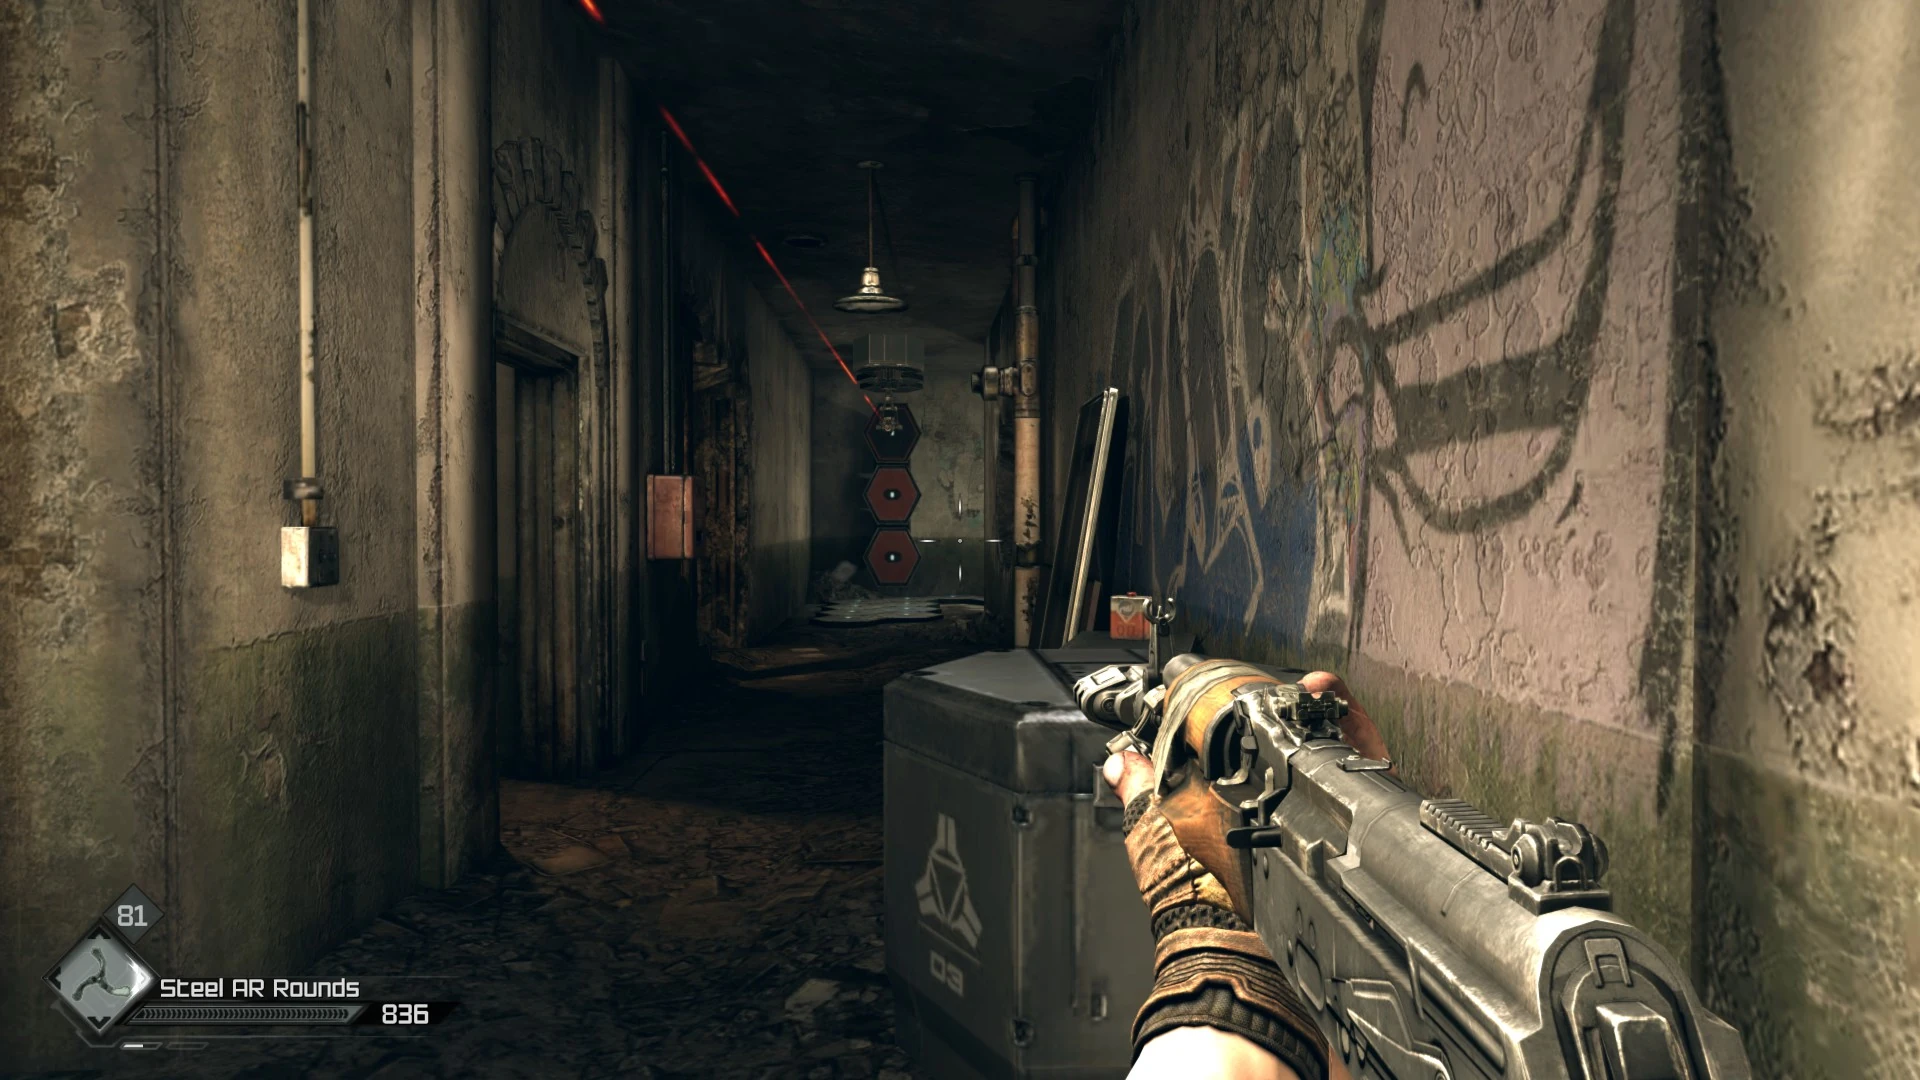
Once inside, ignore the Beer Bottles on the other side of the gap — they can be picked up easier on the way out. Instead, follow the path up the stairs and take a left to grab some ammo, ingredients and the EMP Grenades schematic, and cook a few up right now. Turn around and head back and through the door, following the corridor to a room with several glowing hexagonal panels.
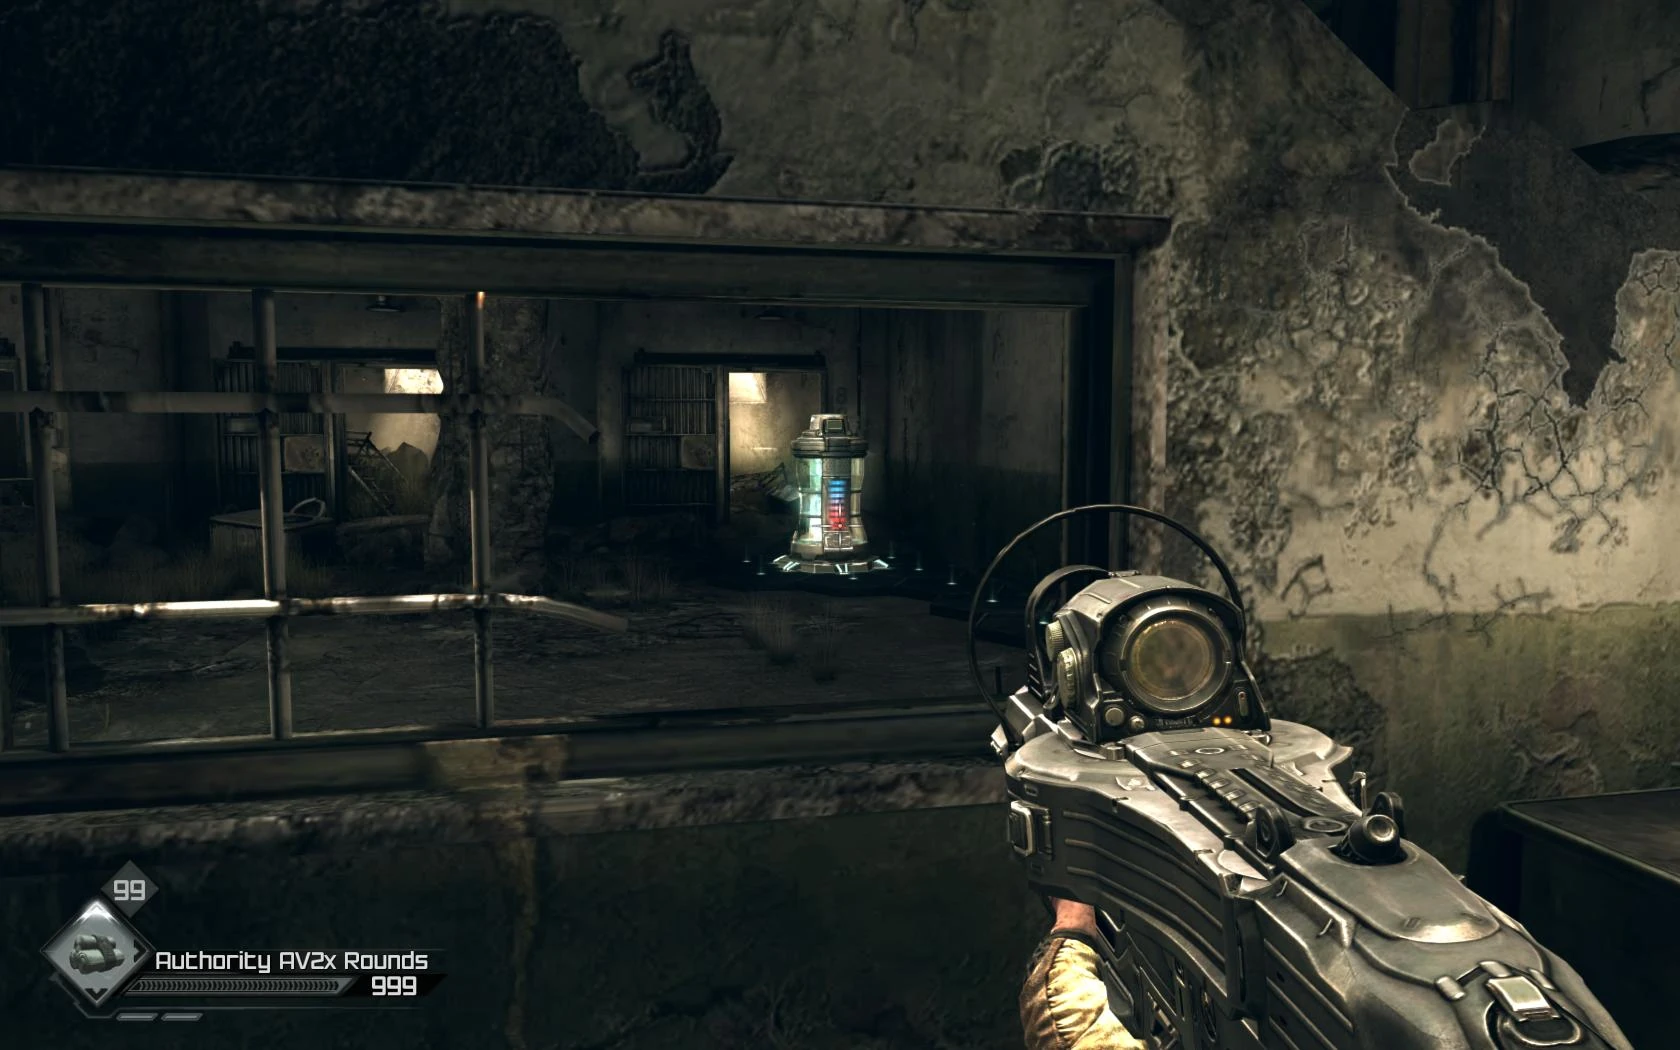
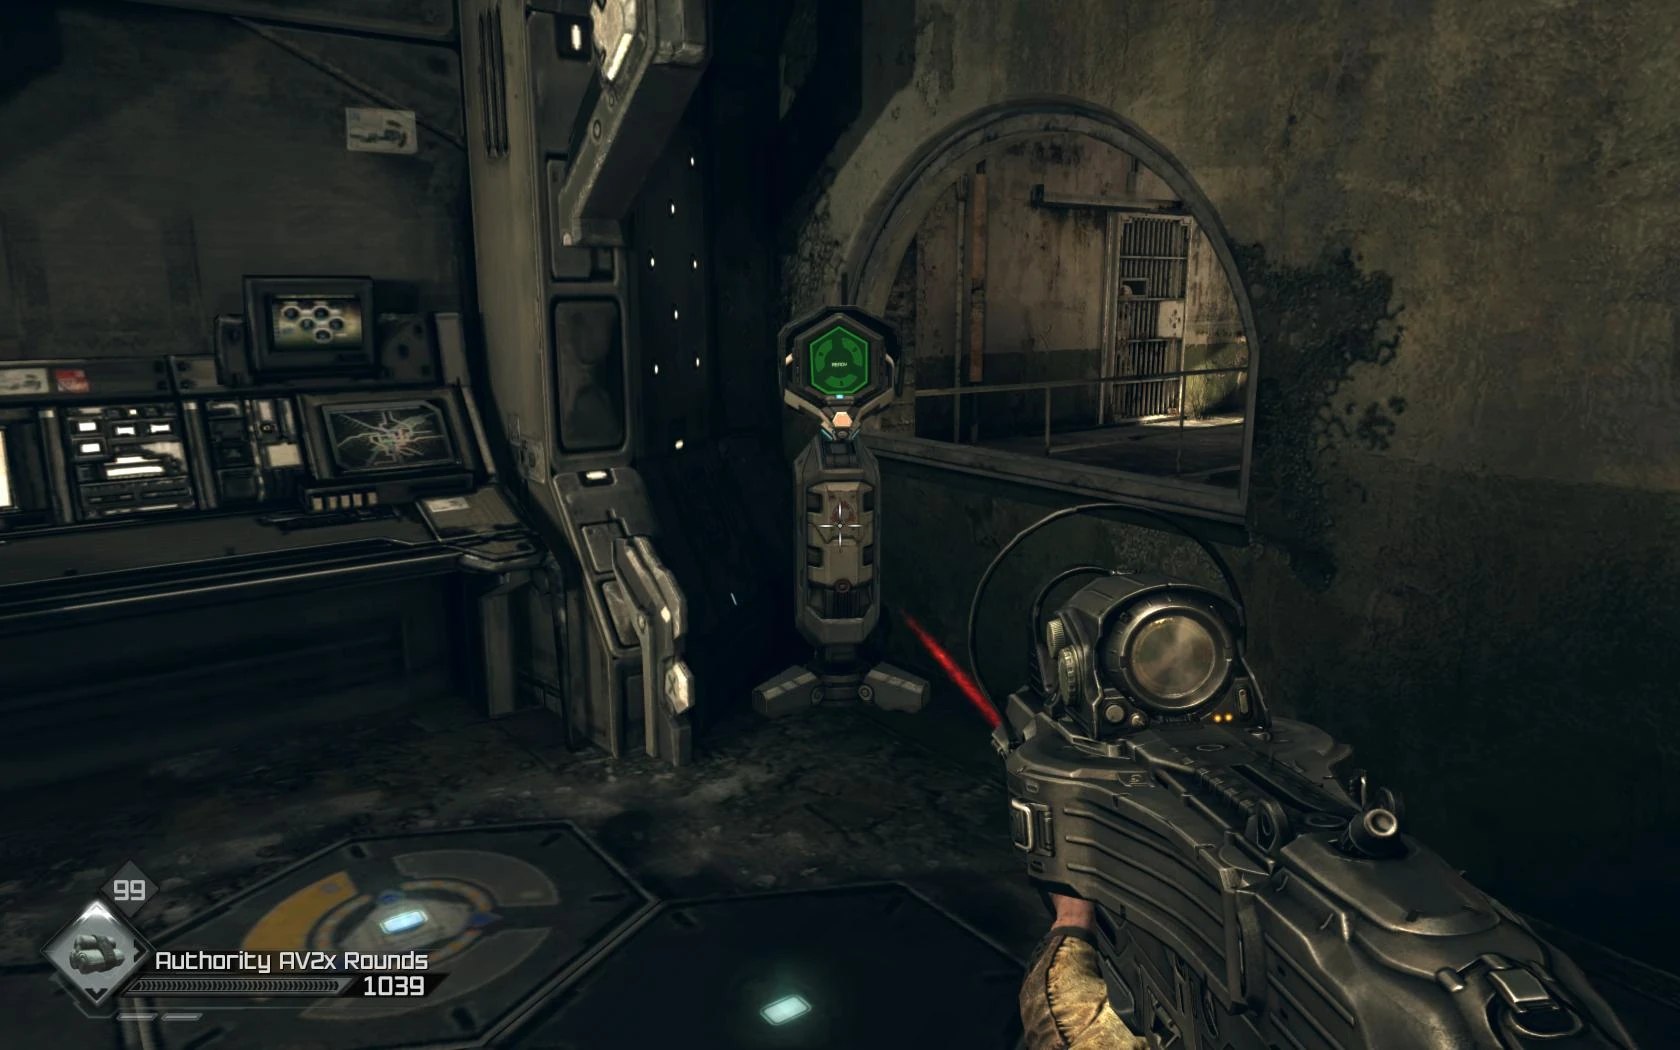
In the far right corner there is a tall, glowing cylinder with a colorful power meter. This is an Authority Mobile Generator unit, and they must be destroyed to disable laser grids, and farther ahead, turrets. A single EMP Grenade, or two Electro Bolts; or to conserve ammo, about ten melee whacks will disable it. Once it's disabled, proceed to the next room and grab the Power Supply card — it's just there on the right, along with a Hardware Packet. Crouch and watch for a guard up on the balcony. The guard's radio chatter can be overheard. Stealth him to prevent all hell breaking loose for a few seconds more, then take out the Power Supply. A Shield Guard will come investigating, at which point the alarms will blare. Dispatch him (EMP Grenades or Pulse Shot work well, or just shoot the unshielded shoulder), and from this point on feel free to go weapons hot since the Authority computer will announce, "threat level red" anyway. Head down the stairs and duck to pick up some ammo.
Proceeding through the newly powered-down laser grid, an Enforcer will crash through the door, backed up quickly by two more. If the player retreats after dispatching the first Enforcer, the other two will toss a steady stream of grenades at the laser grid area. In this case, wait for an explosion, crouch and look right while moving through the deactivated grid — it's fairly easy to pick off one of them before they both take cover this way. After those two are down, head into the room the first Enforcer opened. Grab the loot, then peer through the window and disable the Power Supply seen there to open the way forward. The player likely has a lot of Steel AR Rounds by this point, so why not use a clip of those and save the good stuff for things that shoot back? Placing a Sentry Turret in this room, aimed to shoot through the window will provide a support for the next firefight, and the wall should give it some cover.
Moving toward the next room, pick up some bottles and HE Grenades. Just prior to entering the next area a lot of dust begins swirling about, and players using controllers may experience vibration feedback. This is because a Dropship is about to rain 4-5 Authority guards — some using jetpacks. Shooting the jetpacks will cause them to explode,; killing the operator. A Shield Guard will come through the active laser grid ahead as well. If a Sentry Turret was setup in the prior room, at the very least it will effectively distract them, and possibly even take some down. Once the fighting subsides, disable the Power Supply at the back left of the room, and get the Water Purifier in the cell next to it. Head to the next area, where some ammo and grenades can be snagged.
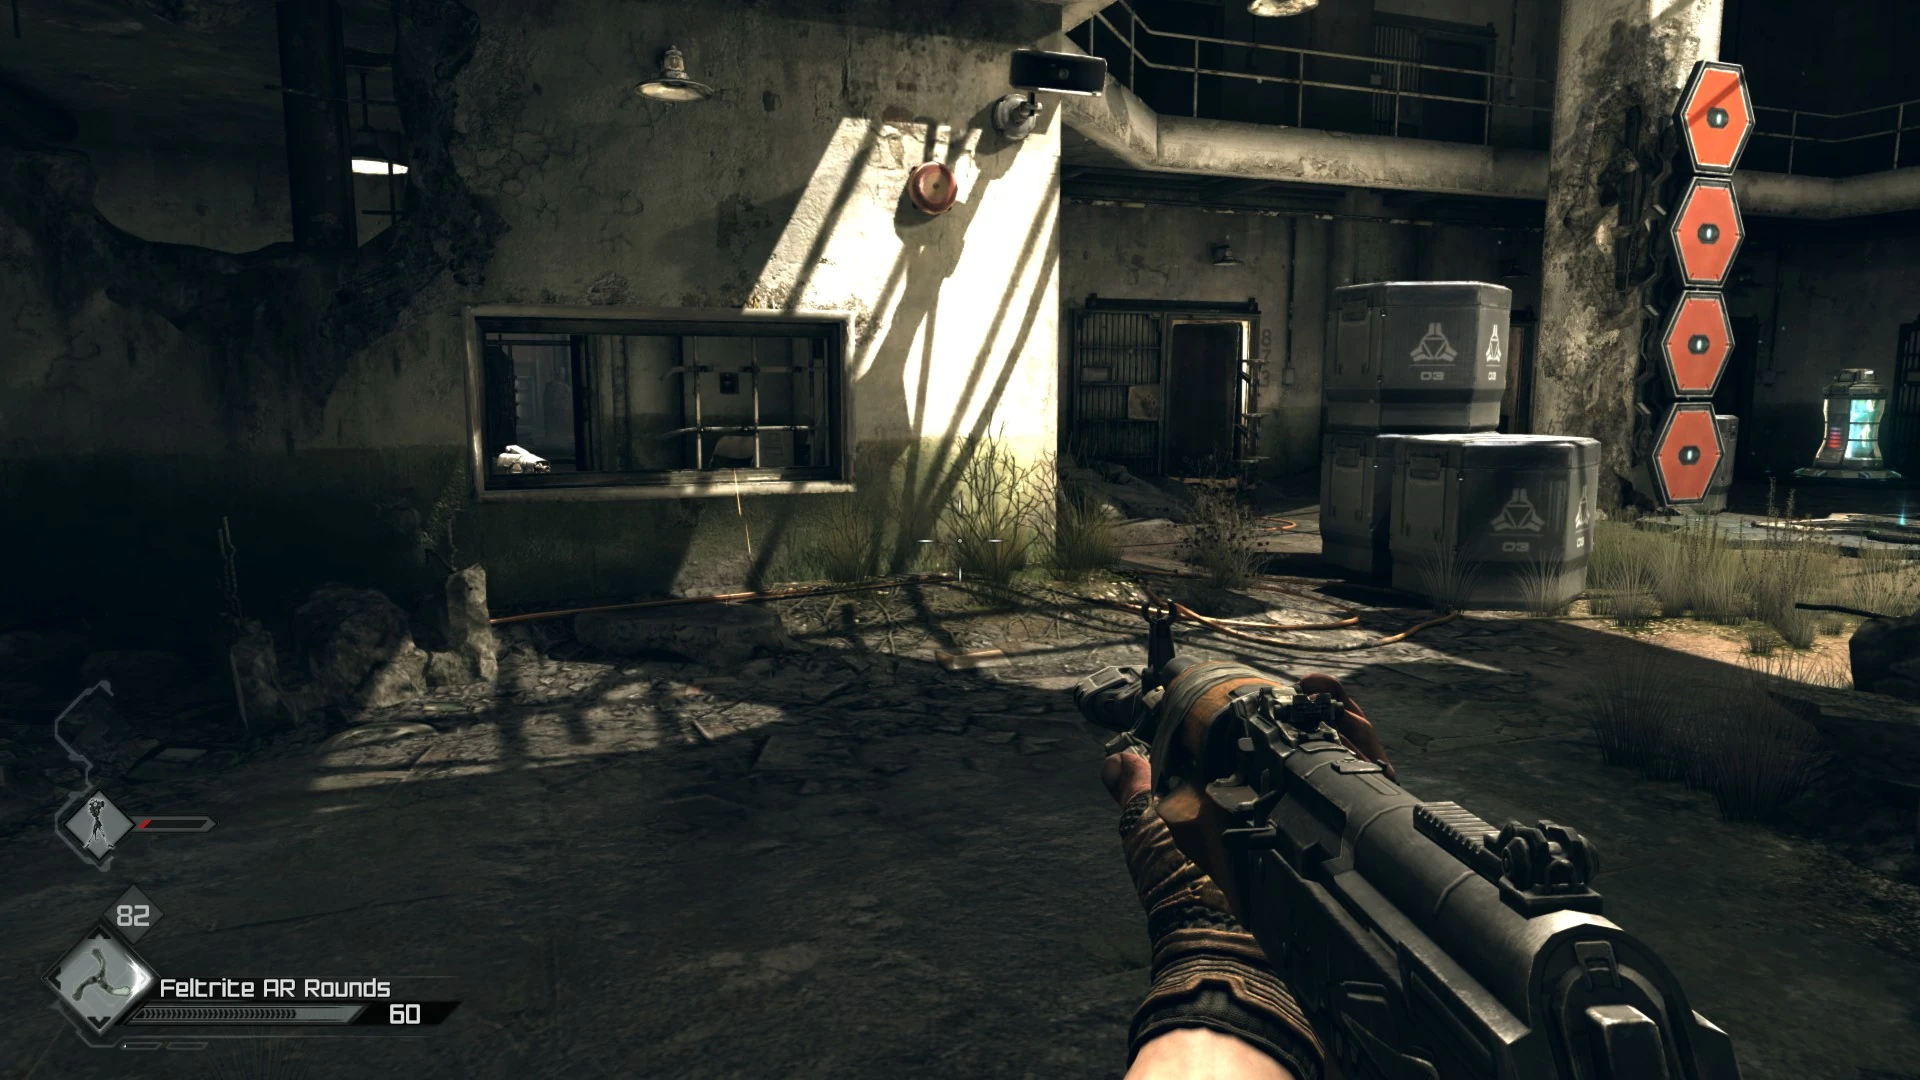
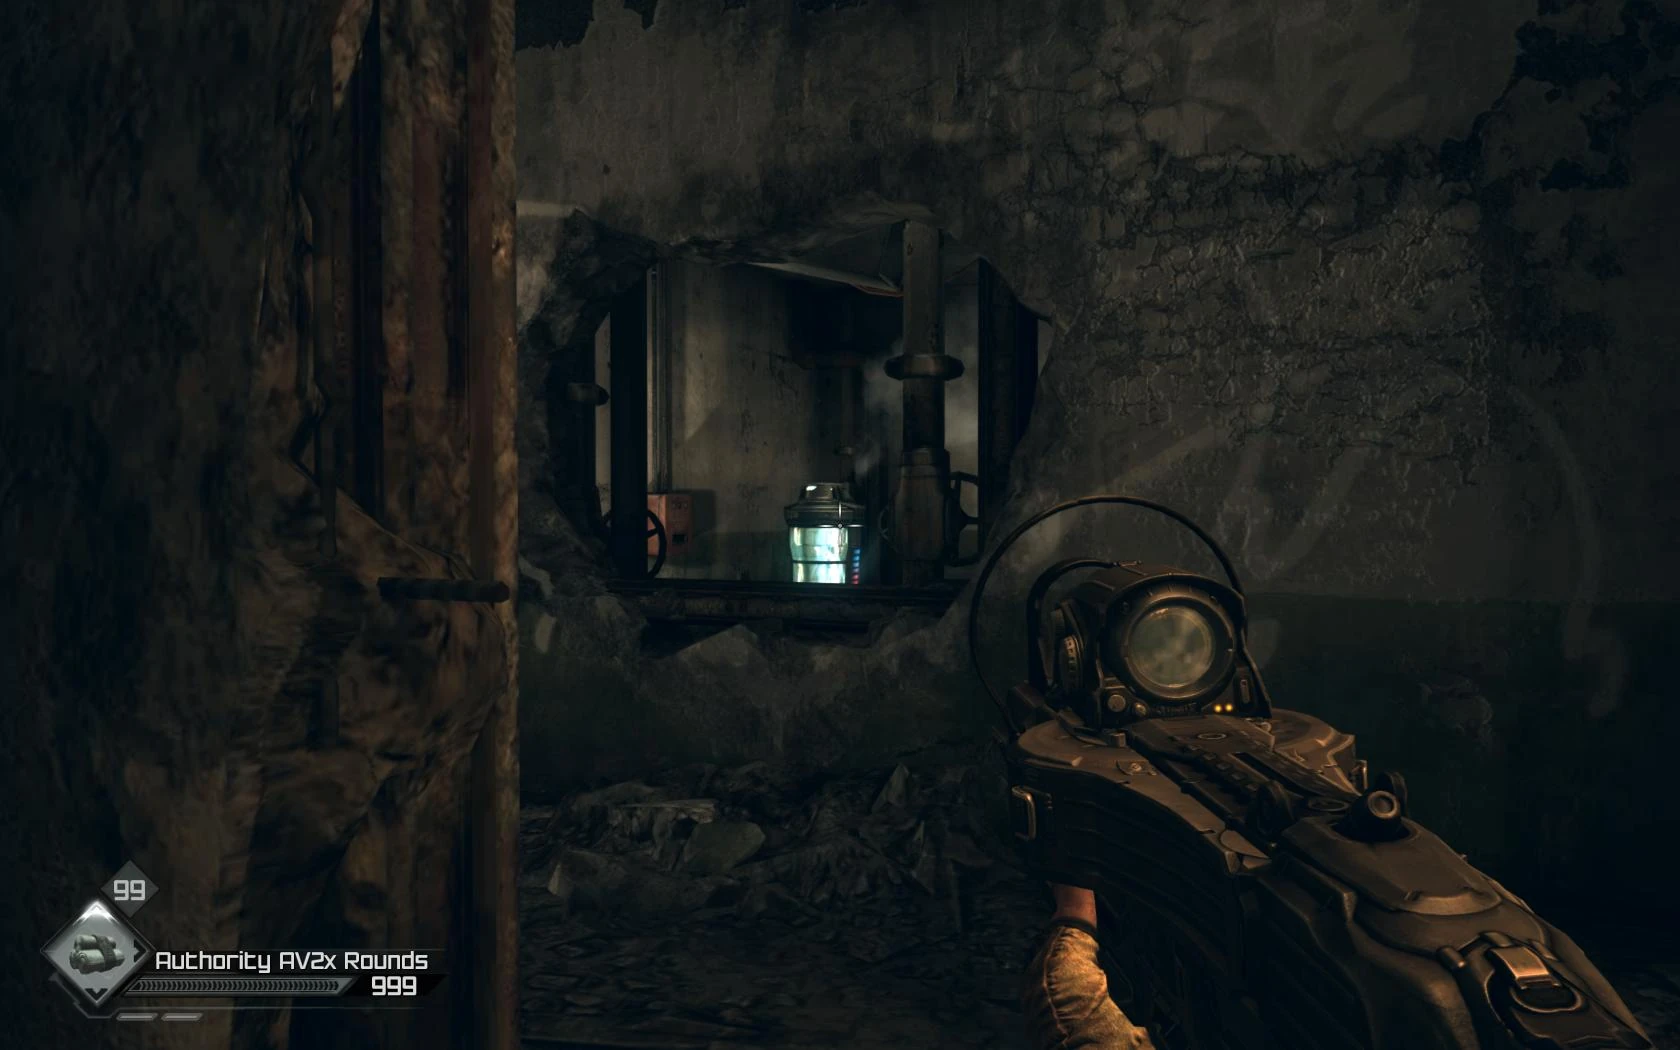
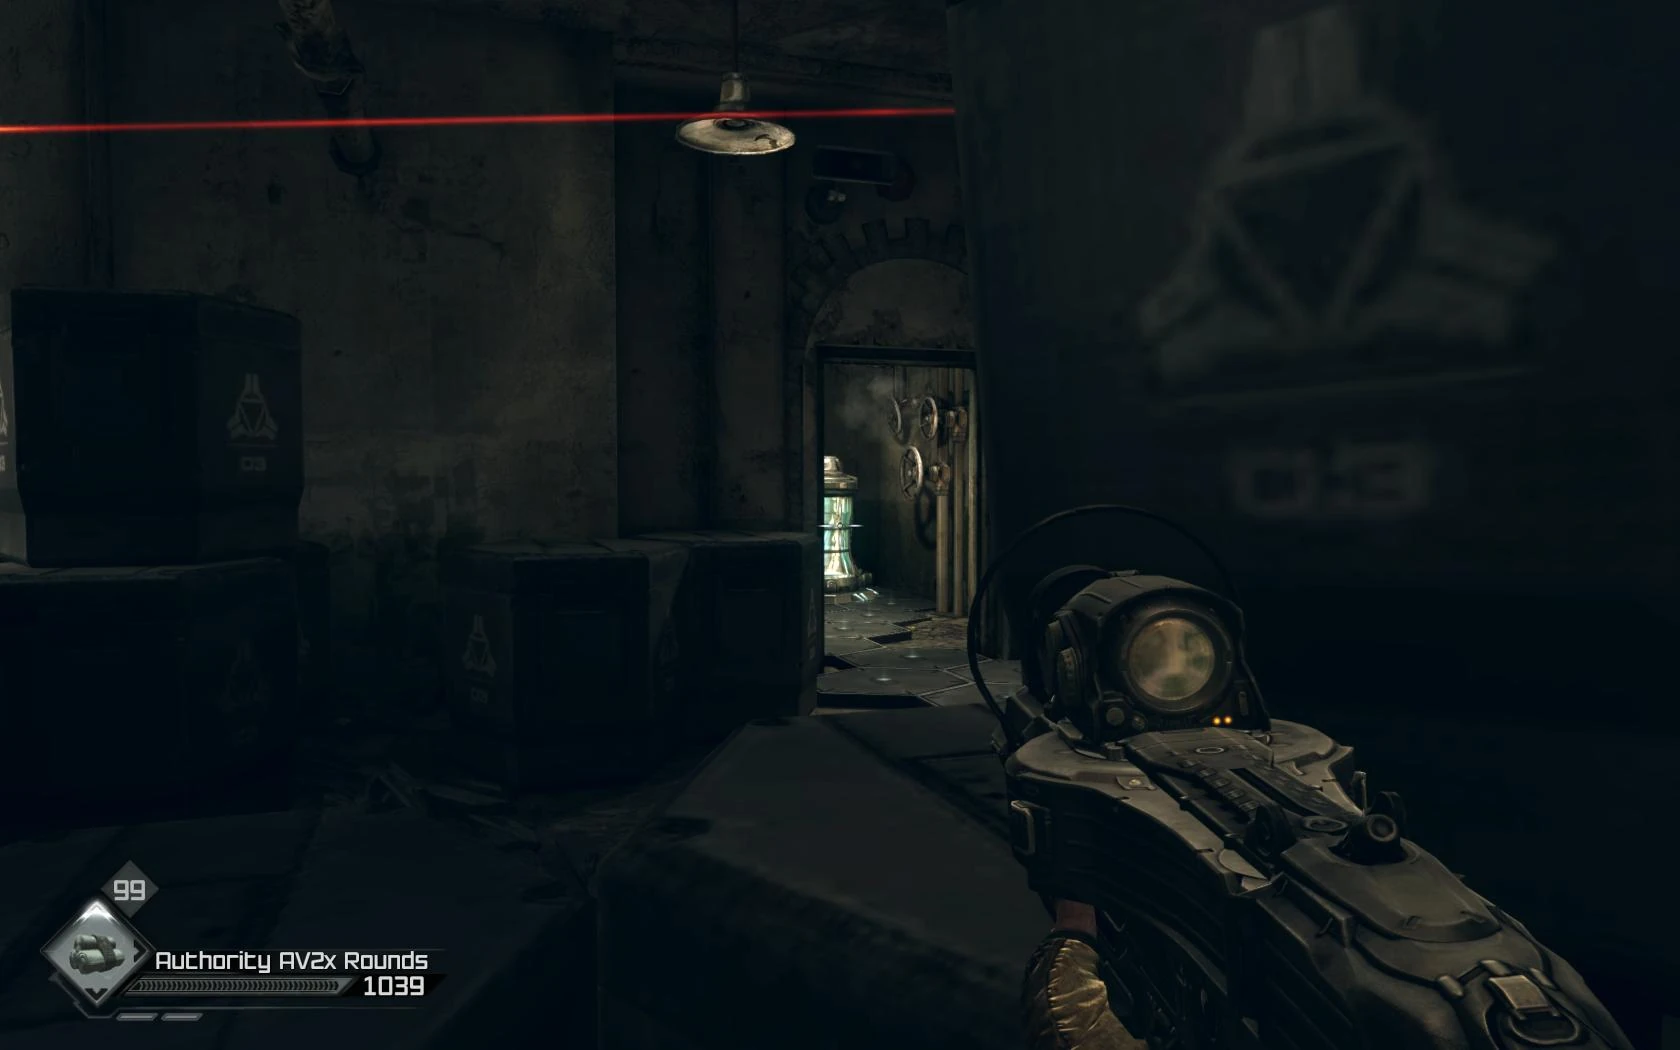
Keep going until entering a room where an announcement states, "Automated security systems online". That means turrets. The easiest way to permanently disable turrets is to take out their Power Supply, so peep through the window and blow it up. The player may also opt to toss a grenade at the turret, and get up close and personal with the Power Unit. Before moving on, be sure to get the Giant Mutant card, and other goodies found through a hole in the wall of this room (to the rear of the player when facing the window).
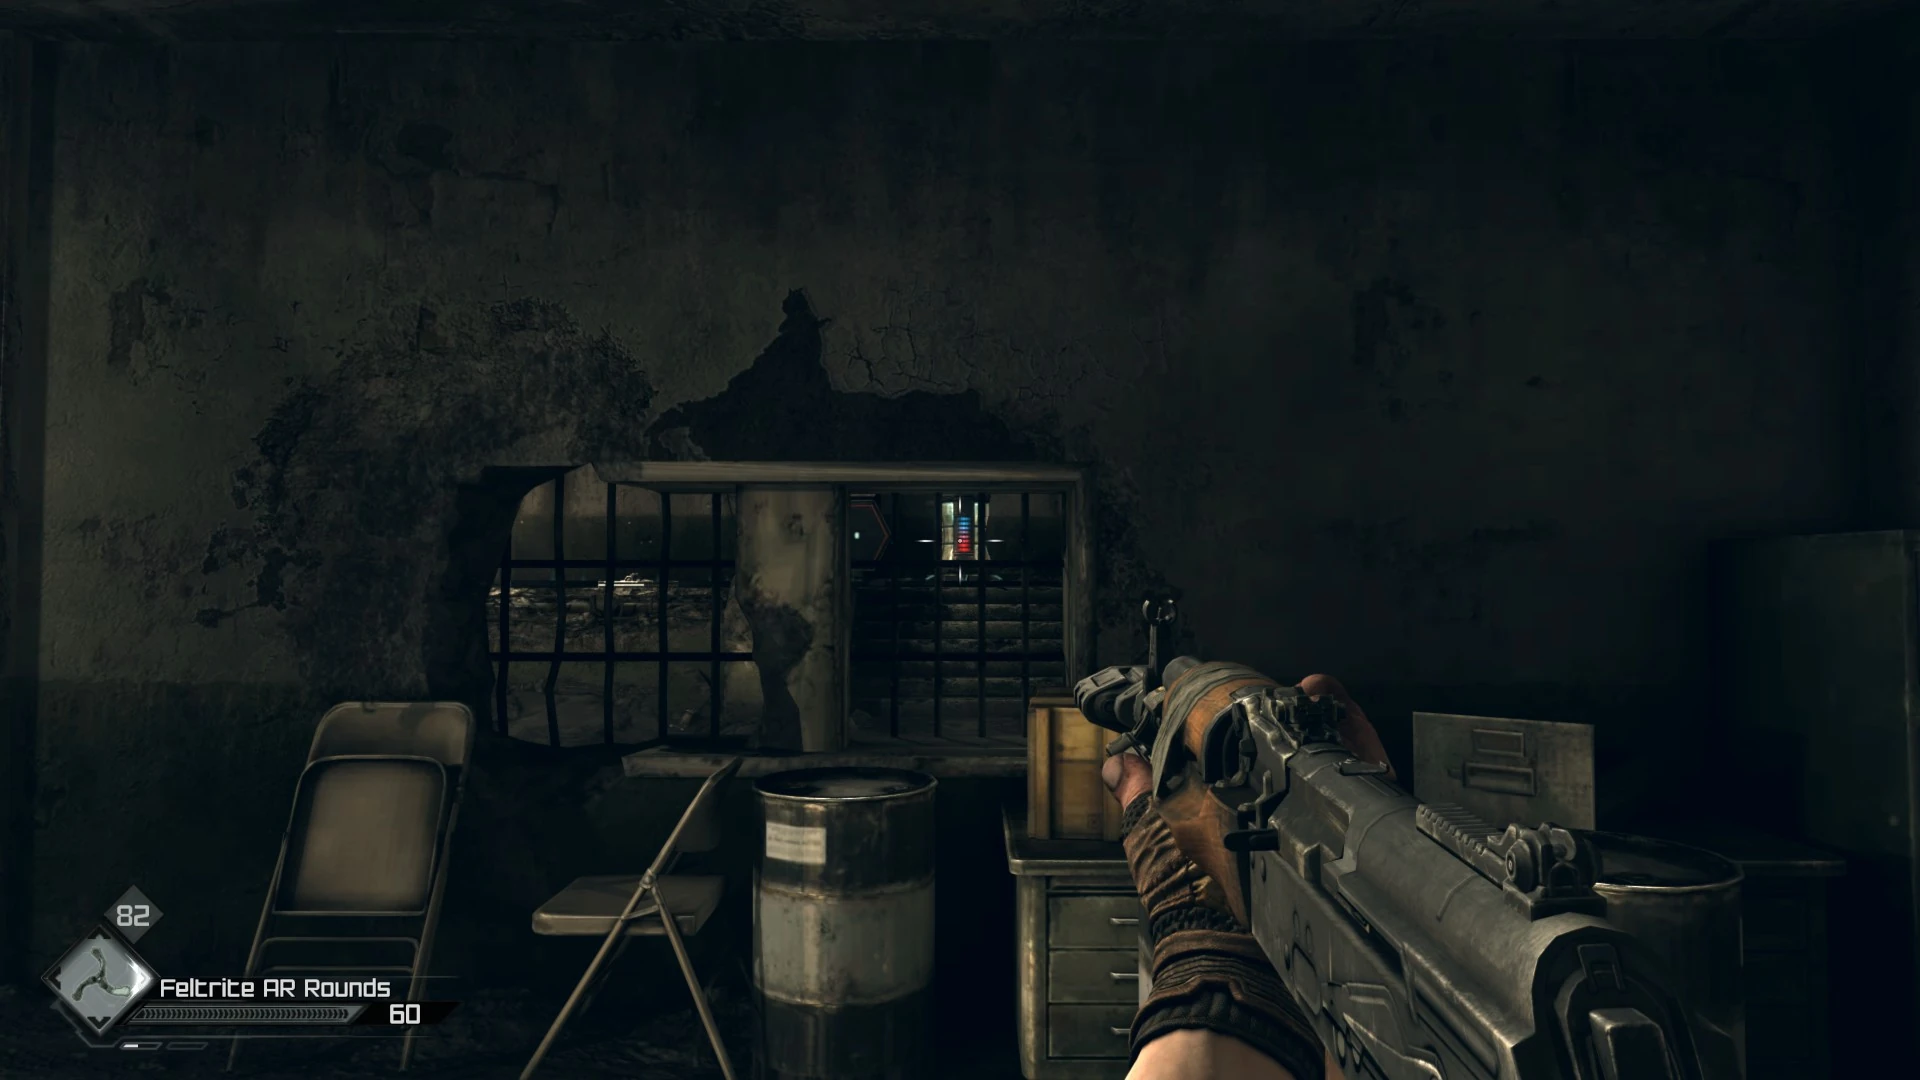
Head up the steps, and into the next corridor, where another Sentry Turret will open fire. Either disable it or sprint to the large hole in the wall on the left. Head forward a little, avoiding line of sight with the turret (watch for an Enforcer as well), and aim through a hole in the wall across the hall to take out the Power Supply in the next room. Once the turret is down, head around the corner into the next room, where yet another turret is activated.
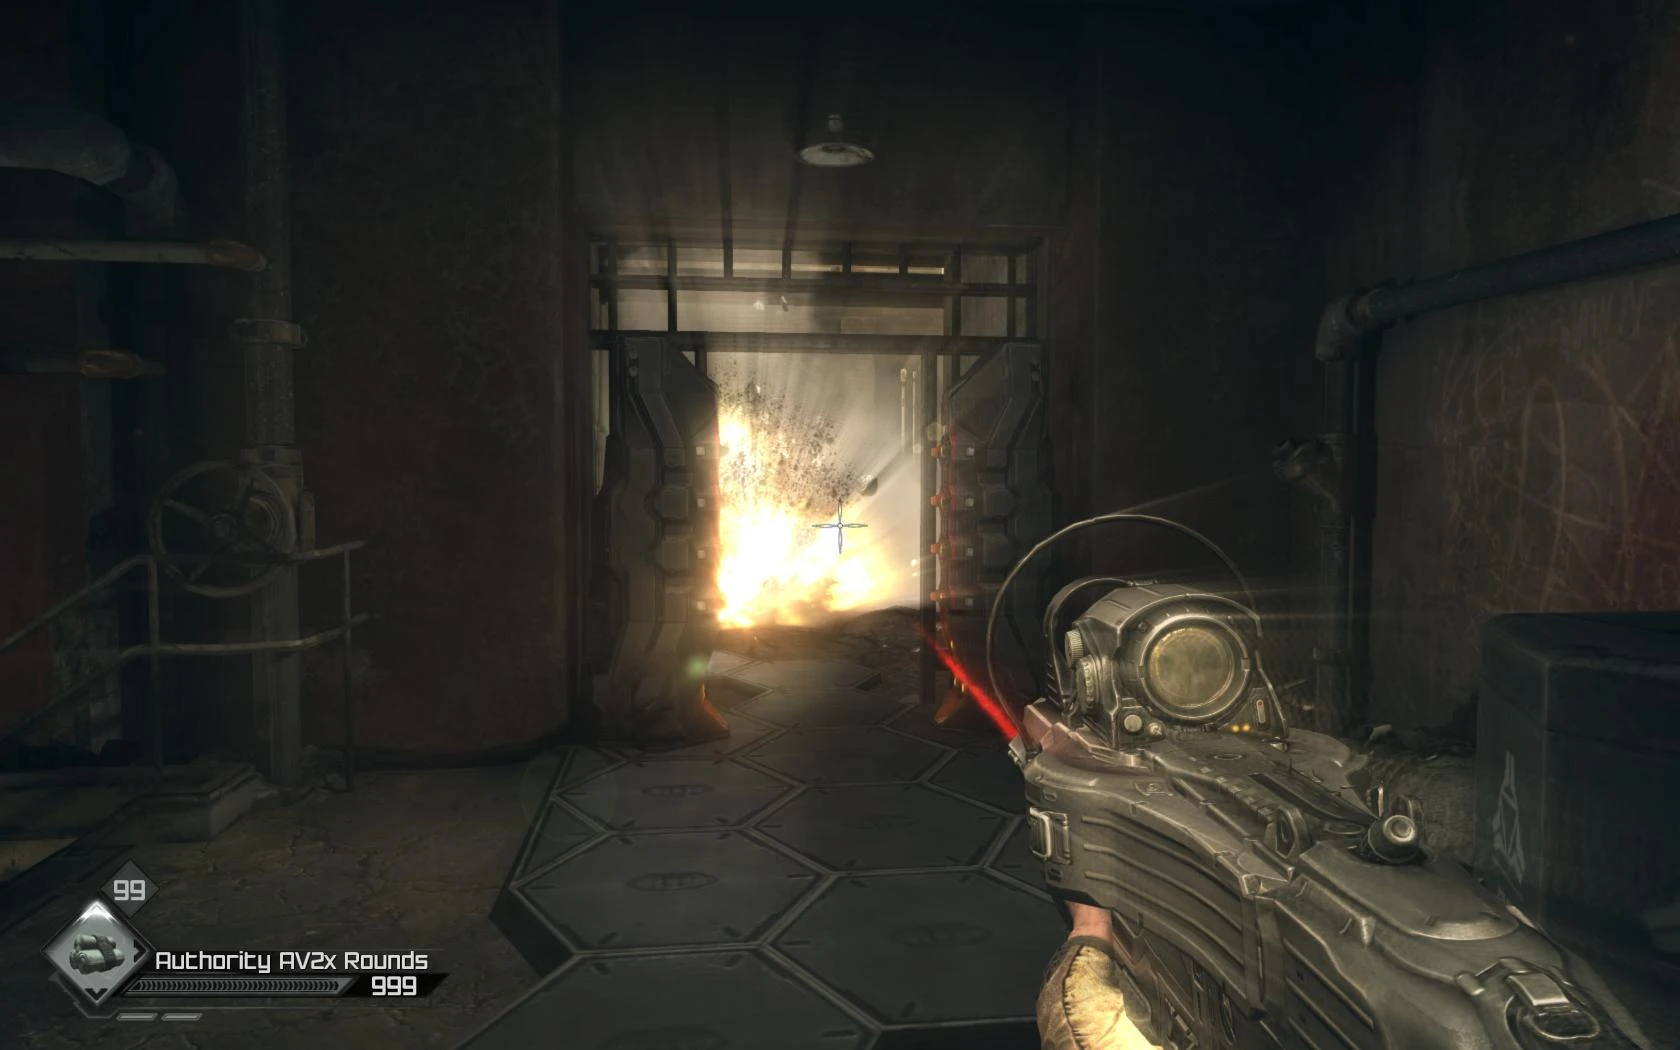
Using the crates for cover, advance until the Power Supply is in view through the door on the left, and shoot it out. Be careful if advancing into the next room before disabling the turret — there are Authority troops there and more nearby, and being shot from two sides at once is rarely fun. Also, don't miss the AV2x Rounds on the crates inside the turret room and some just outside the room as well.
When entering the next area, a handful of Authority will show up, including a Shield Guard. They'll be shooting from both high and low, and it's a fun place to play with Mind Control Bolts. Before moving on, grab the Paint Can near the steaming pipes (straight ahead as you enter through the metal fence), the ammo from the cell to the left, and then take down the next Power Supply.
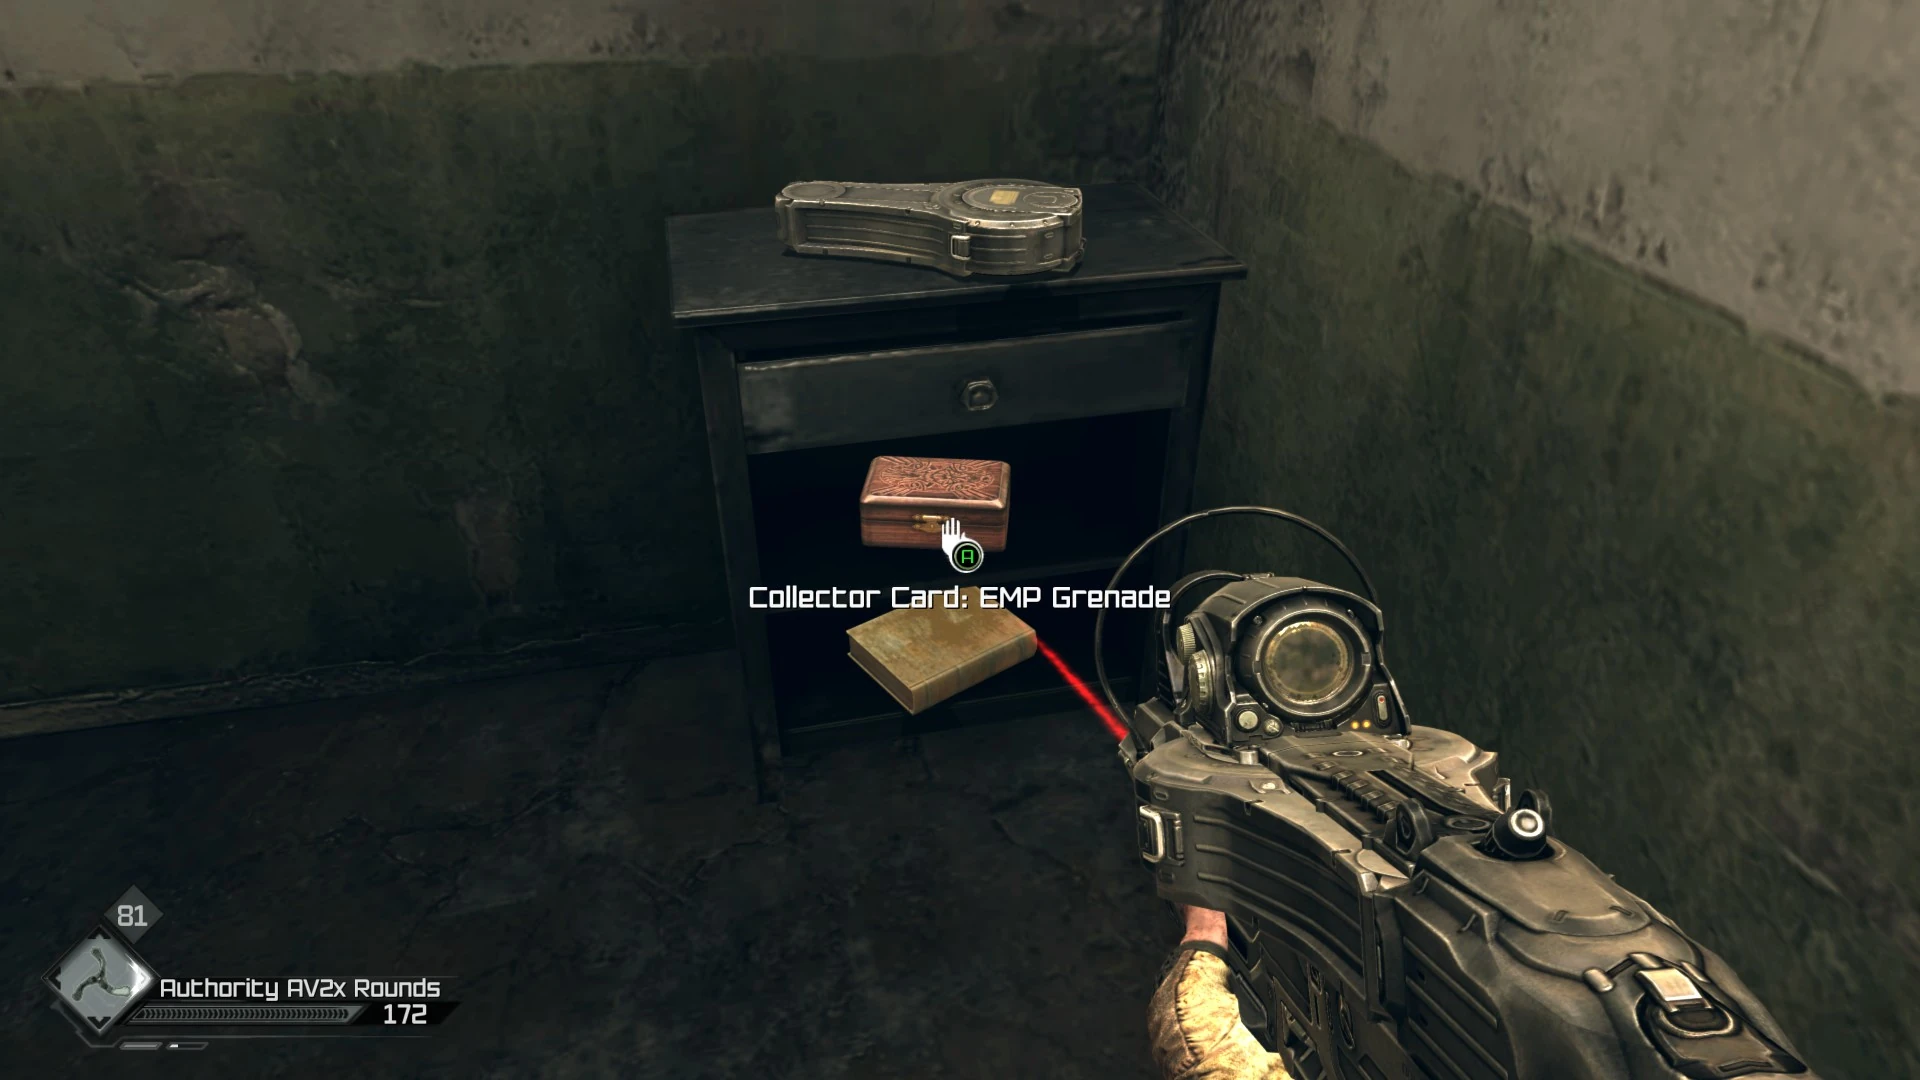
Go up two flights of steps to take a hard right into a small alcove to grab the EMP Grenade card and other goodies, then turn around and head toward the door for another firefight. The player is now safe to explore a big area where a bunch of loot is scattered about, including a set of Feltrite Crystals. If mutant growls are heard, not to worry, they're behind the upcoming grid, and safely locked away (for now) in holding cells; but more importantly, the eponymous Captain Marshall is also being held there.
Pause before pushing the green button to deactivate the grid and open the cells to eavesdrop on two Enforcers just beyond chatting about the security breach, and how they're "sure it's nothing". This gross incompetence deserves punishment, so lean through the window and shoot them both. The player could also opt to sponsor a match of mutants vs. Enforcers by pressing the green button then rewarding the victors with a quick end. Heading around then down there are some bolts, Hiking Boots, and bottles.
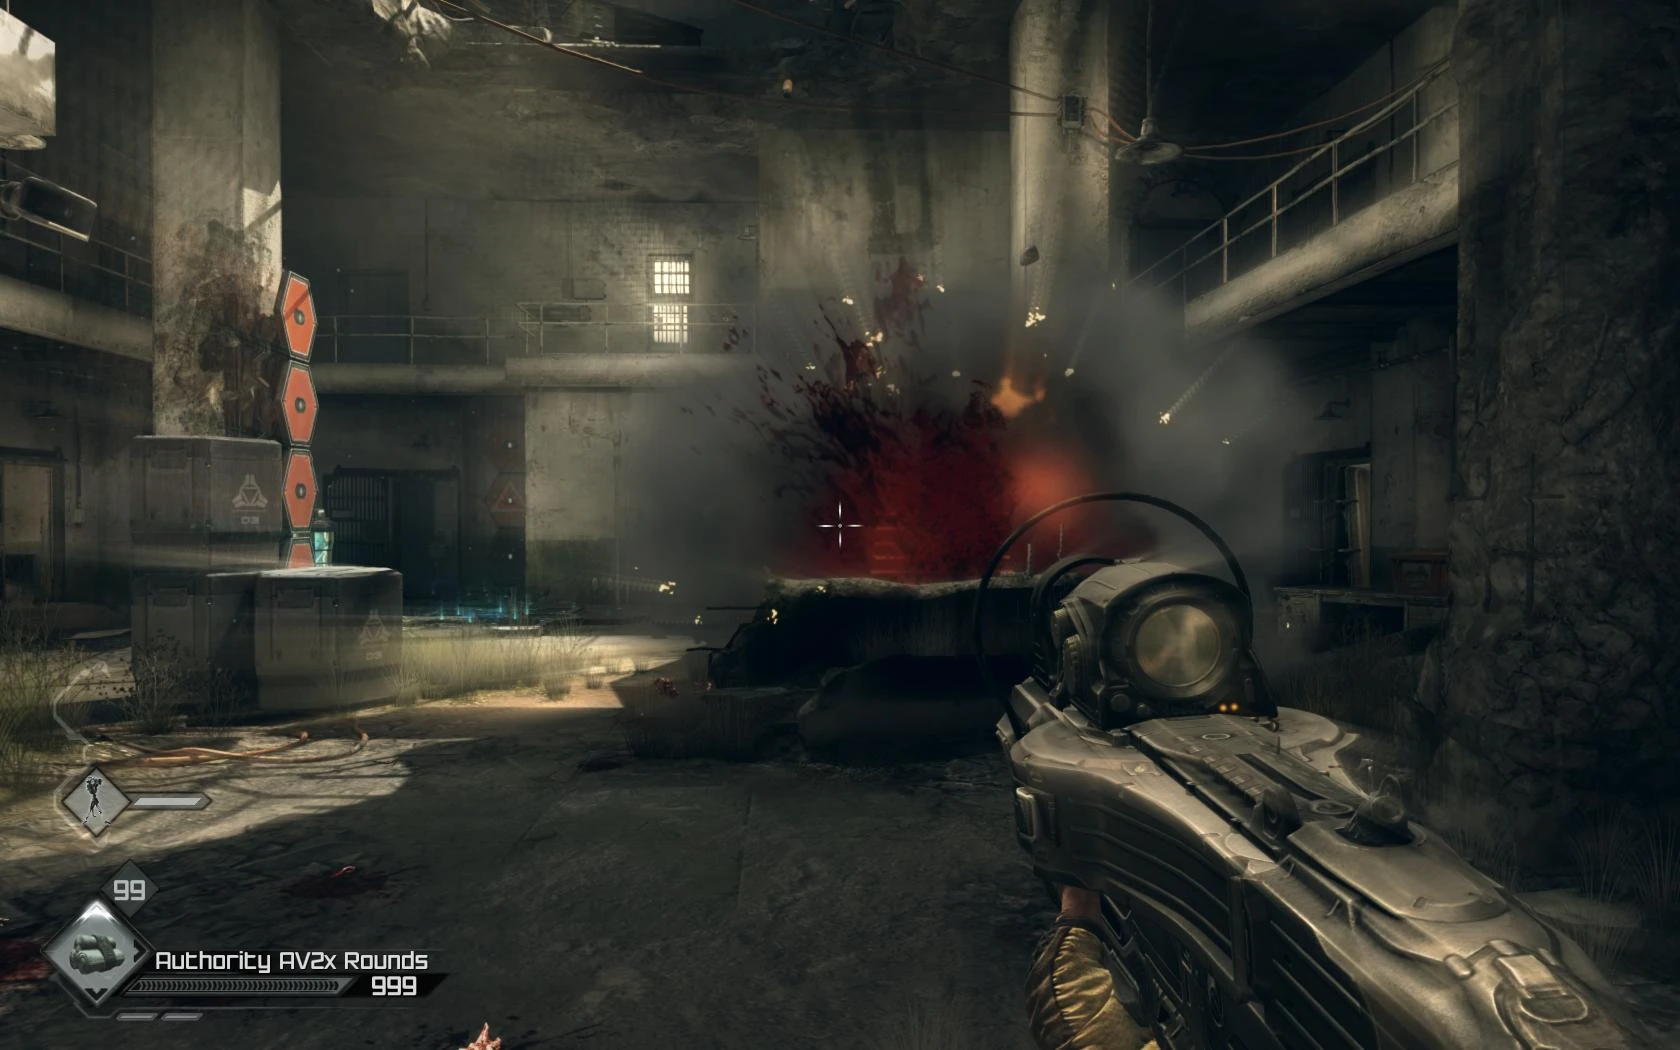
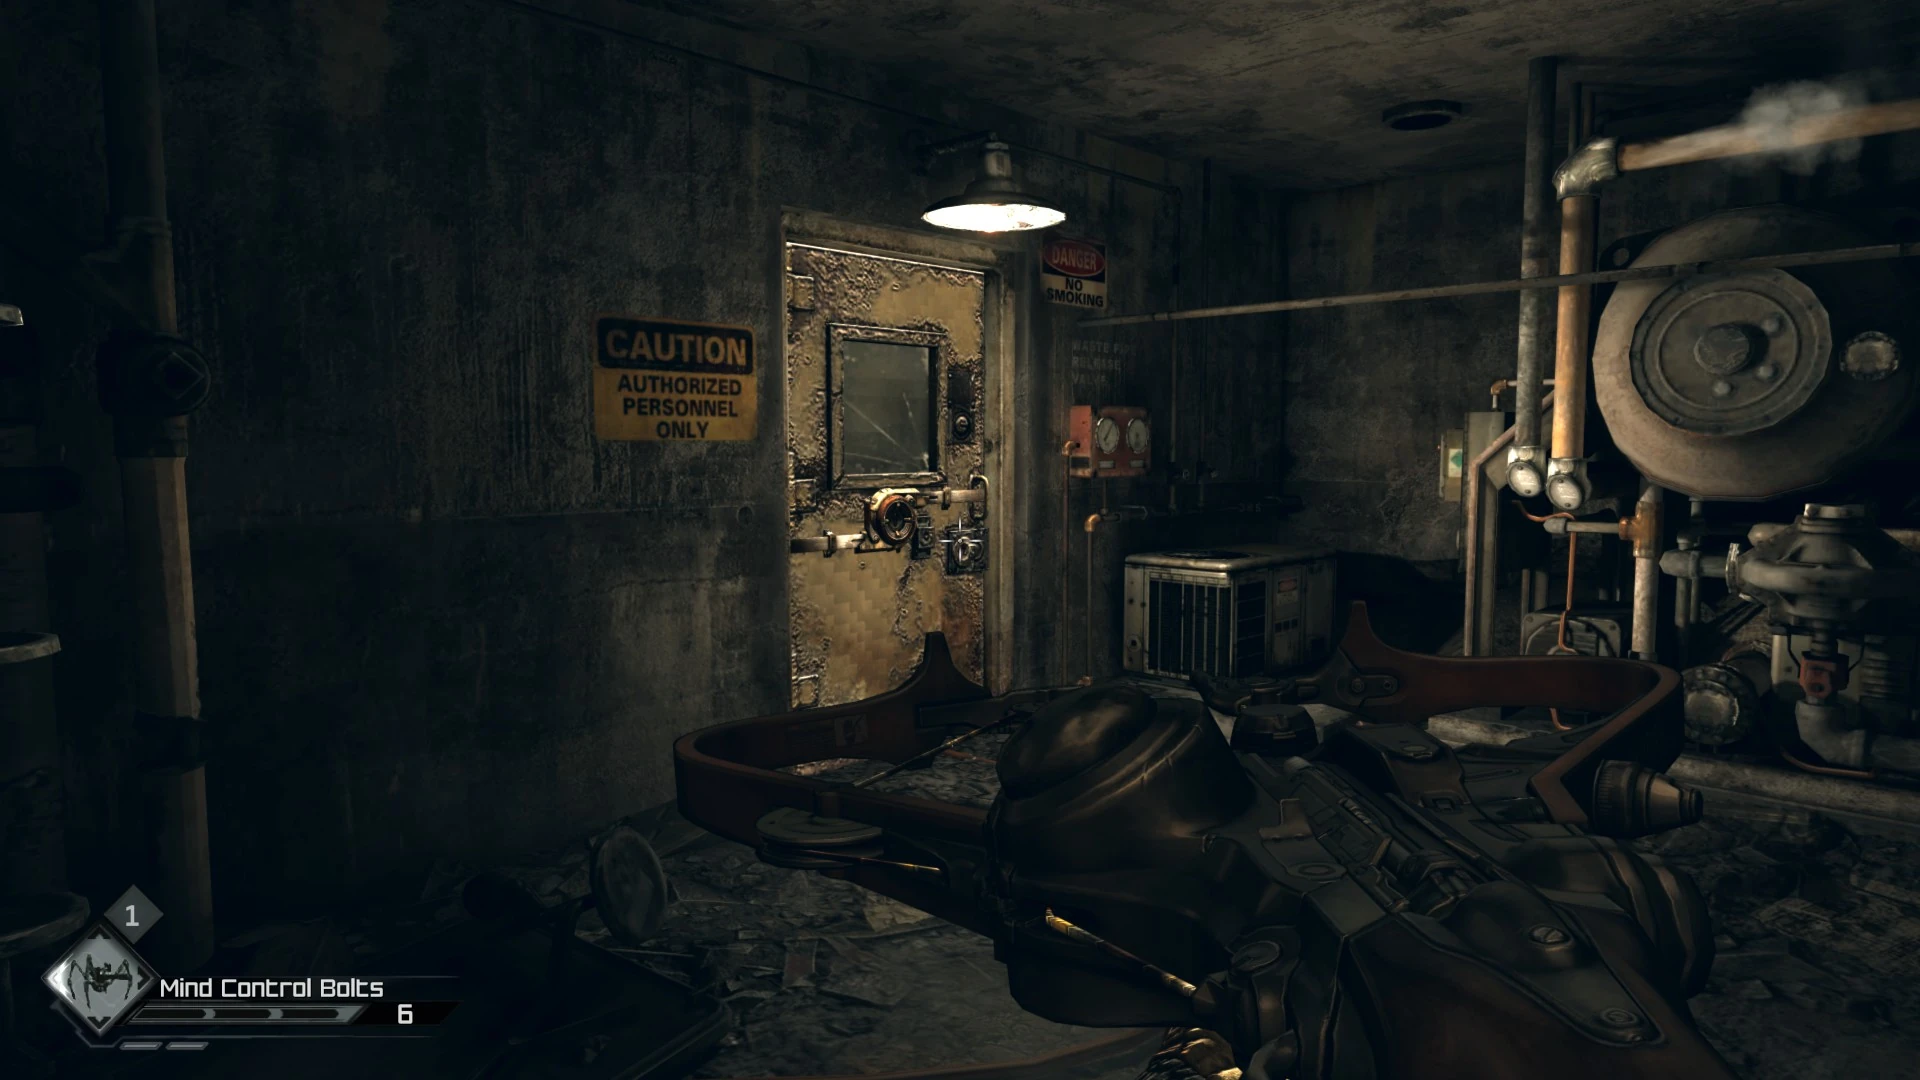
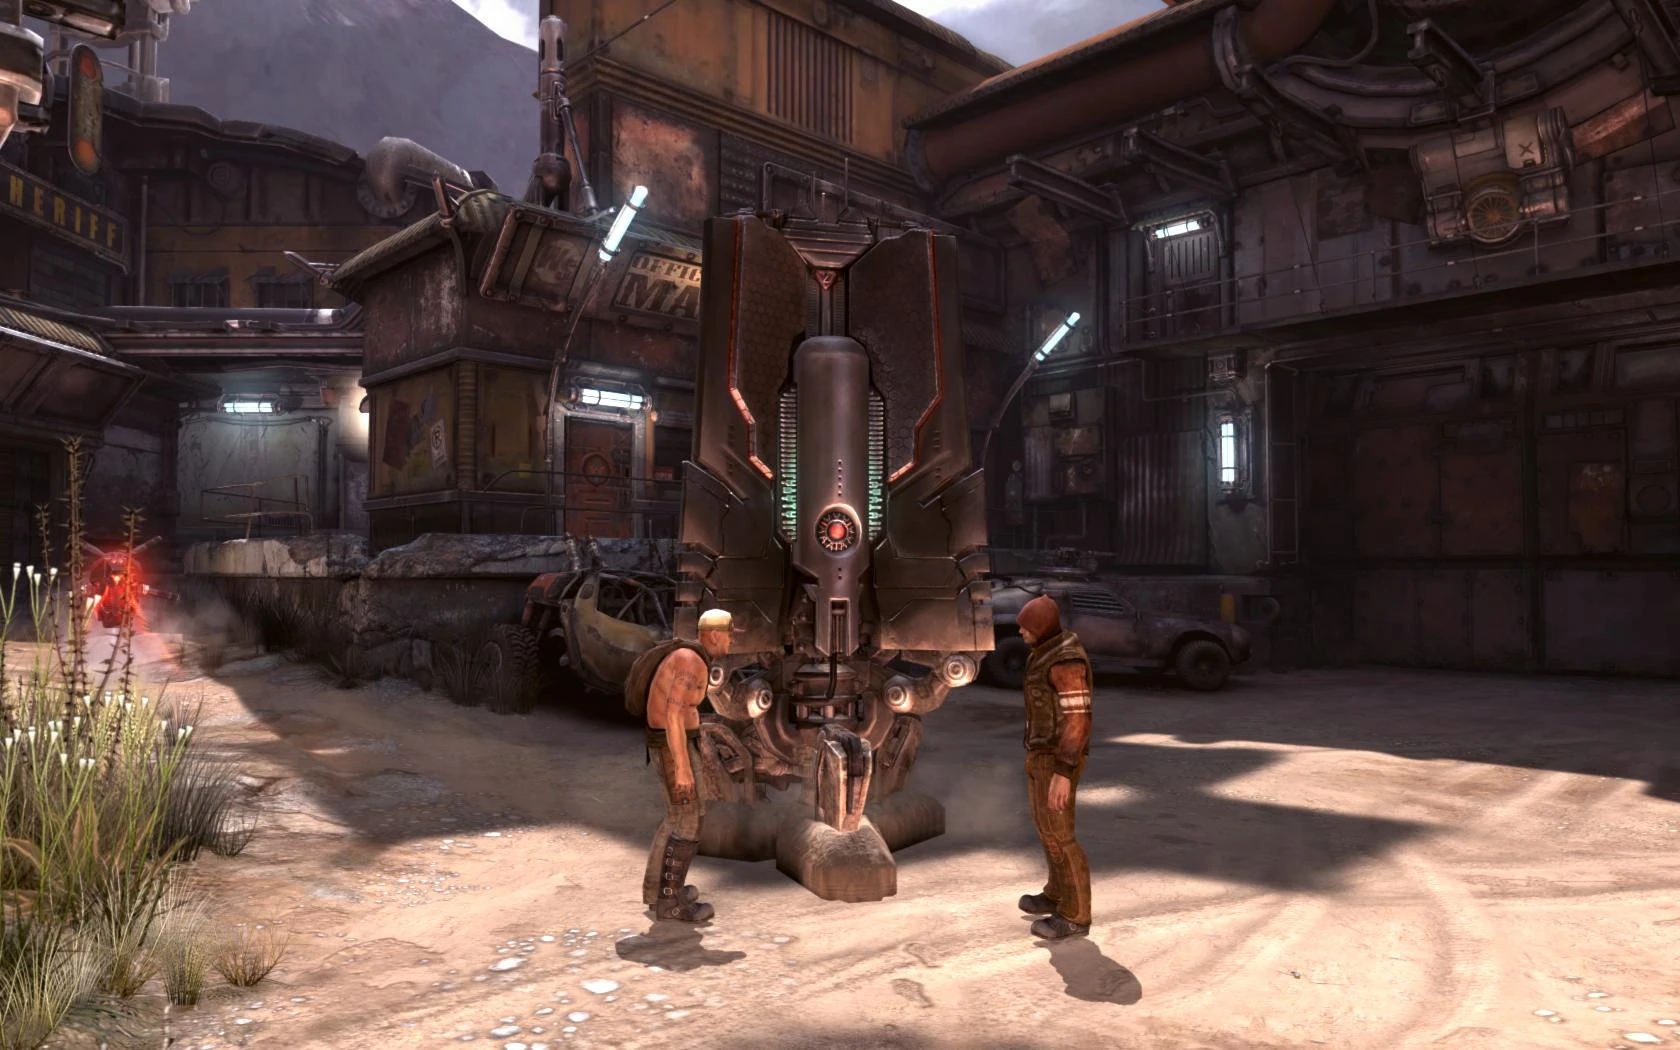
As the player enters the cell area, Captain Marshall will start yammering that he's "down here". His cell door is on a different system than the others, so head down and open it up. There's nothing in any of the cells, except a book in the one next to Marshall. Once he is free, he's going to fiddle with the computer there, leaving the player to contend with a swarm of Authority. Sentry Bots with Fat Mammas to the head can make quick work of them, or if the player doesn't care about looting the bodies, Dynamite or Mind Control Bolts as well as RC Bomb Cars will yield explosive results.
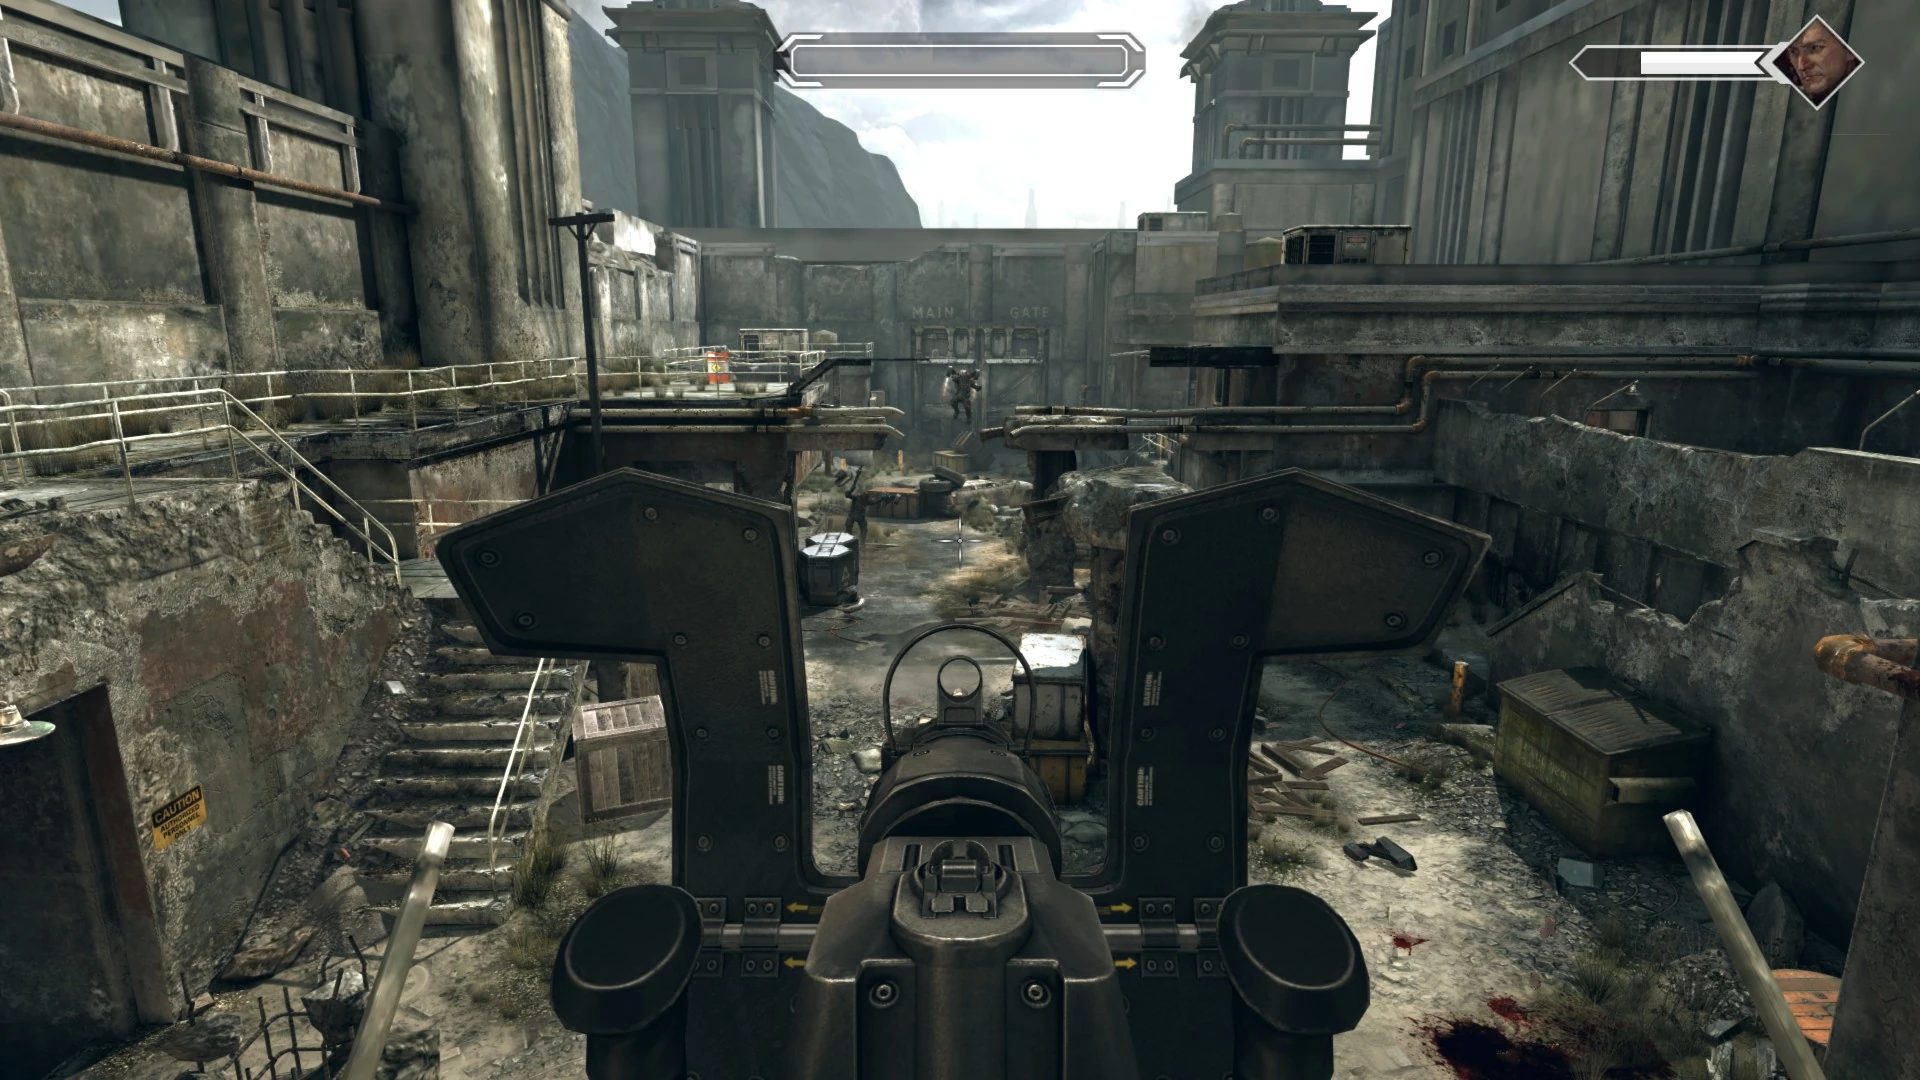
Once the way is clear, grab the Dropship card from the box where Captain Marshall gets his weapon, loot the bodies, and then follow him down the stairs. Take a left to the locked door, where there are Feltrite Crystals, Wingsticks, and the John Marshall card, then head back and follow him through into the courtyard (stopping to grab ammo and goodies). There the player and Captain Marshall will face a large number of Authority, with one or more of them taking turns operating a turret up high at the end of courtyard. Once they're clear, loot the bodies and grab the ammo in a few places downstairs, as well as grenades and parts on the upper level in the corner opposite the entrance point. Once collections are complete, stop by the top of the stairs across from Marshall to take out the Power Supply that can be seen through the door to the left. Grab the ammo on the right, then move through the newly opened area, past the turret to the other side, and press the green button allowing John Marshall through. Be prepared for another battle once he's through, and of course, with no help from him as he fiddles with the escape door.
A Dropship will arrive bringing two groups of new playmates. Use the turret provided to take these guys out, whether or not they are still in the air will not matter as it will still kill them quickly. The turret can be very useful, depending on the player's ability to aim quickly and accurately — make sure to tap the trigger to avoid overheating. Once playtime is finished, head over to Marshall, who will (finally) blow the door. Shortly thereafter the player and Capt. Marshall will be forced to part ways. The player will be confronted by one more Authority bursting through the door. The Shield Guard card and an Oil Can are to the right. Continue toward the exit remembering to pick up the Beer Bottles seen at the start of the quest. Just behind them are some Pinkies, hop on the crate and look at the open crate behind it.
Head back to Wellspring to complete the mission. Once there, you'll see that the Authority stepped into town. Mayor Clayton will disappear from his office, Spector and Coffer's Sentry Bot are missing too, likely because of the Authority's attempts at trying to subdue the town. Anyway, head to the local Resistance Base to pick up the Elizabeth Cadence card, complete the mission and receive the mini quest "Talk to Captain Marshall".
Notes[]
- When you return to Wellspring pulse slugs and EMP Grenades will be available at the "Outfitters".
- At this point, the mission "The Exchange" will be available from the town Job Board.
- Completing the Authority Prison in the Campaign gets you the Achievement/Trophy "Jail Break".
- Every Collector Card picked up counts towards getting the Achievement/Trophy "Gotta Have 'em All".
- Killing three or more enemies with a single mind controlled enemy gets you the Achievement/Trophy "Hat Trick".
Glitches[]
- After assisting John Marshall in the courtyard and destroying the generator to open up the security gate he would not progress through to open up the next door.
- If one stays out of the vehicle while under fire from a bandit car, the protagonist may be permanently thrown up in the air above the map.