"Defibrillator Upgrade" is a quest in RAGE given to the protagonist by Antonin Kvasir in the Kvasir's Lab. It is available after making some progress in the quest "Feltrite Sample".
Summary[]
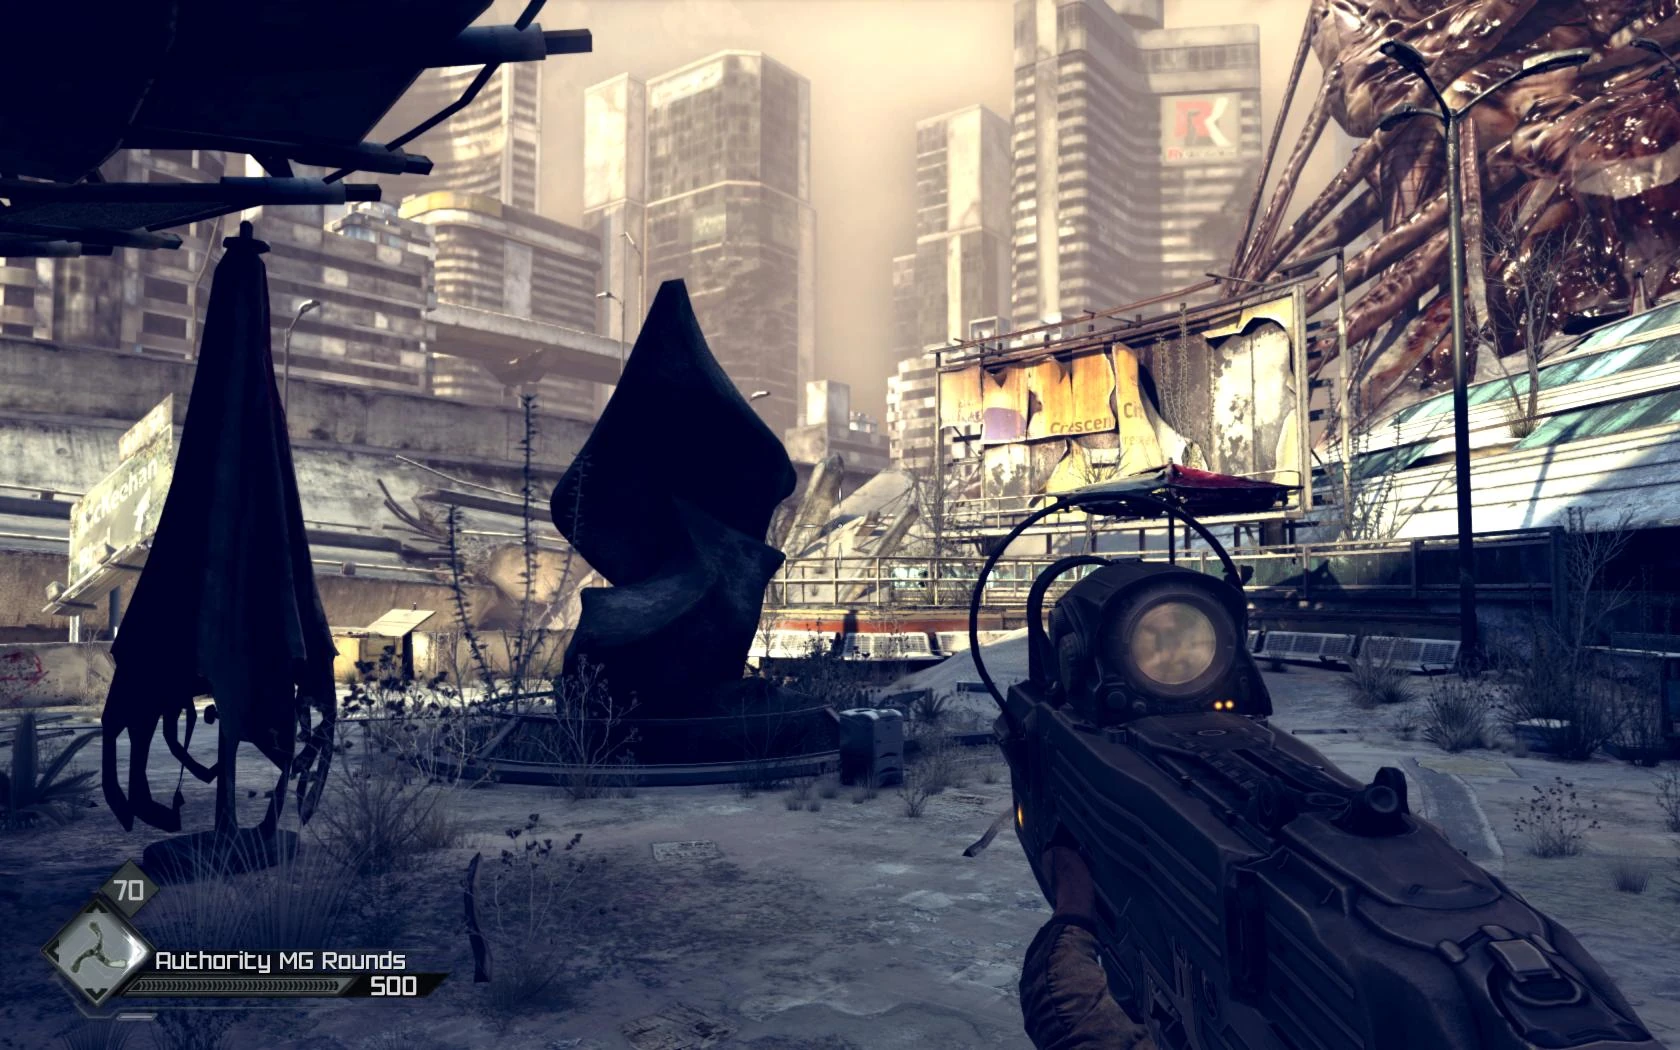
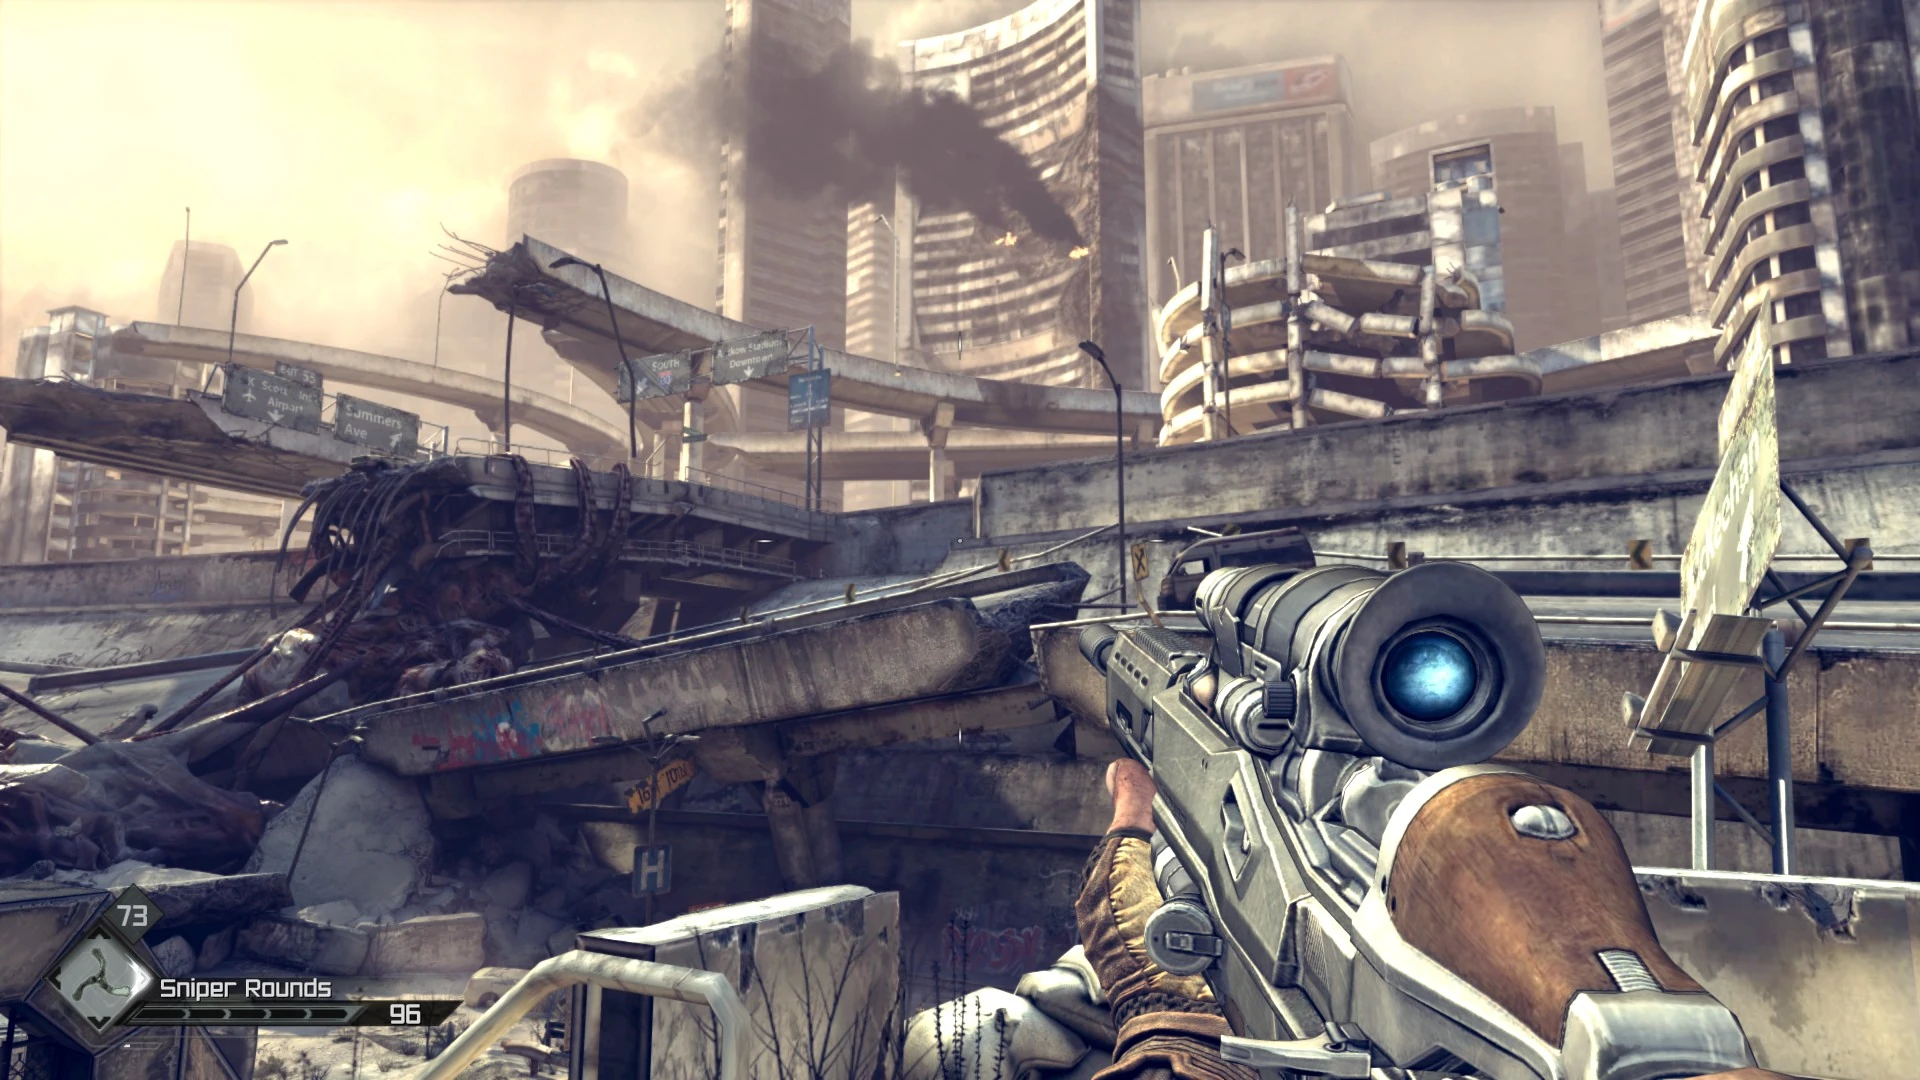
- The Dead City is a well-named place as you will soon see.
- In the middle is a Hospital, one I was proud to work in until the research took a decidedly twisted turn. I didn't see everything that was done there, but I heard rumors and then they built the wall. Now the only way into the city is through the Sewers outside the wall. The Defibrillator Upgrade will be found in the Hospital.
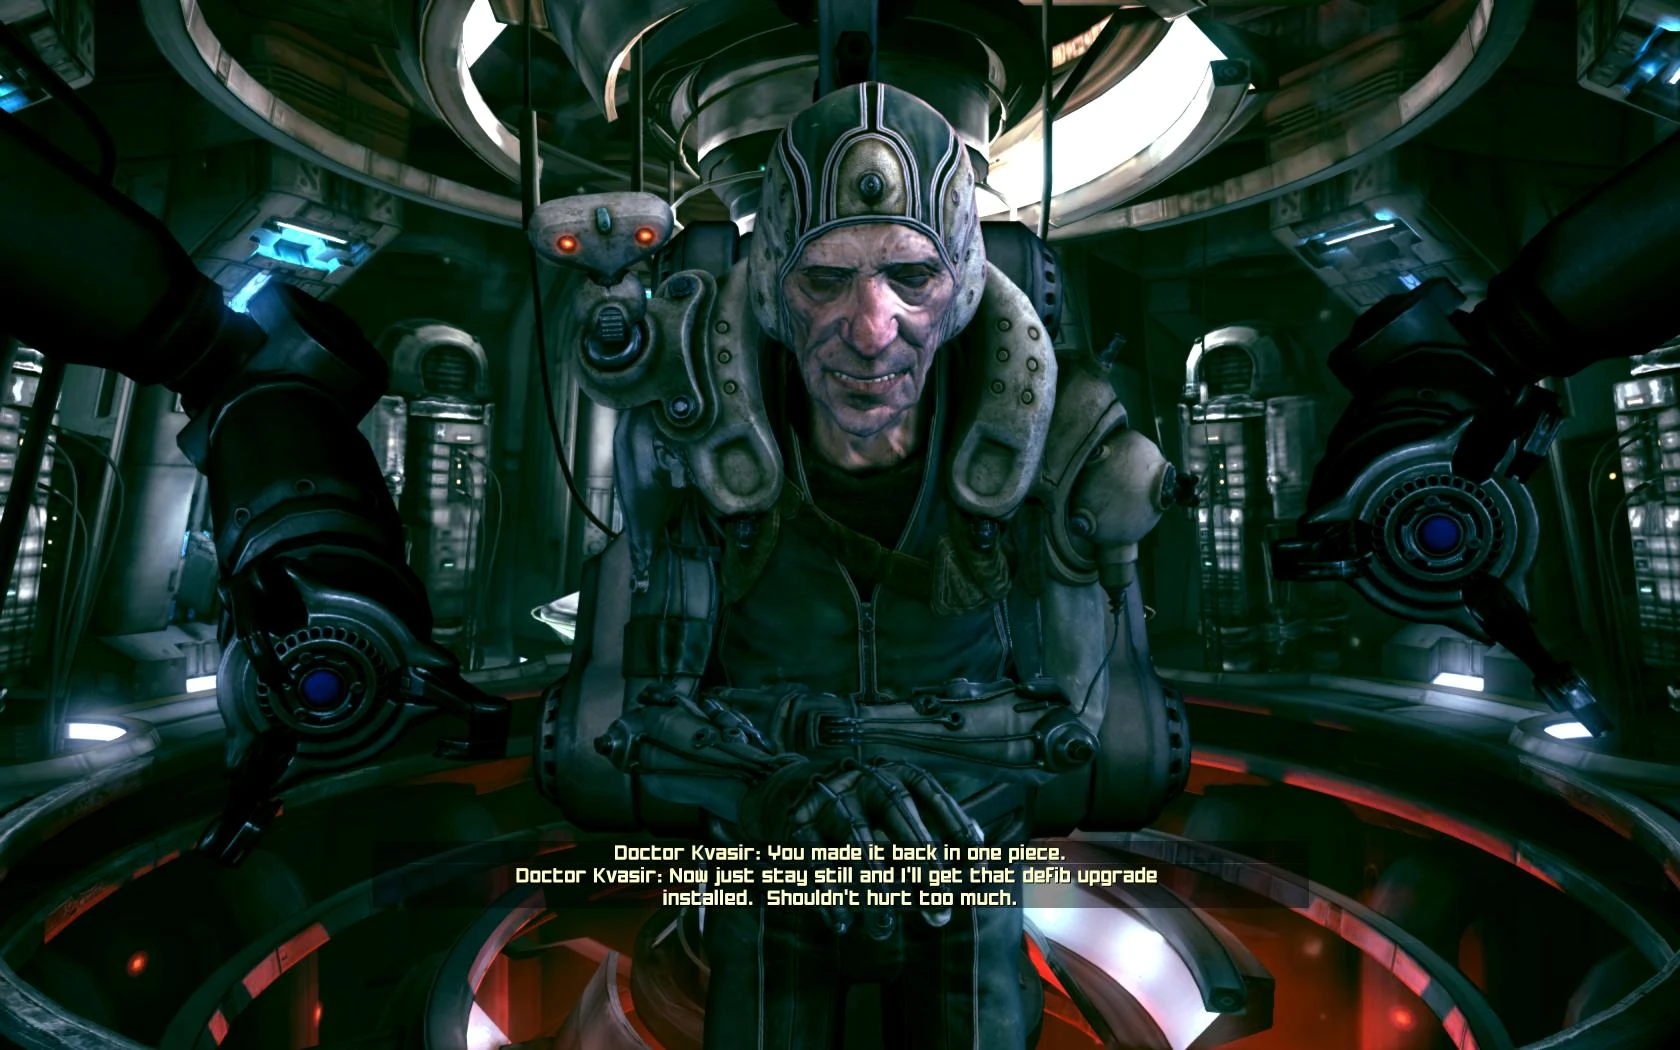
- You make it back in one piece, and I'll install that Defibrillator Upgrade.
Objectives[]
- Find the Defibrillator Upgrade in the Dead City
- Locate the Dead City Sewer Entrance to the East
- Search for the Saint Vita Hospital in the Dead City
- Find the Defibrillator Upgrade in the Hospital
- Defeat the Giant Mutant with the Rocket Launcher
- Take the Defibrillator Upgrade to Kvasir
Walkthrough[]
- Tips: Consume some Apophis Infusion, if you haven't already, and stock up on Wingsticks, ammo and Bandages. Mutants galore here. Slime mutants, Krakens, Large Mutants, and Giant Mutants. The works. If you haven't already acquired the Rocket Launcher, you'll get one near the end. Also, prepare a set of ingredients for a RC Bomb Car: you'll need one. And don't forget to pick the Enforcer Collector Card just outside the large pipe that leads to the Dead City entrance hatch.
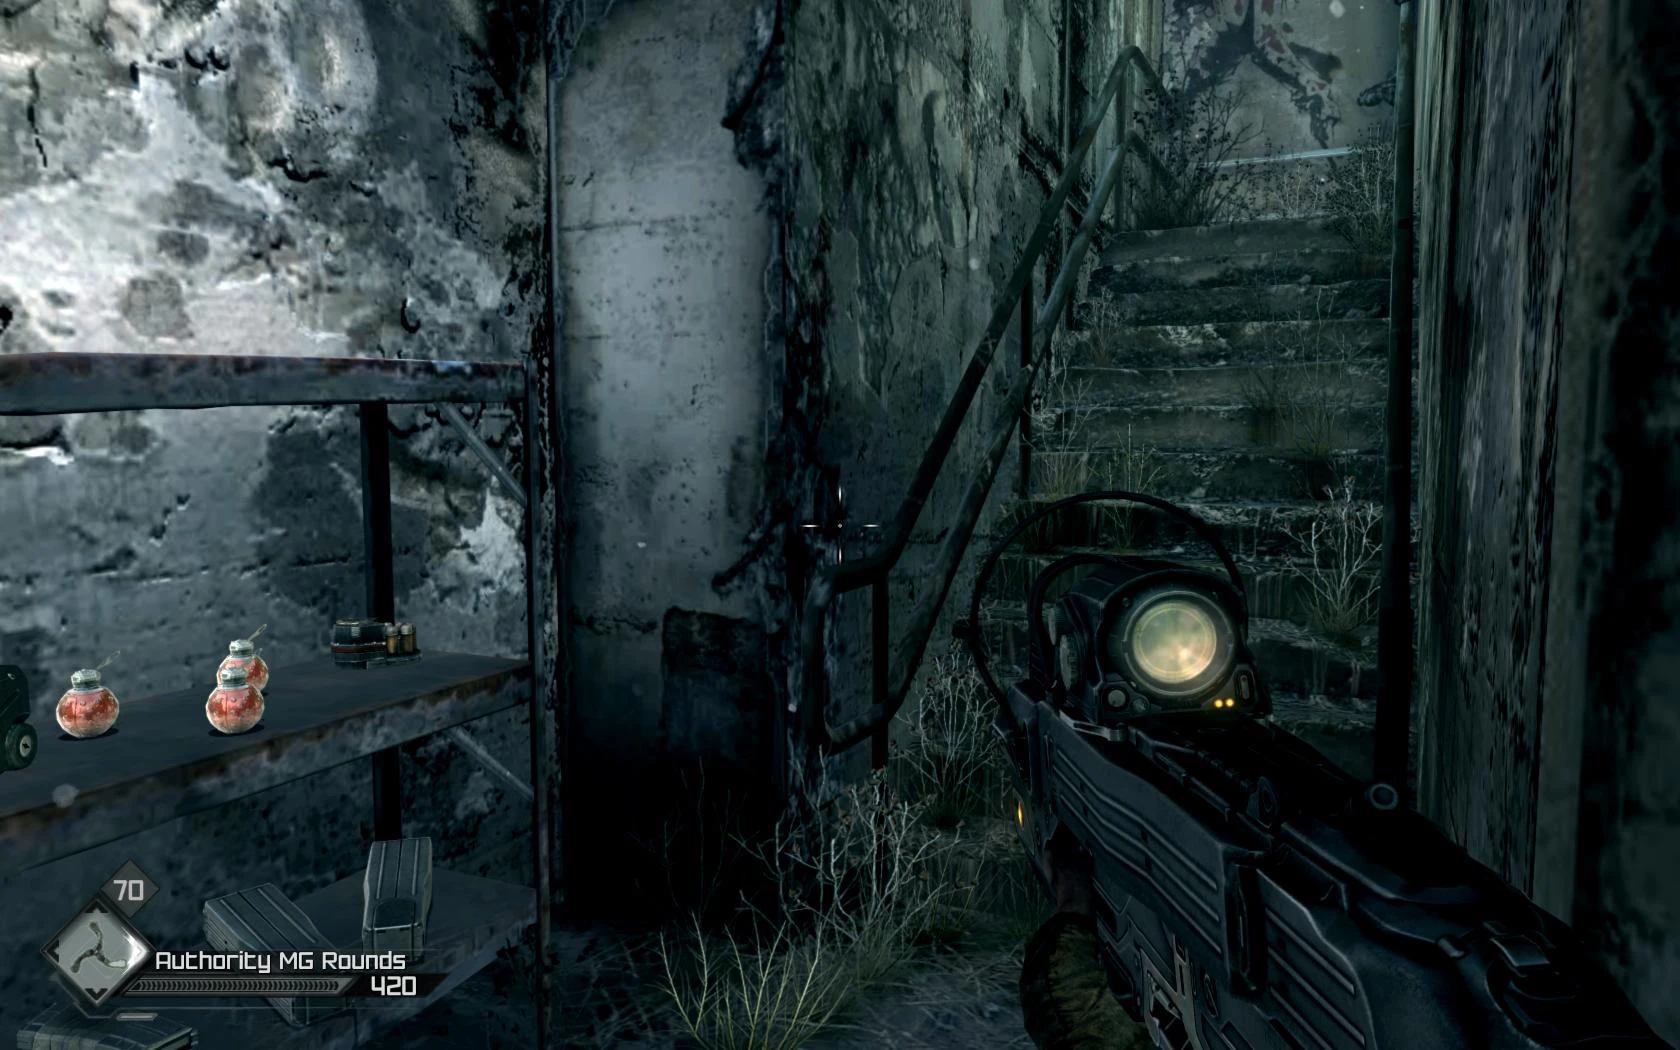
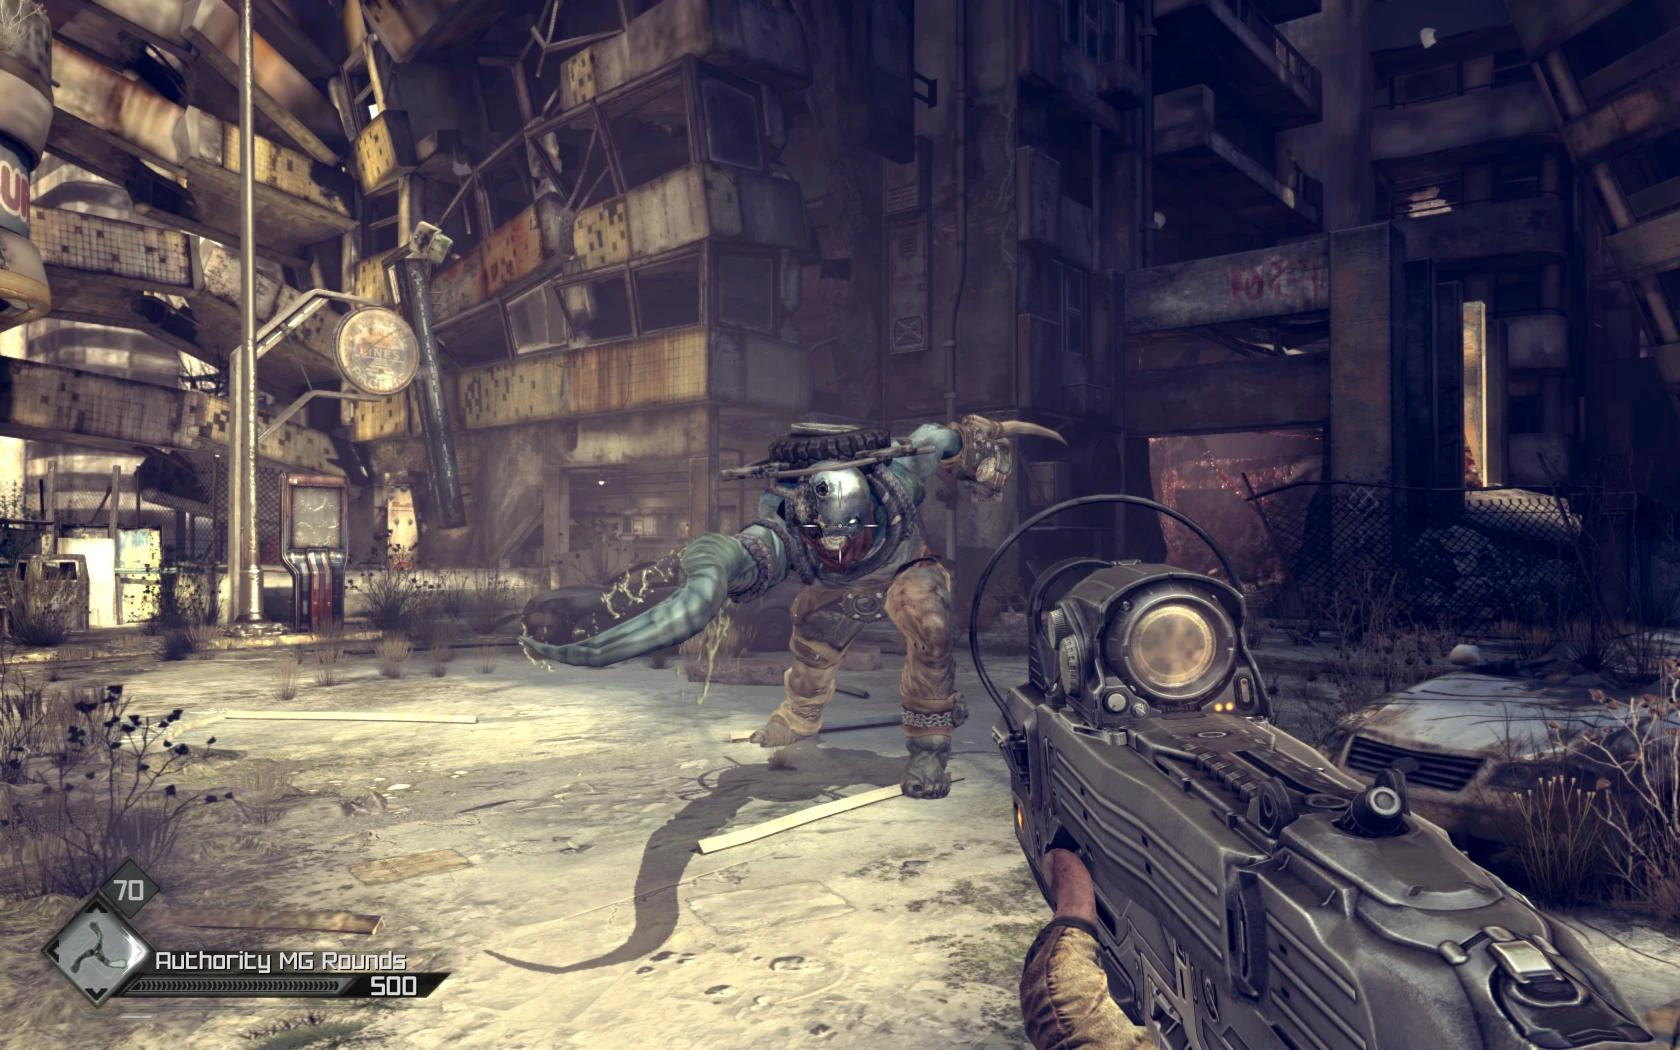

Enter, and you'll start in a corridor that leads to a tunnel with a handful of grunt mutants. Loot the dead body and enter the doorway you see, pick up what's useful on the shelves in front of you — Pistol Rounds along with Fatboys, Buckshot, Steel AR Rounds, Authority MG Rounds, HE Grenades — and head up the stairs.
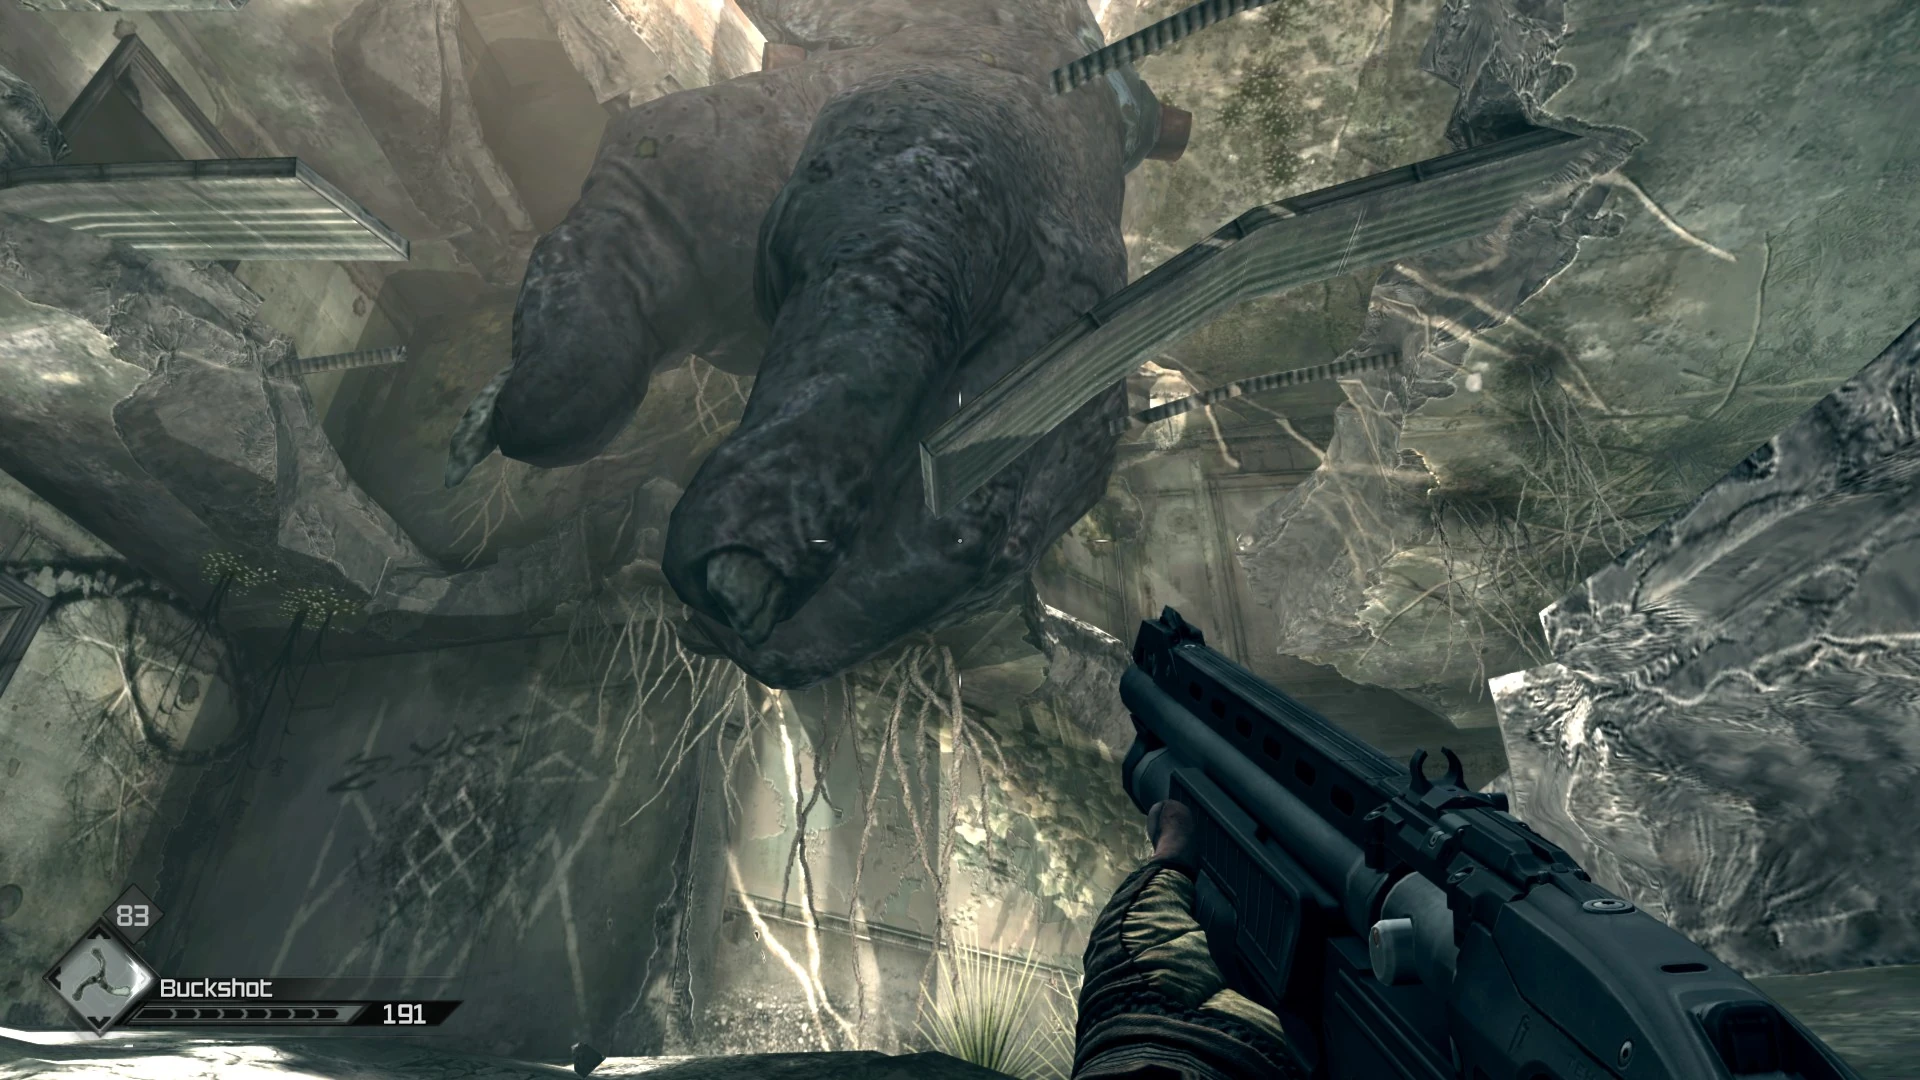
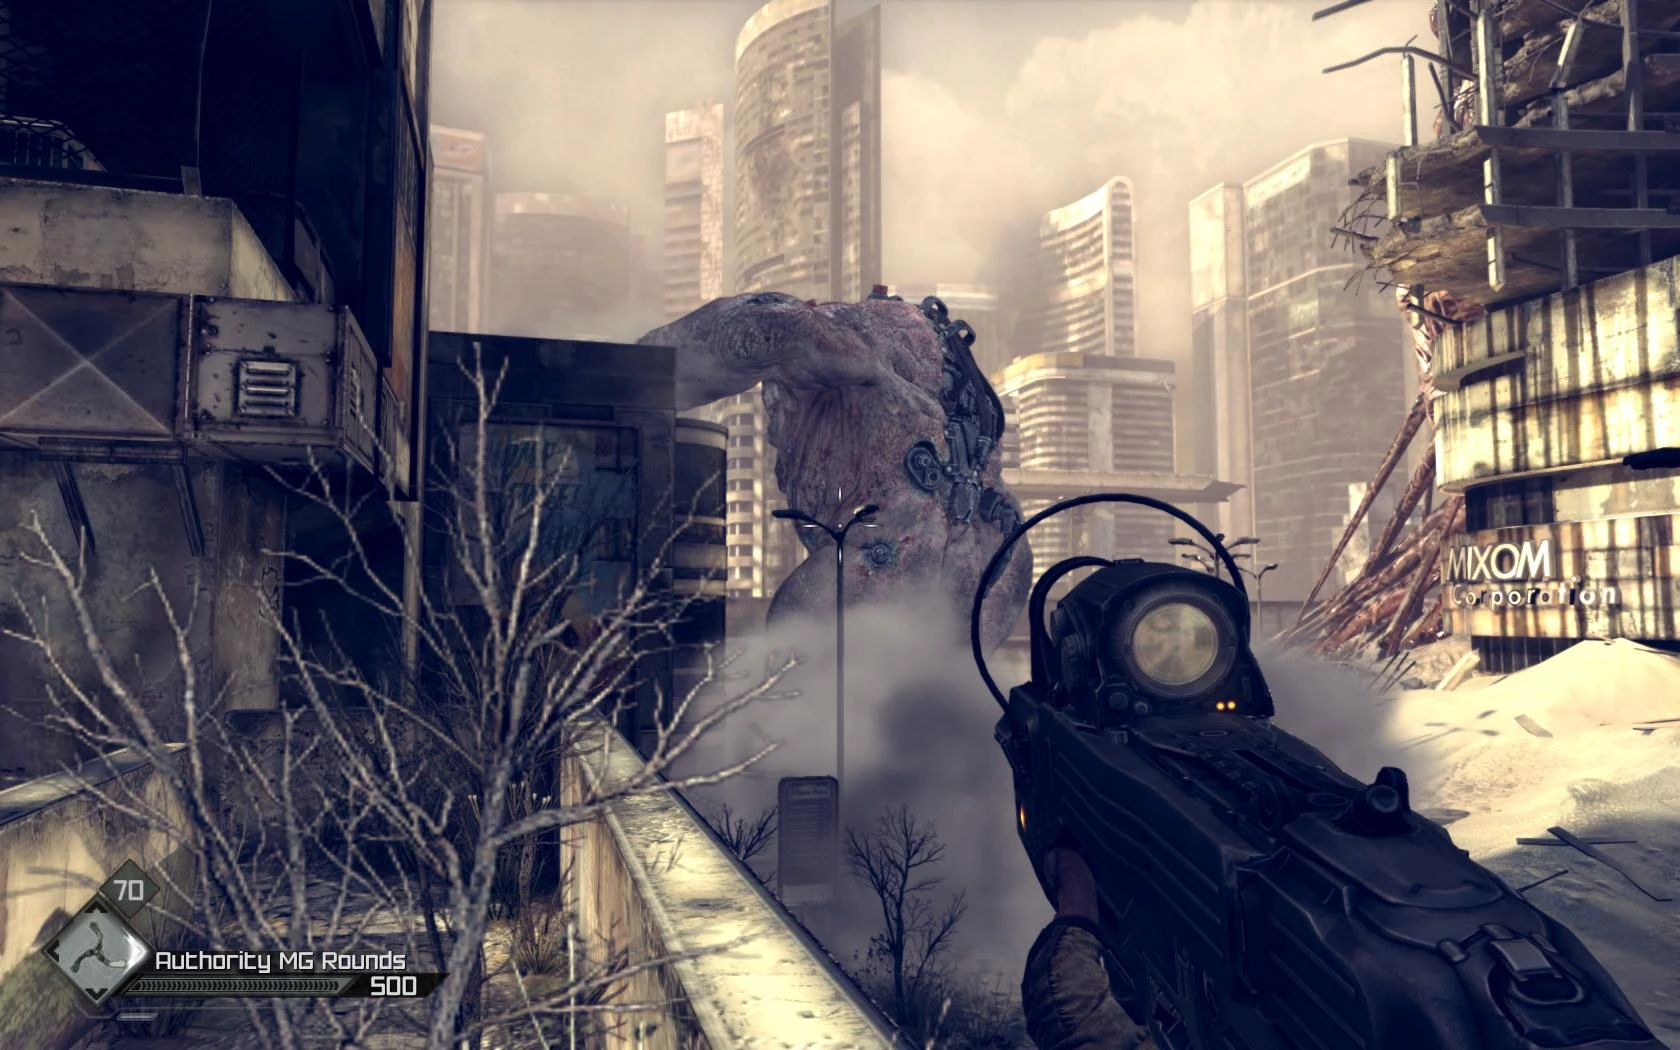
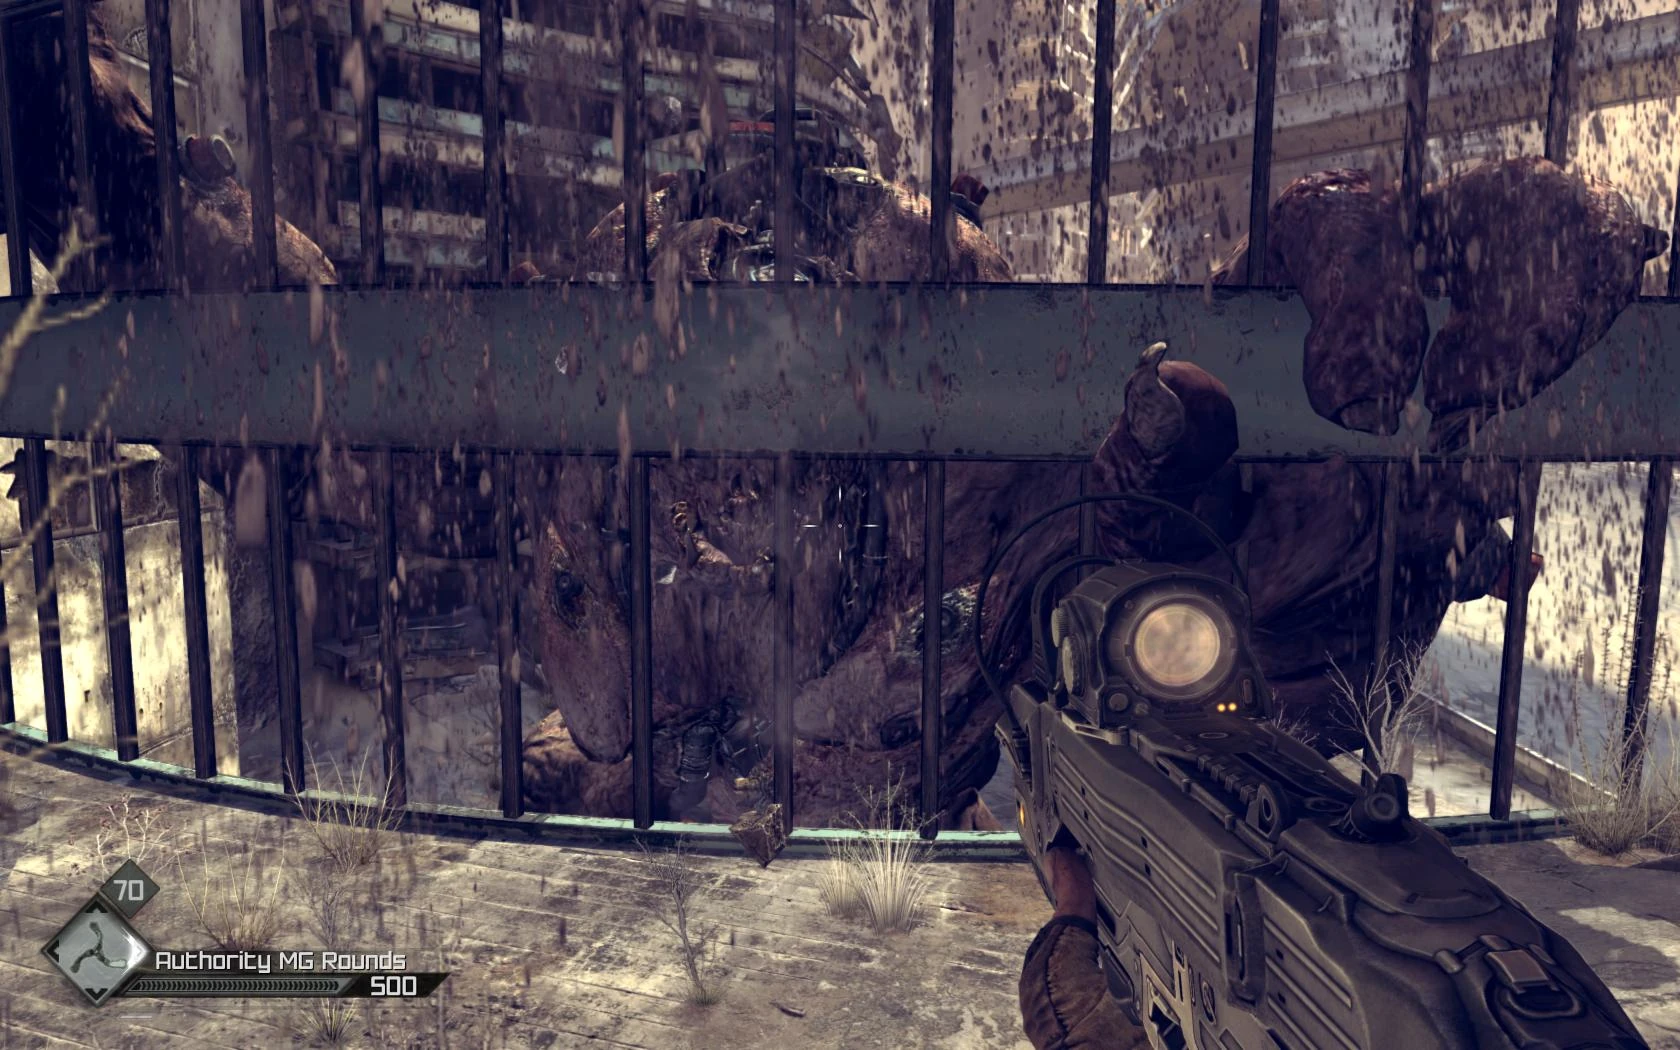
Have a look at a giant mutant's back, then head into an open area, where a Large Mutant will appear once you progress further into the area. So, hold back and deal with the smaller ones first. When the Large Mutant will appear, there will be more grunt mutants, so keep moving and send Wingsticks at the big guy while you're dealing with them. Once they stop spawning, focus on the Large Mutant entirely, dispatch him, and watch for a last grunt.
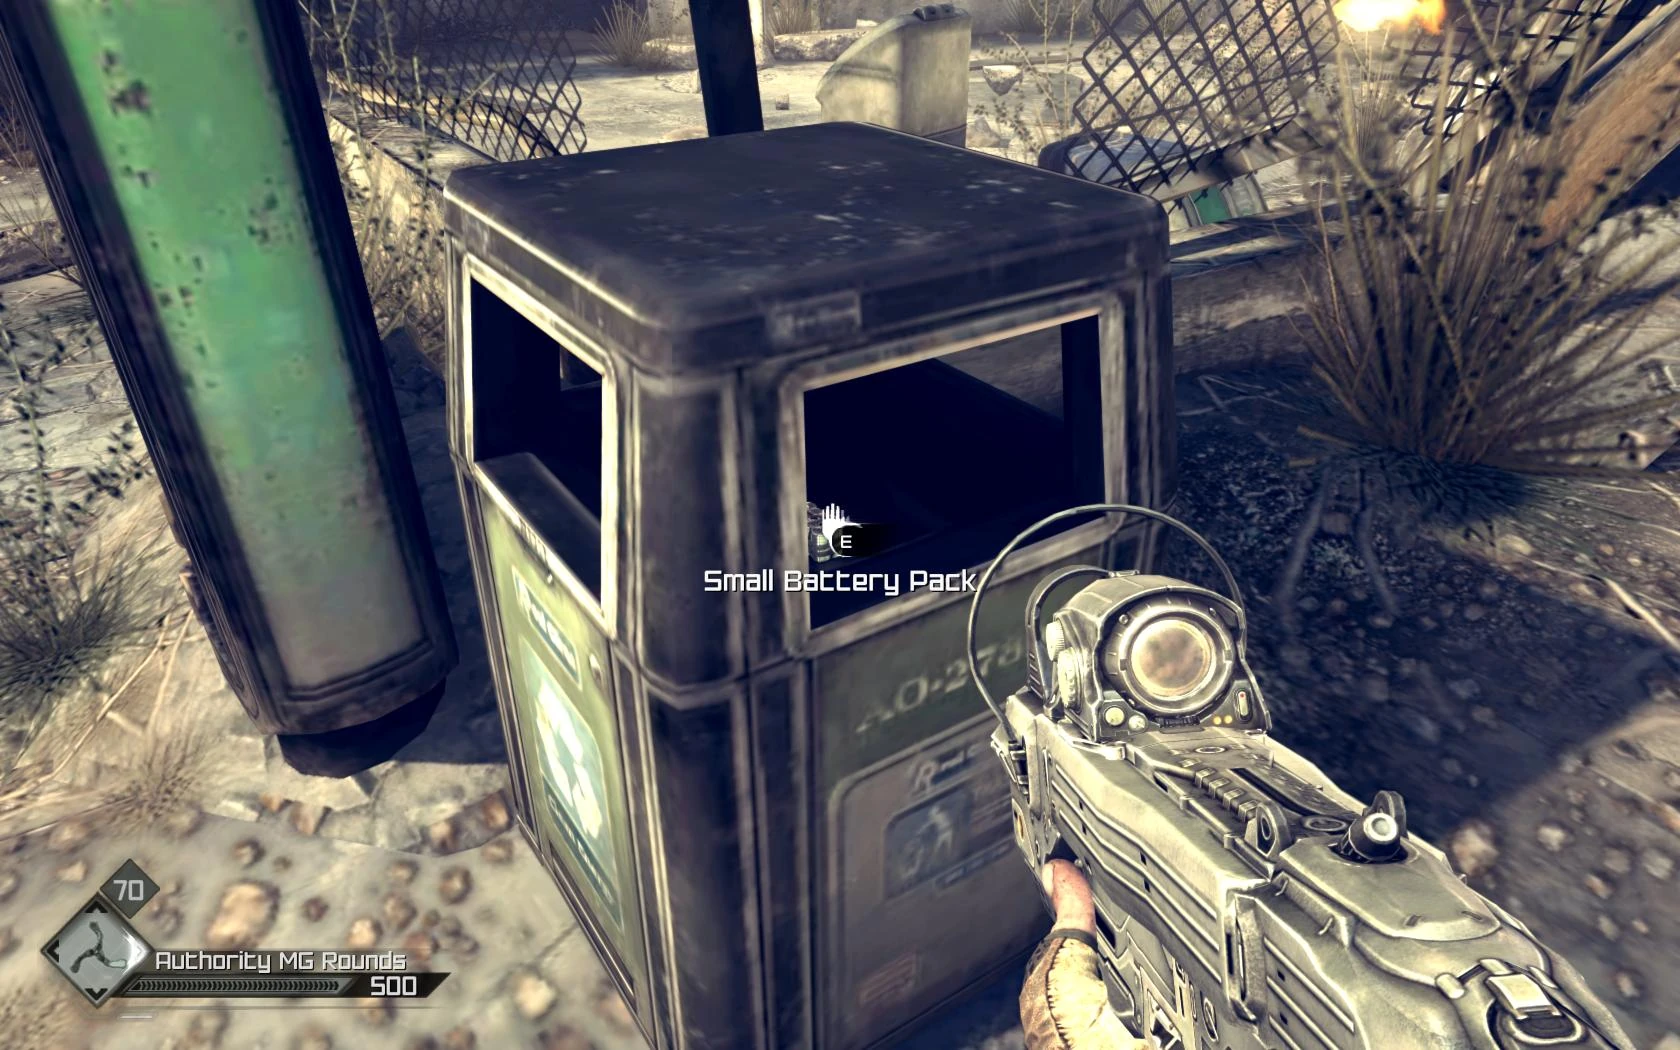
If a Beer Bottle survived the battle, pick it up, take a Small Battery Pack from a trash can nearby and an Ordnance Pack inside the car nearby, grab some Oil Liters and a Turret Barrel and head up the stairs.
Look at a Giant Mutant's giant limb for a moment and bravely continue into a room with some loot on the table — a suitcase, some Pistol Rounds and Buckshot — and a few books on the shelves to the left of the entrance. The room then turns into a trap, mutants will swarm you. A Sentry Bot will come in handy here, and also it's a great place to pick up the Achievement/Trophy "Passive Aggressive", if that's your thing, of course. Once done, pick up some more Buckshot and Steel AR Rounds on the other table.
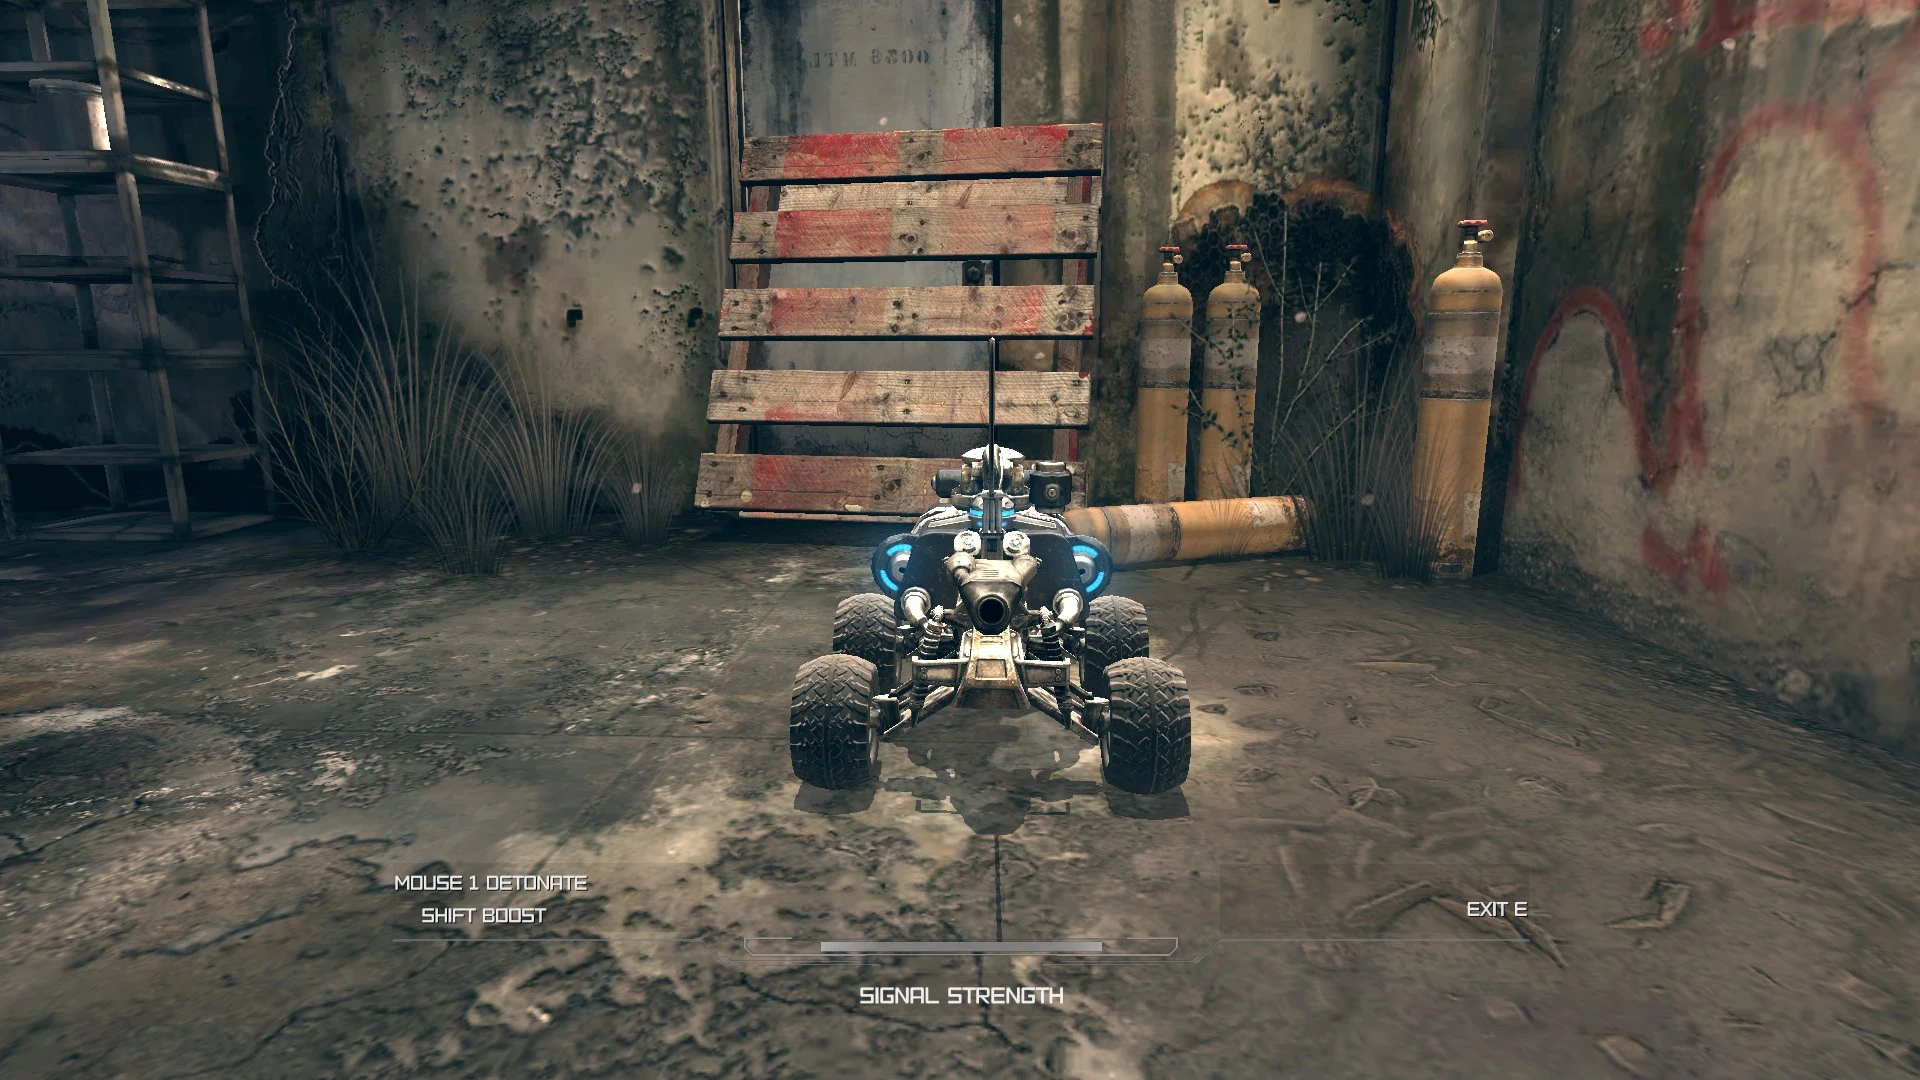
When out of there, a couple of Scoop Mutants will be peppering you from a distance. Wingsticks should take care of them. Take a book from inside a nightstand nearby and head through the debris. Three Dagger Throwers appear as you head down to a pipe with a Beer Bottle above it. Deal with them and send a bomb car through the pipe to blow up a door ahead. Head up the stairs, pick up some Cloth Rags and Steel Blades, a book, a bottle, a clipboard, and a Nanotrite Conduit. Before you drop down to the ground below, head down the other stairs to the door you blew up, and pick up whatever is useful in there, including the Large Mutant card.
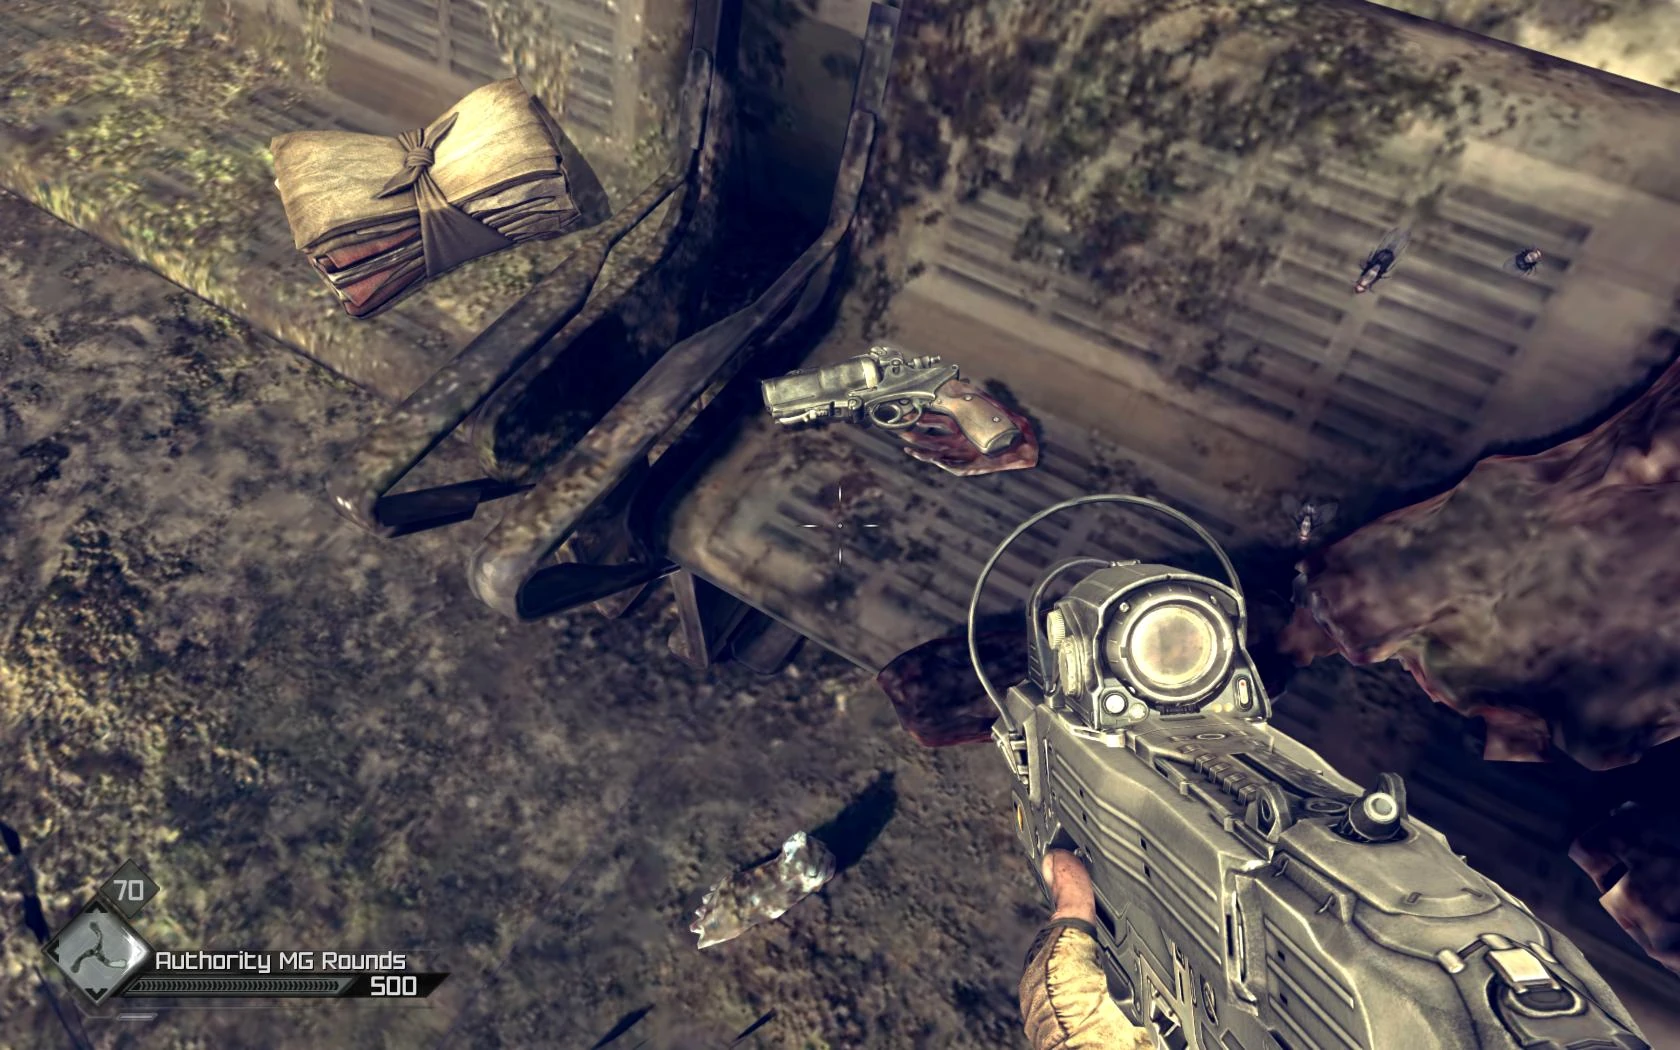
Once done, head back up and drop down to the street to take on the Kraken and a swarm of grunts that will come from all directions. Pop Rockets or the Rocket Launcher might come in handy here, with Wingsticks to keep the little guys at bay. When done with them, take the Kraken card in the gore filled room the Kraken came from, and a Beer Bottle in the trash can near a bench with some loot and a decayed corpse. Pick up a Settler Pistol that will give you a few Pistol Rounds after you take it, and the ammo along with a HE Grenade and Cloth Rags off the bench before heading down the stairs.
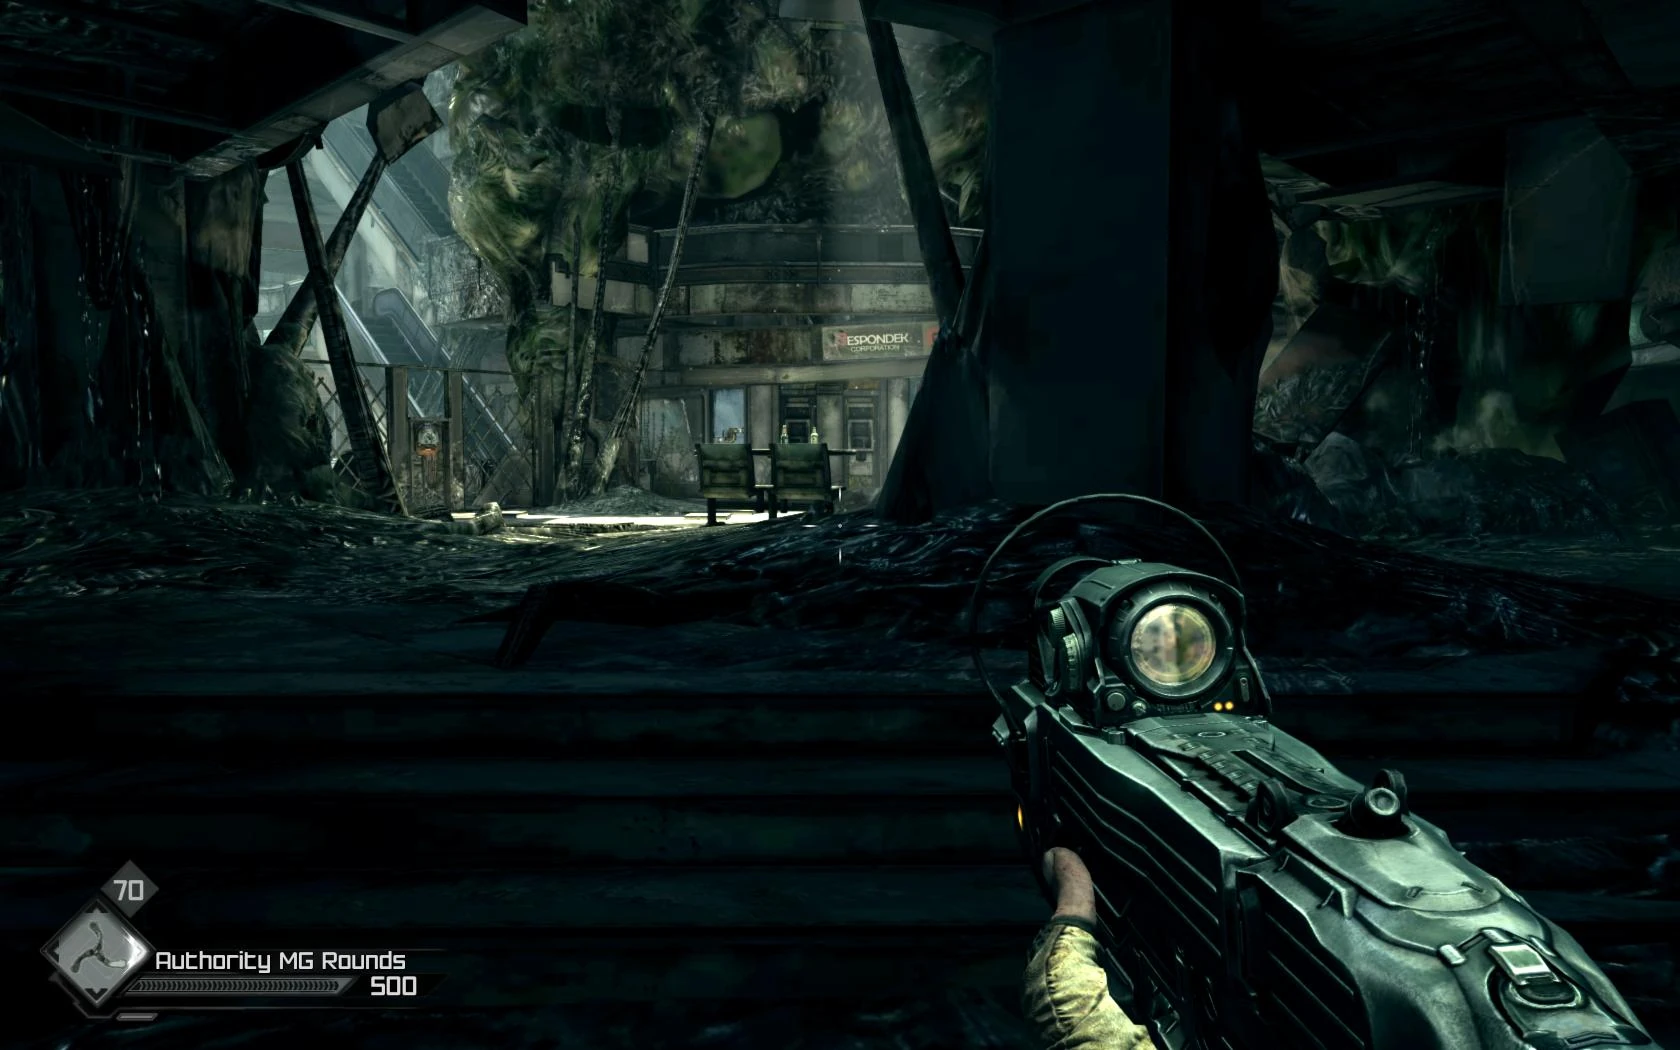
Watch the Giant Mutant freak out a bit, and continue down. Flip the switch, loot the counter and multiple shelves, activate the fuse box on the wall and kill the mutants that swarm you once you restore the power, and then head back. Flip the first switch again and quietly continue through the gate and down the stairs to pick up a Beer Bottle and have your first encounter with a Slime Mutant. These guys take a lot of punishment, hit hard, and spit acid in your face to blind you, so a good way is to sneak up and offload a couple of Wingsticks, or use a Sniper Rifle. Whatever you do, be careful. Note that the slimers are unique among mutants in that you can loot them, so grab the Mutant Adrenal Gland and head through the door and into Dead City Central.
The Slime Mutant card is here on your left, so grab that, some Beer Bottles, loot the ATM and open the locked door (you should have picked up enough parts to build a Lock Grinder even if you didn't bring one in), where you'll find a bunch of ammunition and some Pinkies. Then, find the switch, follow the cable and shoot the gas tanks on the other side of the grill to blow open a door around the corner. Through the flames (stylish jumping optional), and grab the ammo and a Doom mug. Activate the fuse box, head back out the flaming door and prepare for a few mutants to appear, including another slimer. Up to two more may attack as you move closer to the gate.
Flip the switch on the gate, and a load more mutants will swarm you. A Sentry Bot, or a Sentry Turret, might prove useful here. Once they're dealt with, it's down the stairs and into the open (the grill will shut behind you so make sure you got everything you need). Ignore the laser grid to the right — you can't get through for now. (You'll be able to access it in another Dead City mission.)
Before you head down the stairs, grab the ammo off the metal dumpster. There are Steel-tipped Bolts and Sniper Rounds, so go with your preference to snipe the three or more mutants down below, at which point the last will probably run up and try to maul you. Once you head down into the main area, you'll get swarmed again, so be ready.
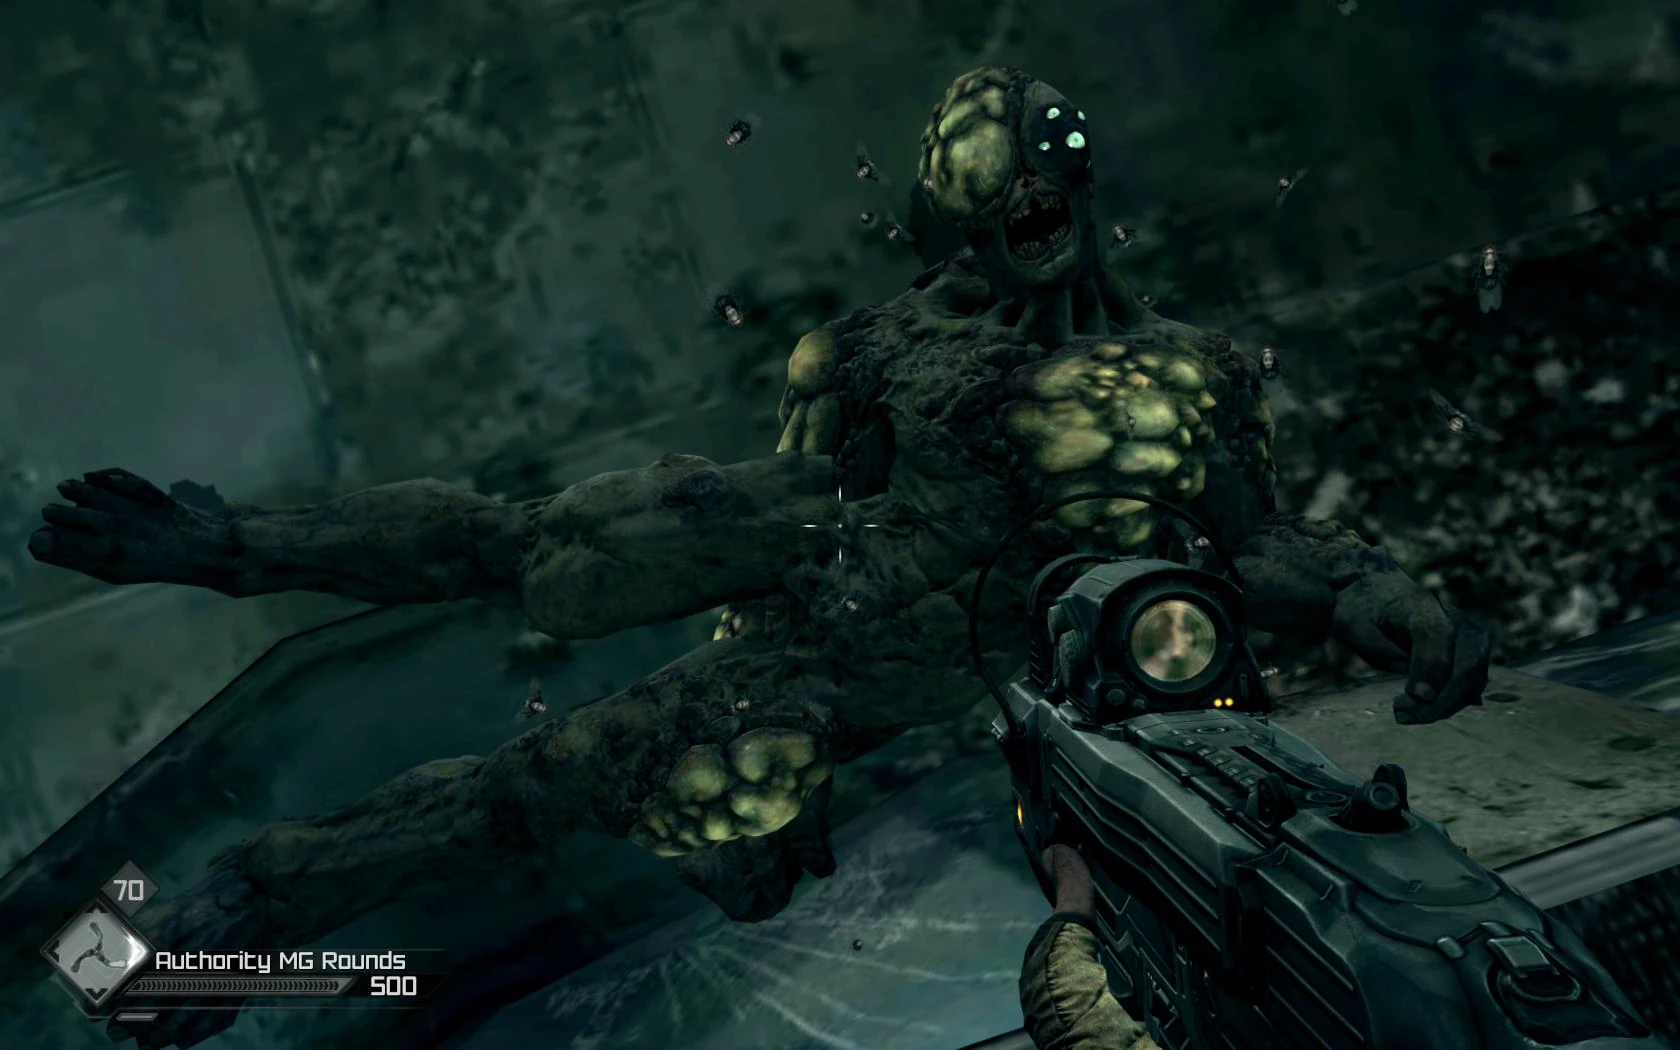
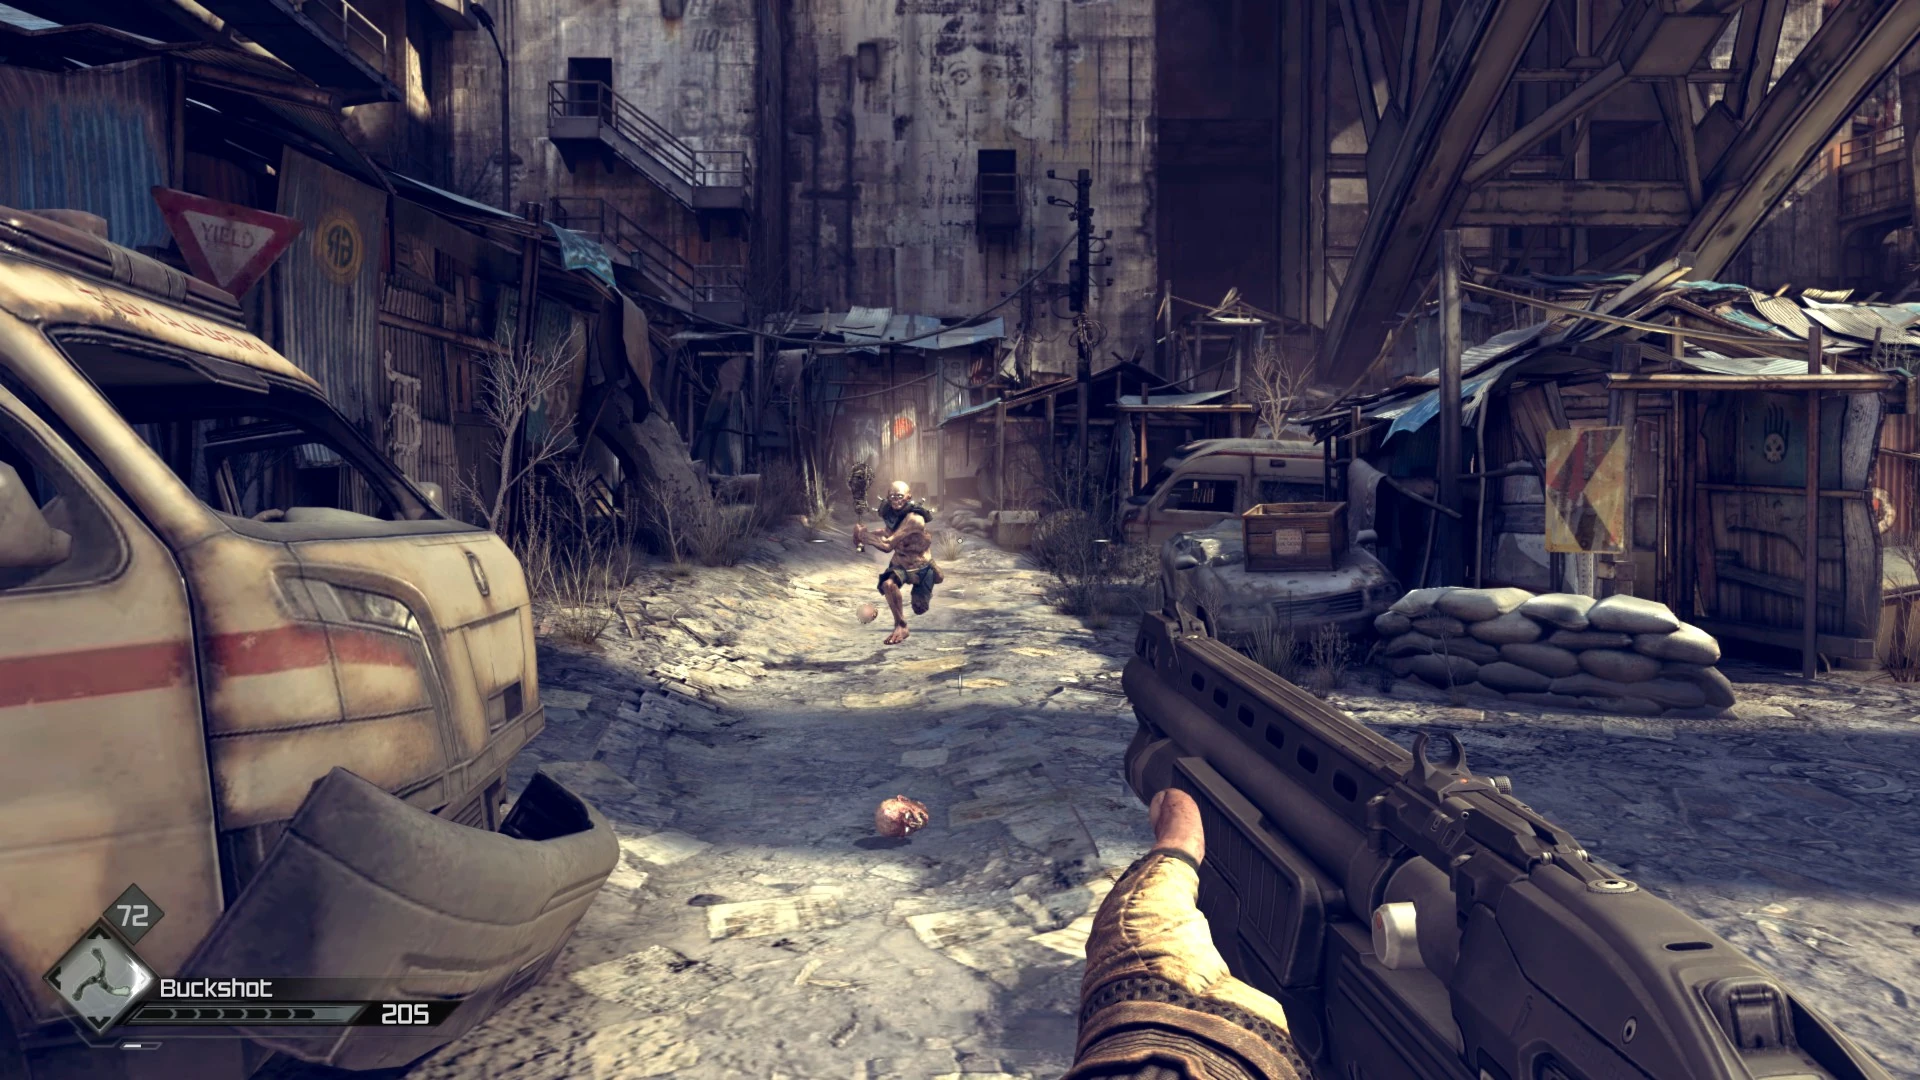
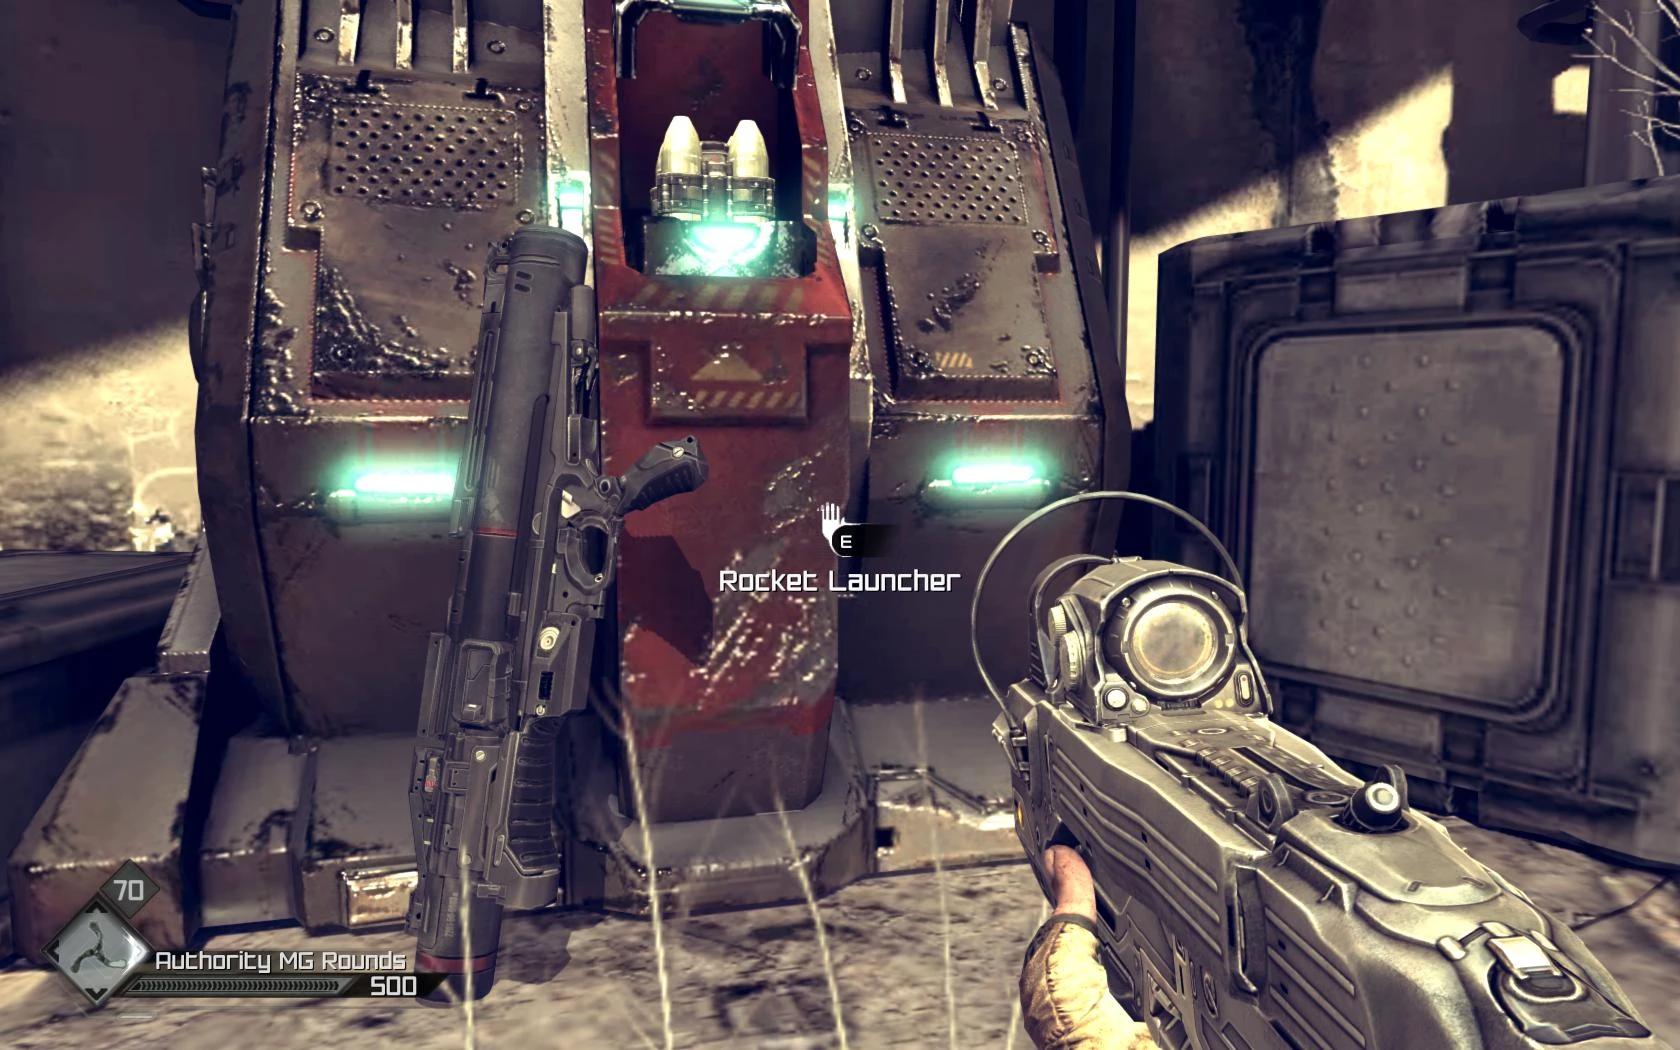
Then, through the doorway, up the stairs, take a left (watch for the icky slime) and into the little Shanty Town area, where a few mutants will try and smash you up close quarters. Mr. Shotgun should put them down quickly. Once through, head up the stairs for a mission update. Yep, you're finally near the Hospital. Left is a locked door with some ammo, a set of Feltrite Crystals and minor loot waiting for you. Turn around and follow the path until you come to the Rocket Launcher and a little machine that conveniently produces HE Rockets. As soon as you pick this up, you'll be fighting the Giant Mutant. So save before you do.
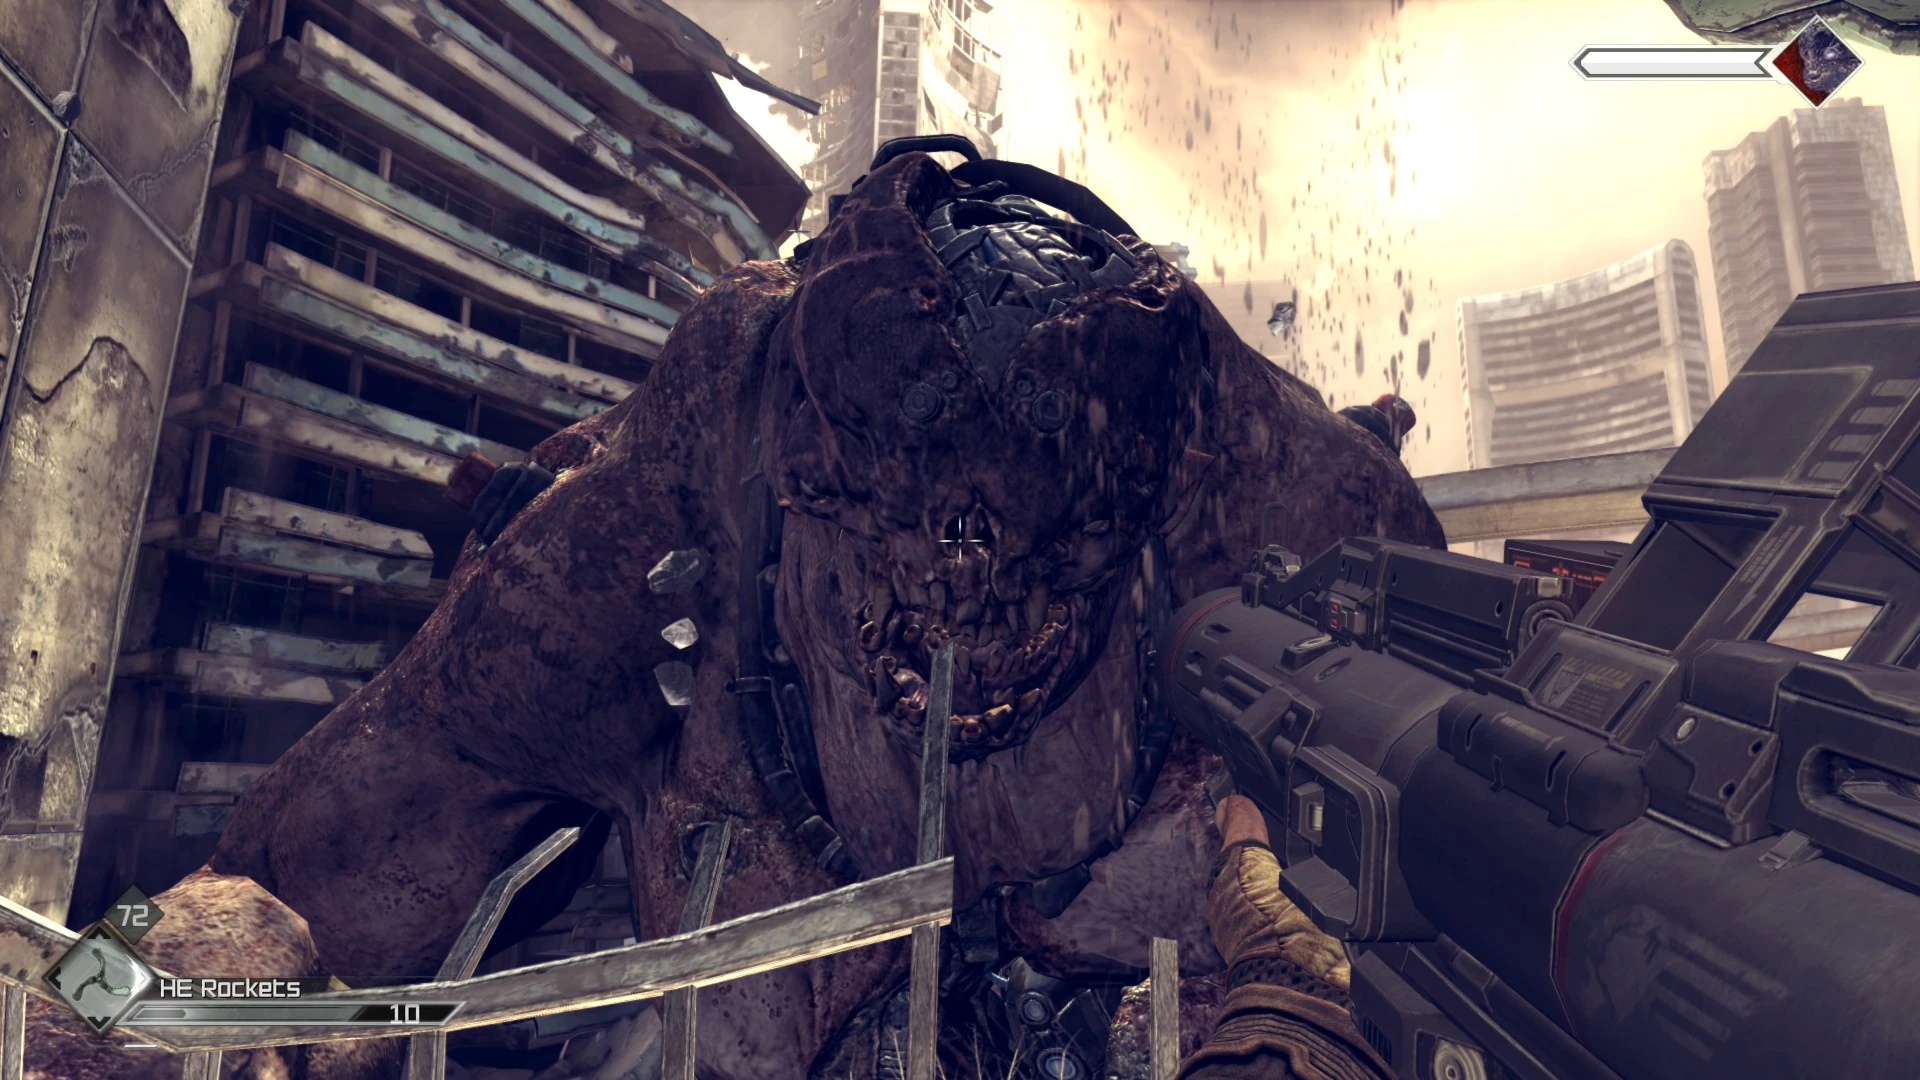
The idea is pretty simple. It picks up a rock, takes aim, throws. Strafe left or right to avoid the rocks. If you zoom in, it'll bring up a digital sight, and the target (its stomach) will glow. Shoot that before it throws the rock, and it'll come close and smash around with its hands a bit. Stand in the right hard corner as you look at it to avoid those giant meaty fists, then shoot its exposed brain (again, zooming in will highlight the target), and it'll retreat to throw rocks again. Repeat the sequence three times. Each time it'll throw the rock a little faster, so you have to preempt the shot a little on the last go. If you run out of ammo, turn around, and that little machine should have made you some more.
You can run in a little circuit to recover from a rock hit by going clockwise around the balcony, up the stairs, fire a rocket from the top platform, then move down the right stairs and across the balcony… and so forth. This lets the machine make more rockets (it appeared to max out at seven in inventory) as well as for you to regain health. Keep moving and firing rockets at that bright patch on the stomach. You have to hit it solidly before it'll move in to the balcony and the circuit described will let you move to the far right, miss the fists, and shoot the brain as the shot is offered.
Once it's down, a passage will open to the left. Head there, grab the ammo, down a floor, a book near a corpse and some medicinal loot a little further, down again and then prepare for a couple of mutants. Pick up some Gauze Sponges and ingredients near the computers and head down the very messy corridor, only to find some grunts and pick up Cloth Rags along with an Antiseptic Formula and Mix-o-Med Bandages.
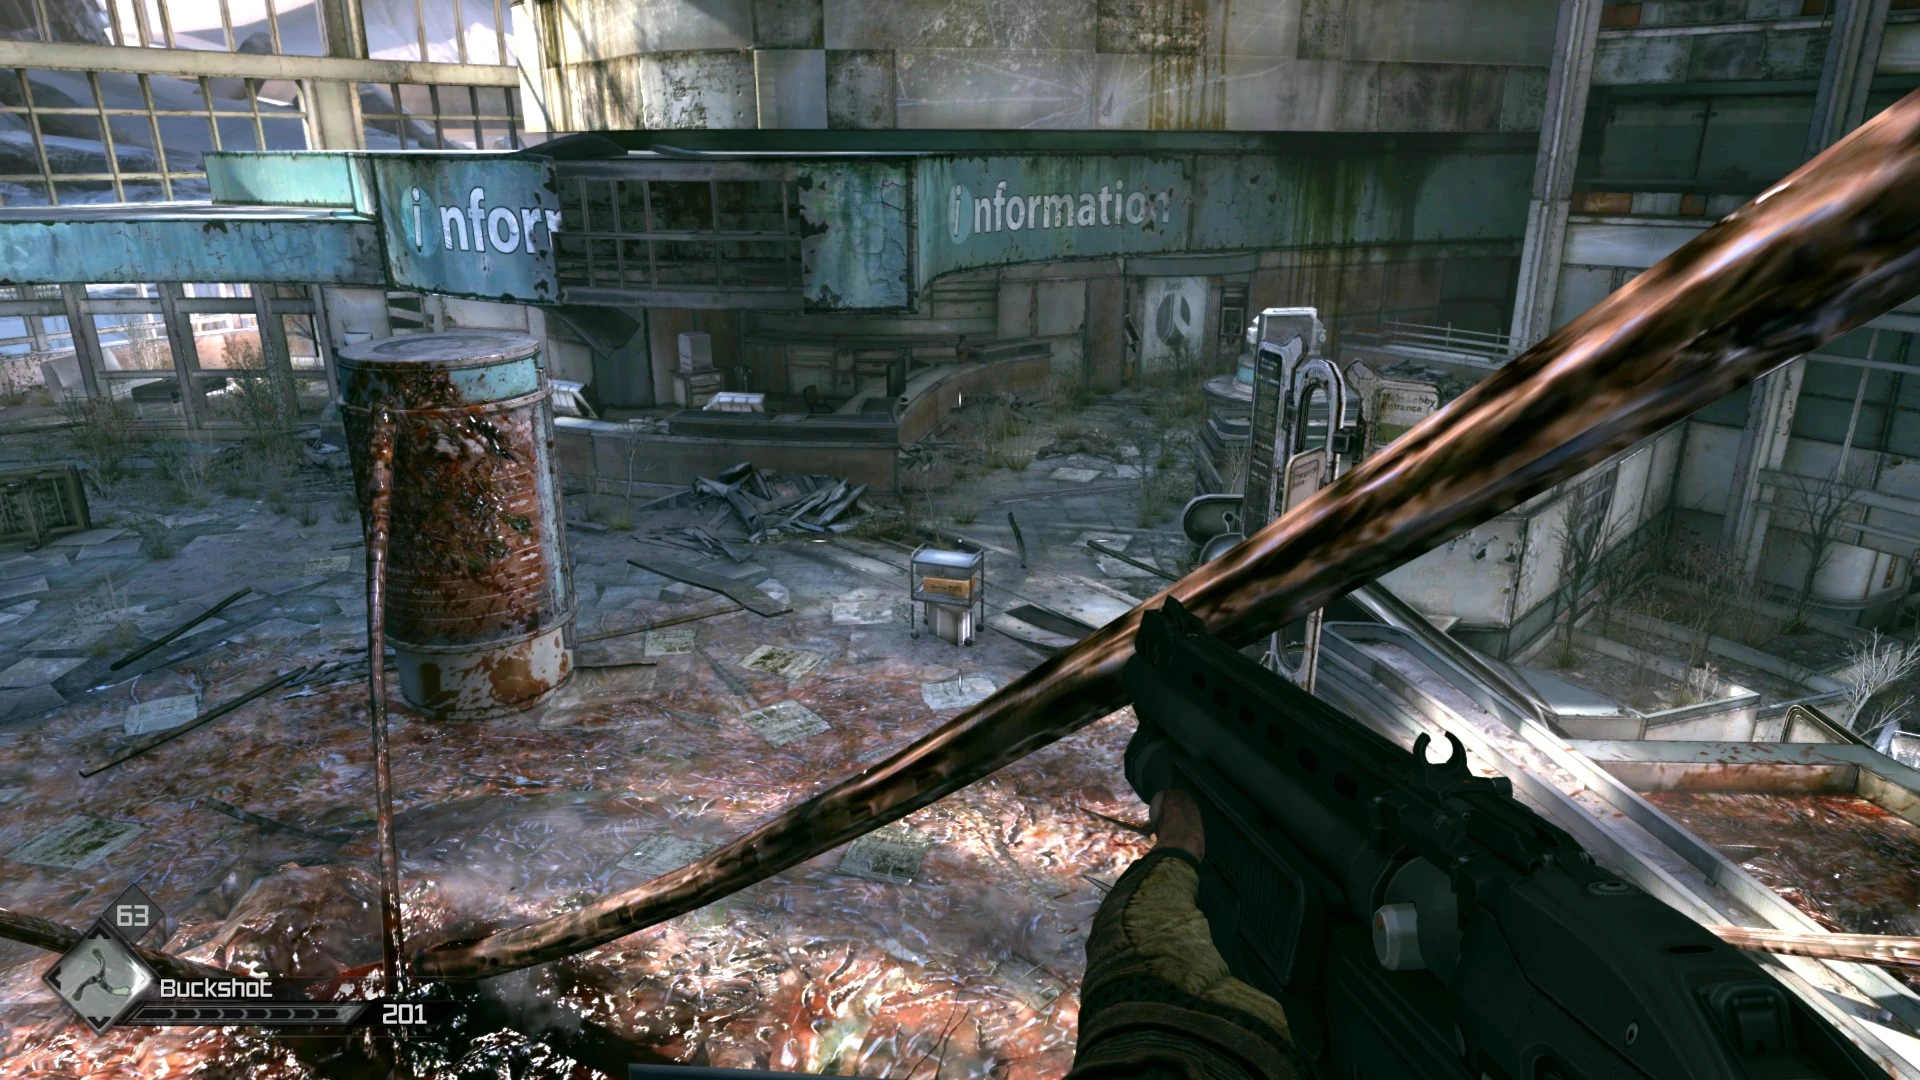
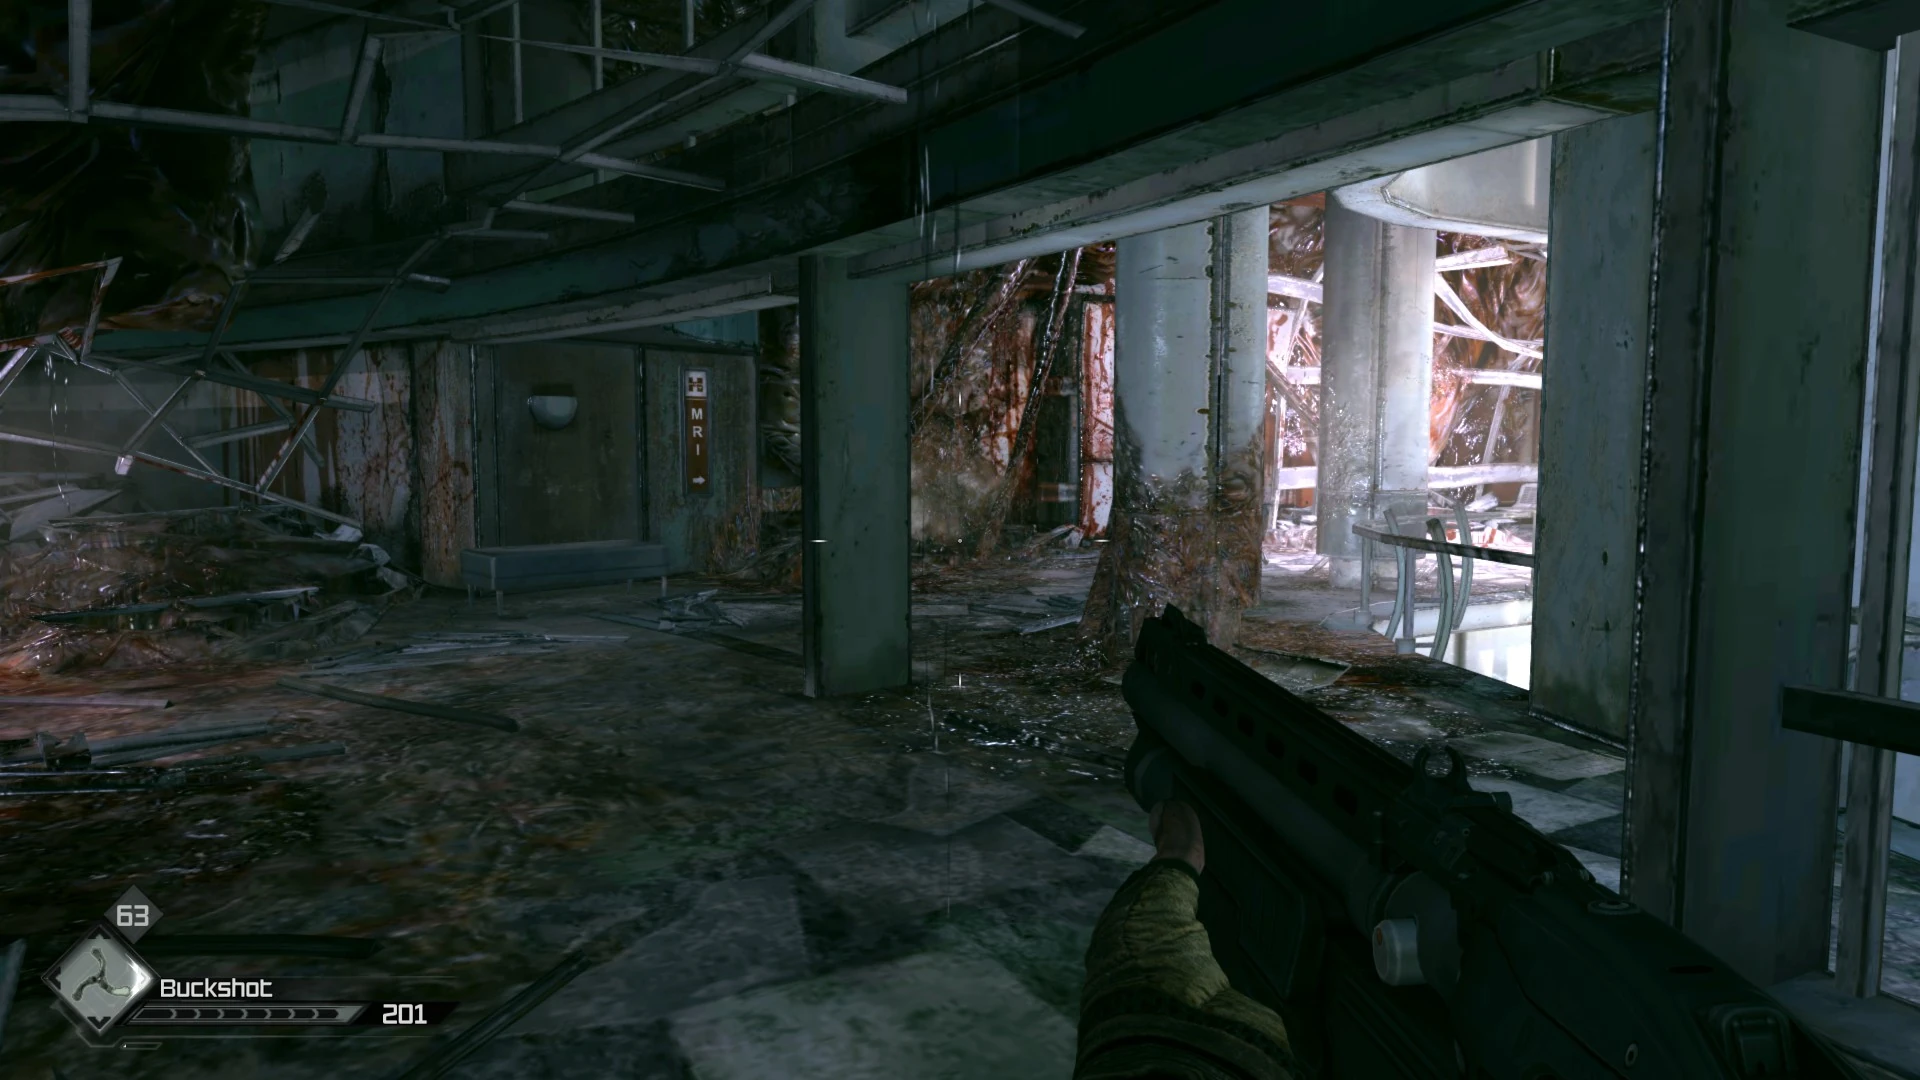
Up the corridor and into the foyer. There are some books to the left and behind the escalator, a couple of ATMs to plunder to the right, a few ingredients nearby, a Doom mug on the counter and a book a little further.
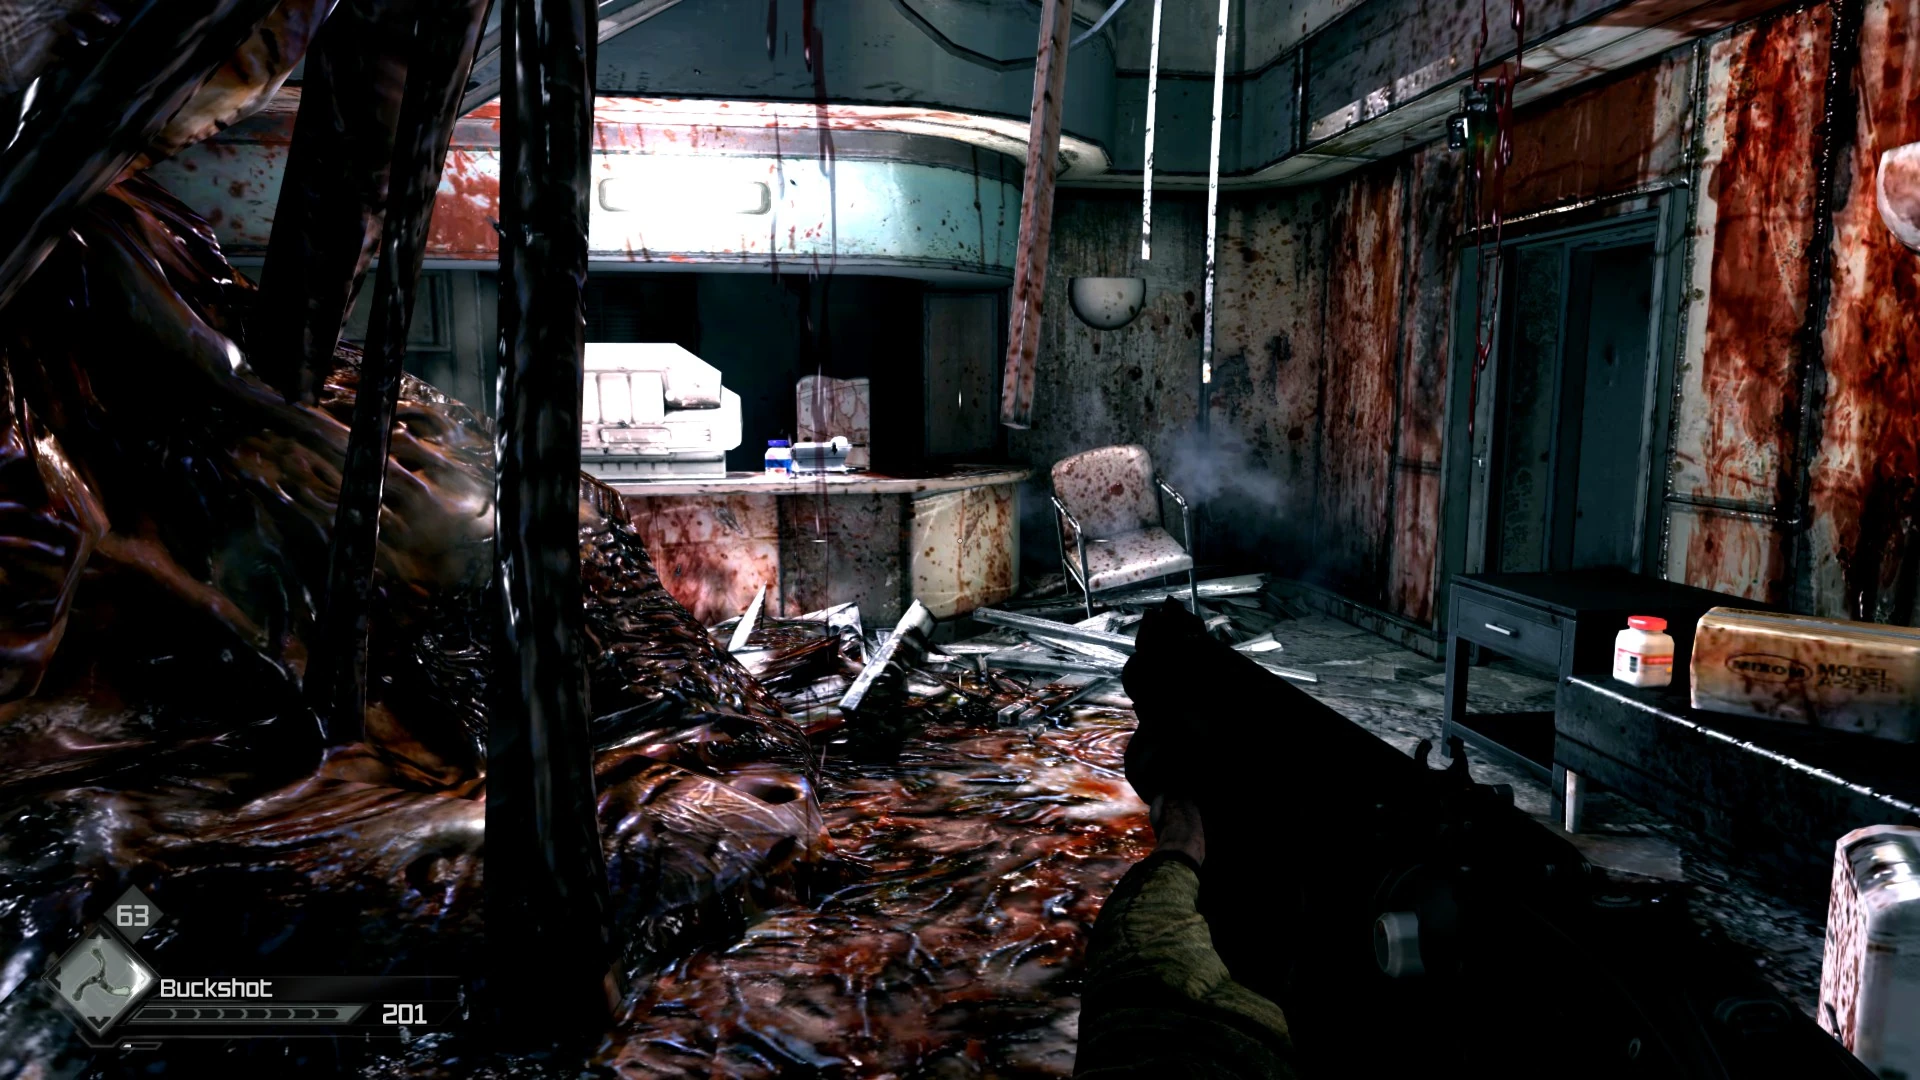
Up the stairs and into a pretty messy landing area, where a grunt along with a slimer will attack. Keep going and you'll arrive at a remarkably nasty room, before entering a room with a bunch of health items, a few ingredients, and the Defibrillator Upgrade.
As you might have guessed, it's ambush time (slimer, grunts). Deal with them and then leave through the newly broken wall into a weird satanic room. Pick up a Paint Can and head down the stairs. Don't miss a Small Battery Pack and Small Gears in a drawer and continue along a corridor. Pick up a Hardware Packet to the right, and some other loot just before the exit, and you can finally leave the bloody hell that is the Dead City.
Head back to Dr. Kvasir. When you arrive, he'll greet you with "You made it back in one piece" and proceed with installing the ill-fated upgrade at once. Let him do it, and you're all done with the bulk of the quest.
Return to Clayton to finish the primary quest.
Notes[]
- Completing the quest gets you the Achievement/Trophy "It's Alive!".
- Every Collector Card picked up counts toward getting the Achievement/Trophy "Gotta Have 'em All".
- If you enter the Dead City Sewers before starting this mission, there are two sewer loot stashes and no mutants.
Gallery[]
")
")
")